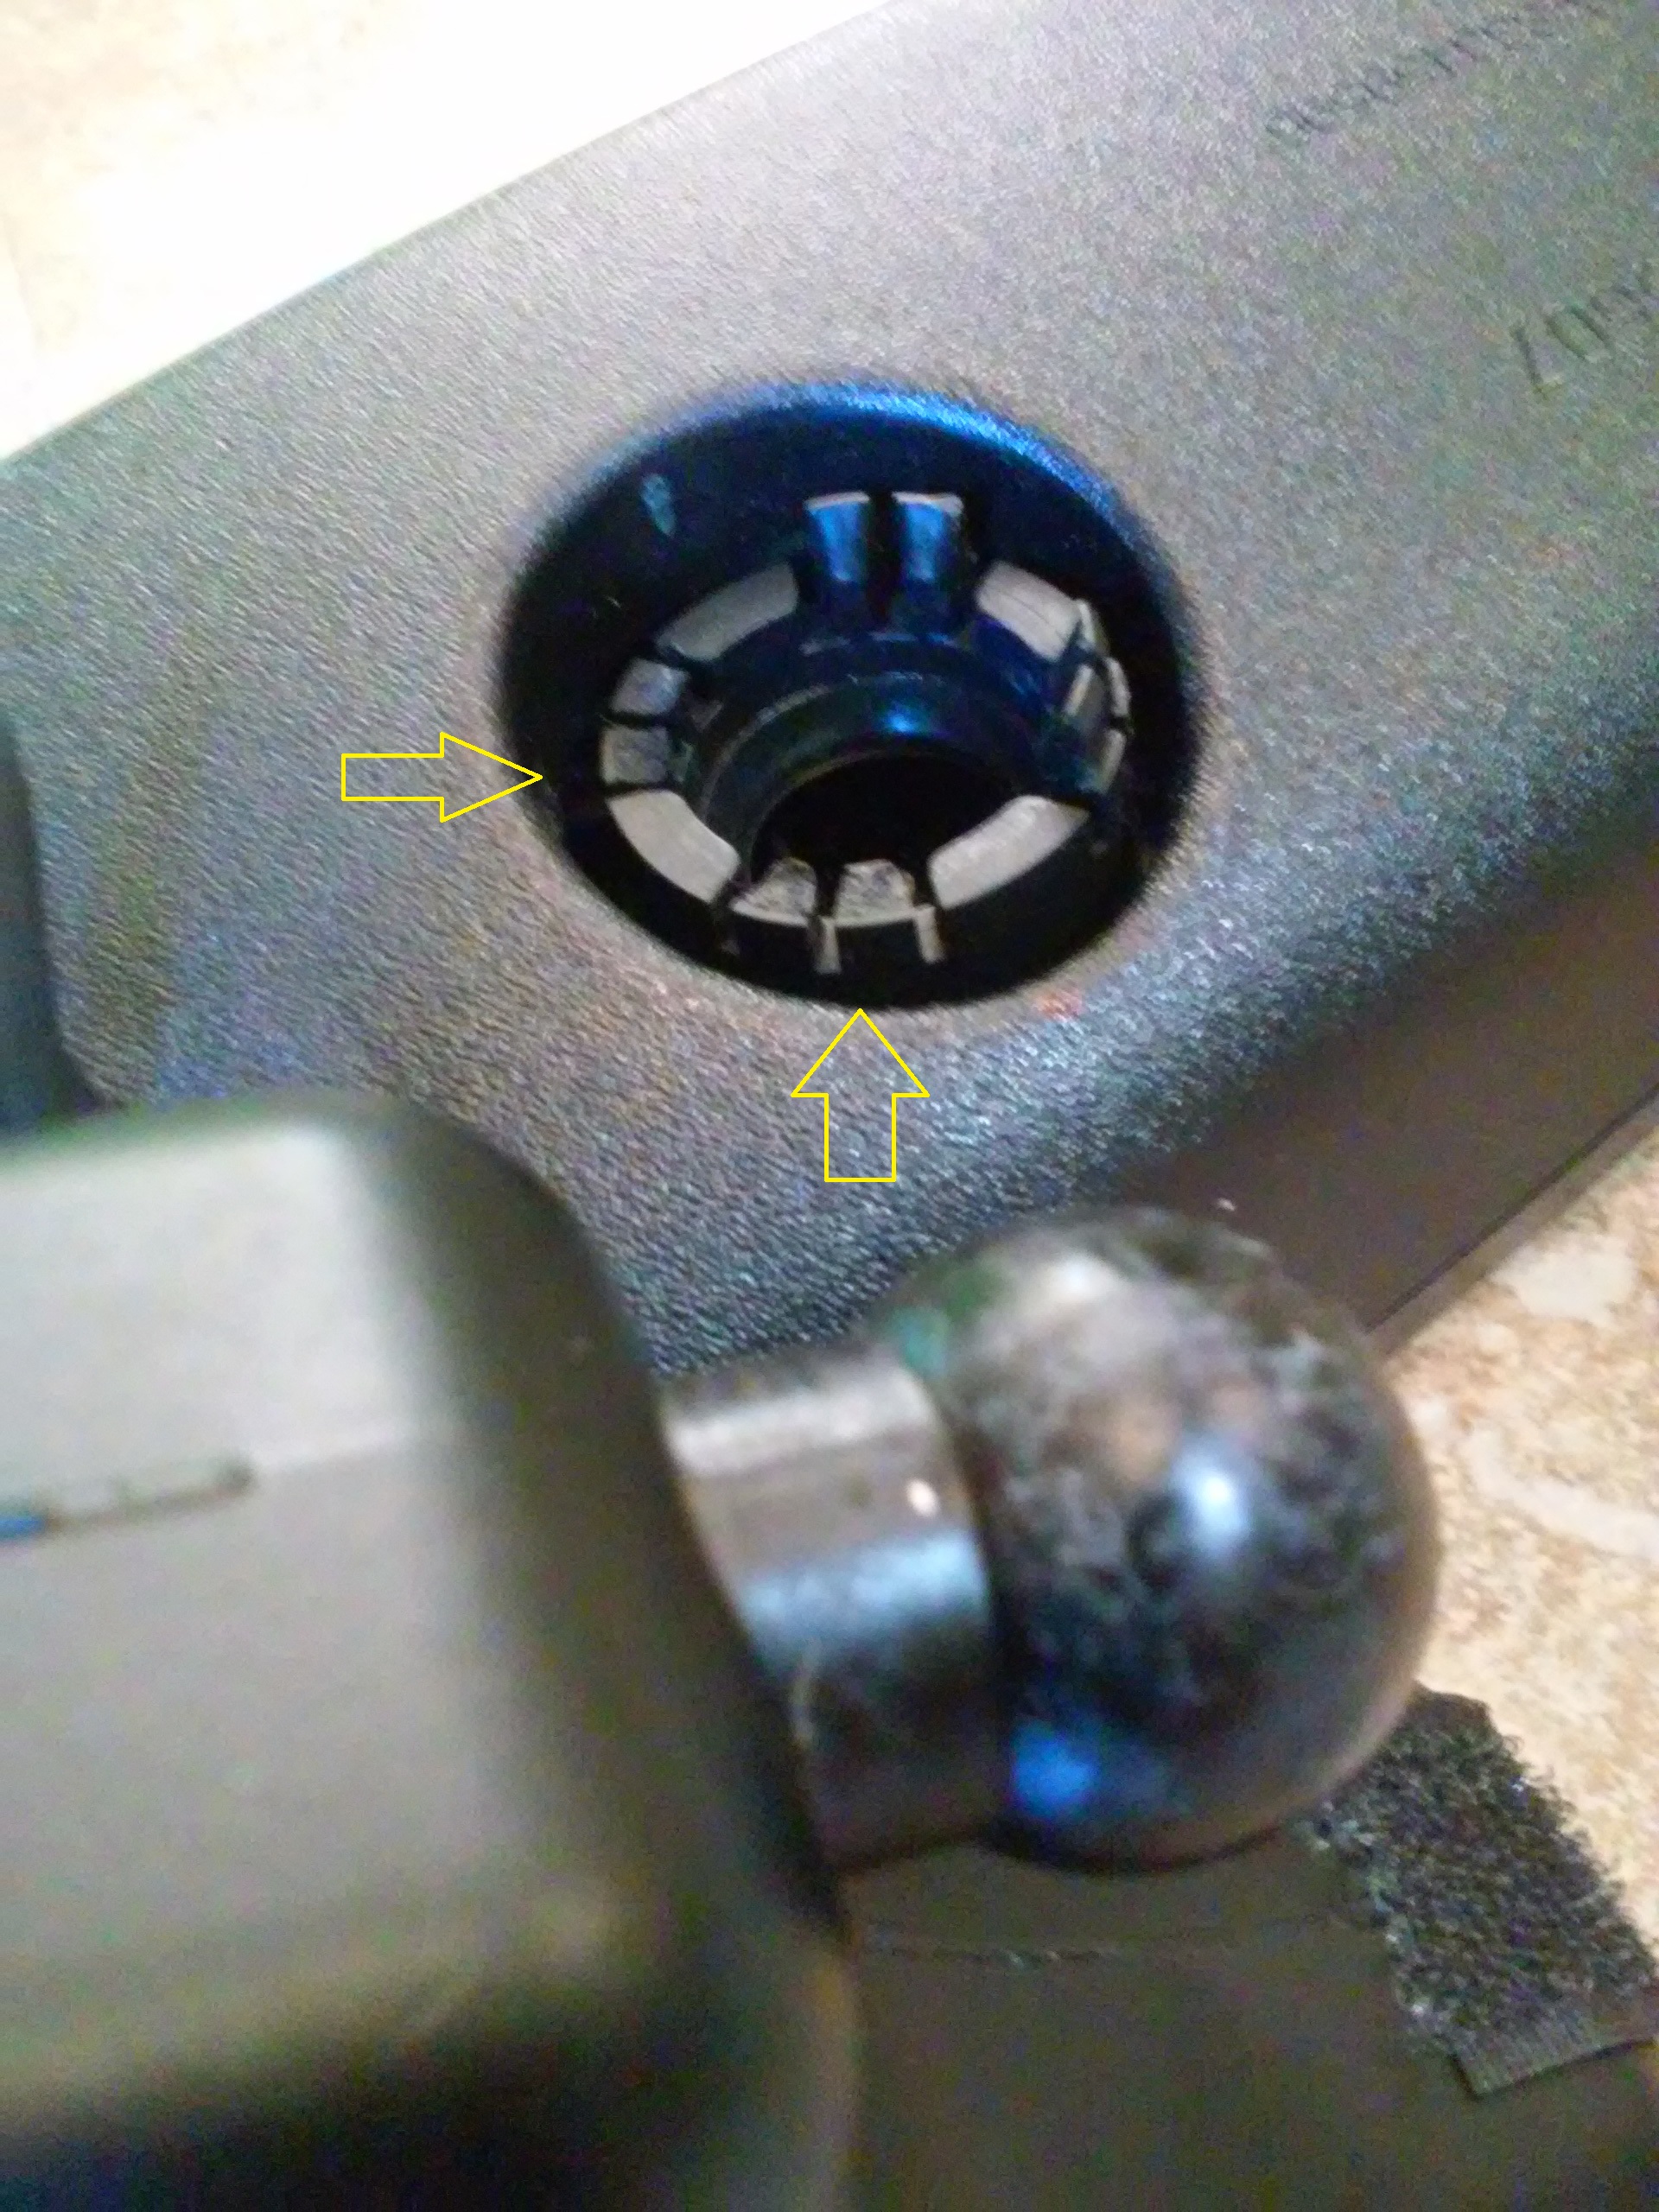
Rearview mirrors are an essential safety feature in any vehicle. They allow drivers to monitor and observe the traffic behind them. However, over time, the ball joint that connects the mirror to the mount may wear out or become damaged.
We will discuss how to fix a rearview mirror ball joint, providing step-by-step instructions to help you tackle this task effectively. By following these simple guidelines, you can easily restore the functionality of your rearview mirror without the need for professional assistance.
How to Fix Rear View Mirror Ball Joint
What You’ll Need
To fix the rear view mirror ball joint, you will need the following tools:
- Replacement ball joint
- Phillips head screwdriver
- Flat head screwdriver
- Pliers
- Adjustable wrench
- Clean cloth
Step 1: Disassembling The Mirror
To fix the rear view mirror ball joint, start by locating the ball joint attachment. Use appropriate tools to detach the mirror. Carefully handle all parts to prevent damage. Cleaning the joint and applying lubricant may also be necessary to ensure smooth movement.
Take your time to properly reassemble the mirror, securing the ball joint attachment firmly. Test the movement of the mirror to ensure it is functioning as expected. Following these steps will help in fixing the rear view mirror ball joint effectively.
Step 2: Removing The Old Ball Joint
When removing the old ball joint, start by inspecting for any damage to the joint or the surrounding area. Look for any signs of wear or corrosion. If the ball joint appears to be in good condition, move on to unscrewing it.
Use the appropriate tools and follow the manufacturer’s guidelines to safely remove the old ball joint without causing any damage to the mounting surfaces. Take care to handle the mirror with caution throughout this process to prevent any unintended damage.
Step 3: Installing The New Ball Joint
When installing the new ball joint, ensure to apply adhesive to the connecting surfaces. This is essential for creating a strong bond that will securely attach the new joint in place.
Be diligent in following the manufacturer’s instructions for the type of adhesive to use and the proper application method.
Once the adhesive is applied, carefully position the new ball joint in place and tighten it securely. Double-check that the joint is firmly attached before proceeding with reassembling the rear view mirror.
Step 4: Reassembling The Mirror
When reassembling the rear view mirror, be sure to securely attach the mirror back to the ball joint using the appropriate tools. After attaching the mirror, check for stability to ensure it is properly secured.
If there is any movement or instability, re-adjust and tighten the attachment to fix any issues. Pay attention to the positioning and alignment as well to ensure it is correctly in place. Properly reassembling the mirror is crucial to ensure its functionality and safety.
Take your time with this step to avoid any issues with the mirror functioning properly once it is back in place.
Troubleshooting Common Issues
If you are experiencing issues with your rear view mirror ball joint, here are some troubleshooting tips to help you resolve the problem. Check for loose connections between the mirror and the ball joint, which can cause instability and affect proper alignment.
Ensure that all connections are secure and tighten any loose components to stabilize the mirror. Additionally, inspect for misalignments that may be affecting the functionality of the ball joint. Adjust the mirror to the correct position and realign any components that are not properly seated.
By addressing these common issues, you can effectively fix the rear view mirror ball joint and ensure optimal performance.
Tips For Maintenance
Regular inspections are crucial to preventive maintenance. Check the rear view mirror ball joint for any signs of wear and tear, such as cracks or excessive looseness. Ensure that the ball joint is securely attached to the vehicle.
Regular lubrication of the ball joint is essential to maintain smooth movement and minimize friction. Use a high-quality lubricant recommended by the manufacturer to ensure optimal performance. Overlooking these maintenance tasks can lead to premature wear and potential safety hazards.
Utilize a maintenance schedule and adhere to it diligently to keep the rear view mirror ball joint in top condition.

Credit: www.corvetteforum.com
Conclusion
Fixing a rearview mirror ball joint is a manageable task with the right tools and guidance. By following the steps outlined in this post, you can successfully repair your mirror joint and ensure safety on the road.
With attention to detail and patience, you can have your rearview mirror functioning like new in no time.
