Do you find it difficult to release a stuck brake caliper? Are you wondering how to free it up and restore your vehicle’s stopping power? In this guide, we will provide you with a step-by-step process to get your brake caliper to release.
By following these instructions, you can ensure that your brake caliper functions properly, improving your vehicle’s safety and performance. Let’s dive right in and get your brakes back in top shape!
Diagnosing Brake Caliper Issues
Diagnosing brake caliper issues is essential for maintaining the performance and safety of your vehicle. One common problem that can occur is a stuck brake caliper.
To identify a stuck brake caliper, there are several visual inspection techniques you can use.
Look for signs of uneven wear on the brake pads, as well as excessive heat and smoke coming from the affected wheel.
Another indicator is the vehicle pulling to one side when applying the brakes. These warning signs can help you narrow down the possible causes of sticking, such as a seized piston or a damaged brake hose.
Once you have identified a stuck brake caliper, it is important to address the issue promptly to prevent further damage and ensure the caliper can release properly.
Regular maintenance and inspection can help detect and address brake caliper issues before they become major problems.
Credit: haynes.com
How To Release A Stuck Brake Caliper
- Socket set
- Wrench
- Caliper compressor tool
- Brake cleaner
- Gloves
- Safety glasses
- Preparing the Vehicle: Park the vehicle on a level surface and engage the parking brake. If necessary, lift the vehicle using a jack and secure it with jack stands.
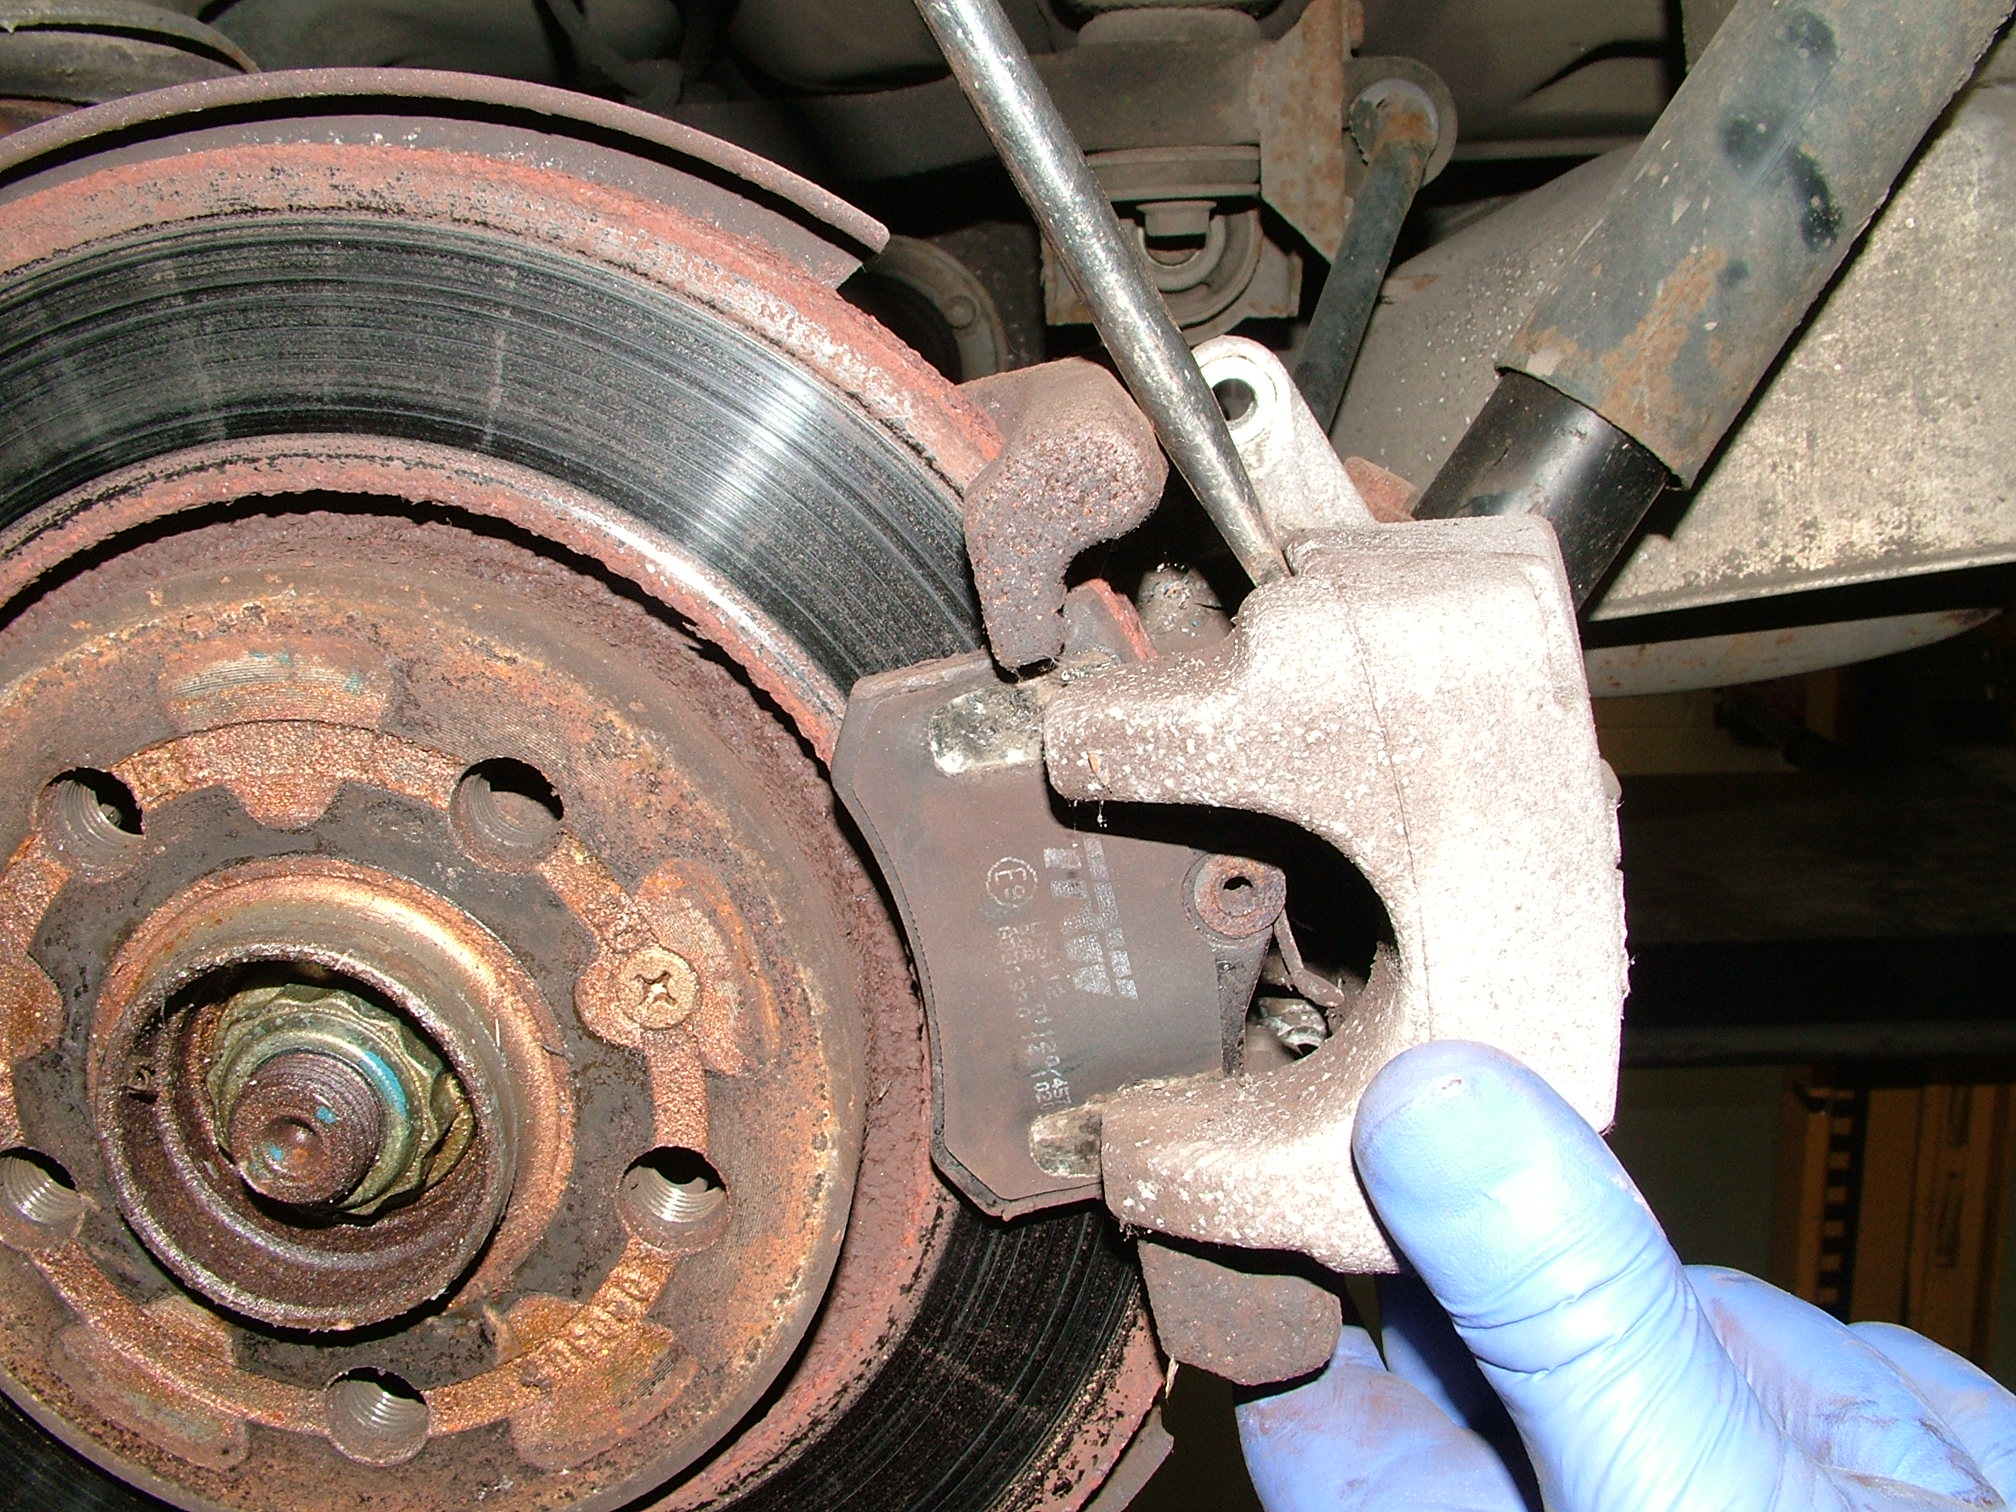
- Loosening the Caliper: Locate the brake caliper and remove the lug nuts. Use a socket set or wrench to loosen and remove the bolts securing the caliper to the brake assembly. Gently pry the caliper away from the rotor using a flathead screwdriver or pry bar.
- Lubrication Techniques: Inspect the brake caliper for any signs of damage, such as wear and tear or rust. Clean the caliper and the brake assembly with brake cleaner. Apply a thin layer of high-temperature brake grease to ensure smooth movement of the caliper.
- Safety Measures to Consider: Before reassembling the caliper, check the brake pads for any signs of excessive wear. Replace them if necessary. Double-check that all the bolts and fasteners are tightened securely. Test the functionality of the brake system before driving the vehicle.
Preventative Maintenance For Brake Calipers
Routine inspection procedures play a crucial role in preventing brake caliper issues. Start by checking brake fluid levels regularly to ensure proper hydraulic pressure.
Additionally, cleaning and lubricating calipers at recommended intervals can prevent brake drag and uneven pad wear.
Practicing best practices for caliper maintenance, such as using a torque wrench for caliper bolts and avoiding harsh chemicals on caliper surfaces, can extend the lifespan of the caliper components.
Incorporating regularly scheduled maintenance into your vehicle care routine is key to preventing caliper-related problems.
Lastly, considering your driving habits that affect calipers, such as aggressive braking or towing heavy loads, can help you adjust your maintenance schedule accordingly to keep your calipers in optimum condition.
Conclusion
Releasing a brake caliper requires systematic troubleshooting and careful attention to detail. Following the steps outlined in this guide will help you efficiently resolve this common automotive issue.
By understanding the process and using the right tools, you can ensure a safe and smooth driving experience.