Ready to boost the performance of your beloved boat? Knowing how to change the oil on your 2-stroke outboard motor can be a game-changer.
Imagine cruising smoothly on the water, with your motor running efficiently and reliably. The secret lies in proper maintenance, and changing the oil is a crucial part of this. By learning how to do it yourself, you not only save money but also gain a deeper understanding of your equipment.
Don’t worry, it’s simpler than you might think. You’ll discover step-by-step instructions that make the process straightforward and hassle-free. Stick around, and soon you’ll be an expert, ensuring your boat is always ready for your next adventure.

Credit: www.youtube.com
Tools And Materials Needed
Gather necessary tools and materials such as a wrench, oil pan, and replacement oil. Ensure you have clean rags and gloves. A funnel and a container for old oil are also essential.
Changing the oil on a 2-stroke outboard boat motor might seem daunting at first, especially if you’re not a seasoned boat enthusiast. However, with the right tools and materials, this task can become a straightforward part of your maintenance routine. Knowing exactly what you need will save you time and ensure you do the job right, keeping your motor running smoothly for future adventures on the water. Here’s a breakdown of the essential tools and materials you’ll need to tackle this task confidently.Tools You’ll Need
The right tools make the job easier and safer. Have you ever struggled with a project because you didn’t have the right equipment? To avoid this, gather everything beforehand: – Wrench Set: A good set of wrenches will help you loosen and tighten bolts. Make sure you have the correct sizes for your motor. – Oil Pan or Container: You’ll need a container to catch the old oil. It’s crucial to dispose of it properly. – Funnel: A funnel ensures that new oil goes into the motor without spilling. It’s small, but it saves a lot of cleanup time.Materials You’ll Need
When it comes to materials, quality matters. You wouldn’t use just any oil for your car, right? Your boat motor deserves the same level of care. – 2-Stroke Marine Oil: Choose an oil specifically designed for 2-stroke outboard motors. This ensures optimal performance and longevity for your motor. – Rags or Paper Towels: These are essential for cleaning up any spills and keeping your work area tidy. You’ll be grateful for them when your hands get oily.Safety Gear
Safety isn’t just a buzzword; it’s a necessity. What’s the point of fixing your motor if you injure yourself in the process? – Gloves: Protect your hands from oil and grime with durable gloves. They also help you grip tools better. – Safety Glasses: Shield your eyes from any splashes or debris. Even the smallest drop of oil can cause irritation. As you prepare for this task, consider: Do you have everything you need? The absence of a single item can turn a simple job into a frustrating ordeal. By gathering these tools and materials ahead of time, you’ll set yourself up for success. Your boat will thank you with seamless performance, and you’ll enjoy peace of mind knowing you’ve done it right.Safety Precautions
Changing the oil on a 2 stroke outboard motor requires careful attention. Safety precautions are essential to prevent accidents and ensure smooth operation. This section will guide you through the necessary steps for a safe oil change.
Wear Protective Gear
Always wear gloves to protect your hands. Oil can irritate the skin. Use safety goggles to shield your eyes. Tiny particles may splash during the process.
Ensure Proper Ventilation
Conduct the oil change in a well-ventilated area. This prevents inhalation of fumes. Fumes can be harmful if inhaled excessively.
Secure The Motor
Ensure the motor is stable before starting. It should not wobble or move. Use a sturdy stand for support.
Disconnect The Battery
Disconnect the battery to avoid electrical issues. This prevents accidental starts during the oil change. Safety should always come first.
Keep Tools Handy
Organize your tools before beginning. This avoids delays and mishaps. Have a wrench, oil pan, and rags ready.
Dispose Of Oil Properly
Do not pour old oil down the drain. It’s harmful to the environment. Use a designated oil disposal service.
Preparing The Motor
Changing the oil on a 2 stroke outboard motor requires preparation. First, gather necessary tools and materials. This ensures a smooth process. Prepare the motor with care to avoid mistakes.
Checking The Owner’s Manual
Begin by reading the owner’s manual. It offers specific instructions. Different motors have unique needs. The manual ensures you’re following the right steps.
Gathering Necessary Tools And Materials
Collect the tools and materials before starting. You will need a socket wrench, oil container, and fresh oil. Ensure the tools are in good condition. This preparation saves time and effort.
Safety Measures
Safety is crucial during oil changes. Wear gloves to protect your hands. Work in a well-ventilated area. Ensure the motor is off and cool. These measures prevent accidents and injuries.
Positioning The Boat
Position the boat on a stable surface. Ensure the motor is accessible. This makes the process easier and safer. Stability is important for an effective oil change.
Draining The Old Oil
Removing the old oil from a 2-stroke outboard boat motor is essential for smooth performance. Ensure the motor is upright and use an oil extractor to remove the oil. Dispose of the old oil properly to keep the environment safe.
Changing the oil on a 2-stroke outboard boat motor is an essential maintenance task that ensures your engine runs smoothly and efficiently. The first step in this process is draining the old oil. This step is crucial because old oil can contain contaminants that may harm your engine. You might be wondering how to do this effectively. Let’s dive into the details of draining the old oil, ensuring your motor stays in top condition for your next adventure.Gather Your Tools
Before you start, make sure you have all the necessary tools. You’ll need a wrench, an oil pan, and some rags. A clean workspace is also important, so you can focus on the task without distractions. Have you ever struggled to find a tool when you needed it most? Having everything ready at hand saves time and reduces frustration.Prepare Your Engine
Ensure your boat is on a stable surface. Tilt your motor to the upright position if it’s not already. This helps in draining oil more completely. Think about the last time you tried working on an uneven surface; it can be quite challenging, right? Stability is key here.Locate The Drain Plug
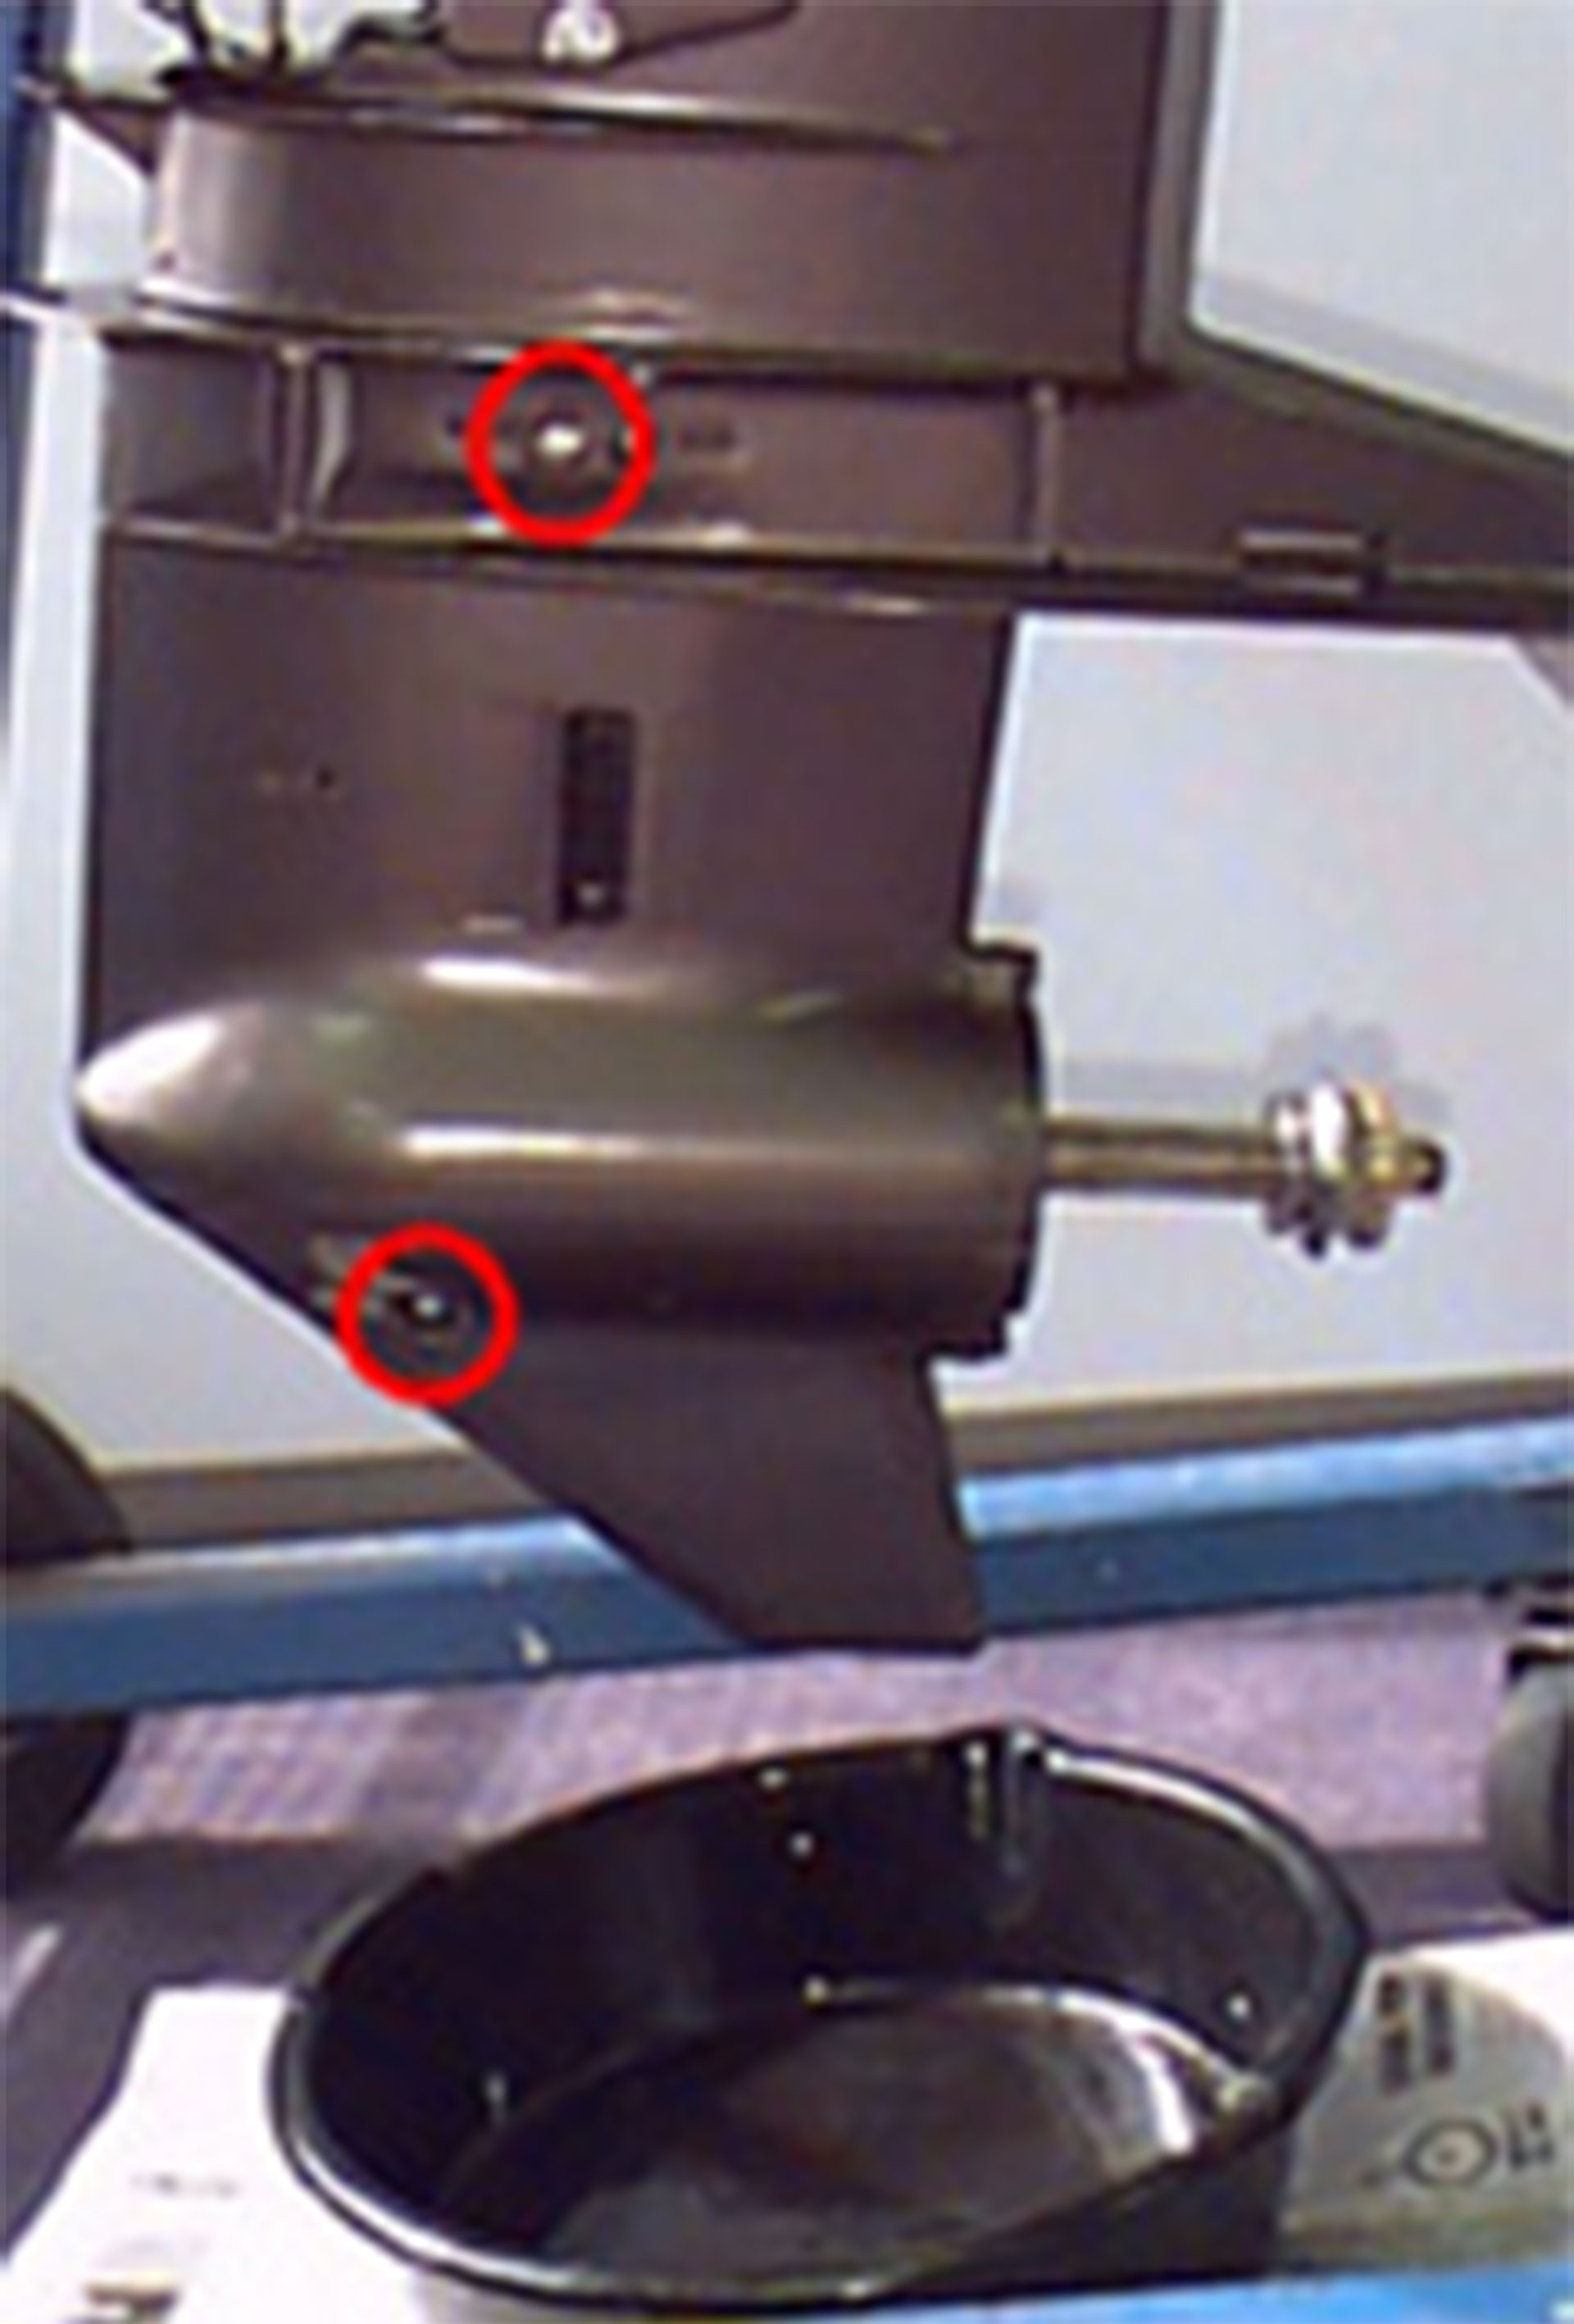
Find the drain plug on the lower part of the engine. It’s usually marked and should be easy to spot. If you’re unsure, consult your motor’s manual. Have you ever had that moment when you finally find what you were looking for? That’s the feeling you’ll get once you locate the drain plug.Place The Oil Pan
Position the oil pan directly under the drain plug. This will catch the old oil as it drains out. Avoid messy spills by ensuring the pan is large enough to hold all the oil. Remember the last time you tried to clean up an oil spill? It’s not fun, so make sure the pan is in the right spot.Loosen And Remove The Drain Plug
Use your wrench to loosen the drain plug carefully. Once it’s loose, remove it slowly to allow the oil to flow out. Ever had a moment where you underestimated how fast something could happen? Be prepared for the oil to start flowing immediately.Let The Oil Drain Completely
Allow all the oil to drain out fully. This may take a few minutes, so be patient. Think about the last time you rushed through a task and missed a crucial step. Letting the oil drain completely ensures you’re not mixing old contaminants with new oil.Inspect The Old Oil
Take a close look at the oil that has drained out. Is it dark and murky? This can indicate issues with your engine. Have you ever discovered a problem by noticing something unusual? Checking the oil can provide insights into your motor’s health. Draining the old oil from your 2-stroke outboard motor is a straightforward yet vital task. By following these steps, you can ensure your engine remains in excellent condition. When was the last time you felt the satisfaction of a job well done? Completing this task will give you that feeling, knowing your boat is ready for the water.Replacing The Oil Filter
Changing the oil filter on a 2-stroke outboard motor involves removing the old filter. Then, install a new one to ensure smooth operation. Regular maintenance helps improve engine efficiency and prolong its life.
Replacing the oil filter on a 2-stroke outboard motor ensures smooth performance. A clean filter helps the engine run efficiently by removing impurities. Regular maintenance extends the motor’s life. Here’s a step-by-step guide to replacing the oil filter.Gathering The Necessary Tools
First, collect all necessary tools. You’ll need an oil filter wrench, a new oil filter, and a container for old oil. A clean cloth is also handy for wiping spills. Ensure the tools are within reach.Locating The Oil Filter
Locate the oil filter on your outboard motor. It is usually near the engine’s base. Check your motor’s manual for precise details. Identifying the filter’s location is crucial for easy access.Removing The Old Oil Filter
Use an oil filter wrench to loosen the old filter. Turn it counterclockwise to remove it. Be careful to prevent oil spills. Place the old filter in the container.Preparing The New Oil Filter
Prepare the new filter for installation. Apply a thin layer of oil on the rubber gasket. This ensures a secure seal and prevents leaks. Check the new filter for any defects.Installing The New Oil Filter
Install the new oil filter by hand. Turn it clockwise until snug. Do not over-tighten. This avoids damage to the filter or engine. Ensure it is firmly in place.Disposing Of The Old Oil And Filter
Dispose of the old oil and filter responsibly. Many auto shops accept used oil and filters for recycling. Proper disposal is crucial for environmental protection. Always follow local regulations. Replacing the oil filter regularly maintains your boat motor’s efficiency. It’s a simple task that ensures better engine health.
Credit: chungenship.en.made-in-china.com
Adding New Oil
Changing oil on a 2-stroke outboard motor involves draining old oil and adding new. Start by removing the old oil with a pump. Carefully pour fresh oil into the reservoir, ensuring it’s the correct type and amount. Regular oil changes keep your motor running smoothly and efficiently.
Adding new oil to your 2-stroke outboard boat motor is a crucial step that ensures smooth operation and prolongs the life of your engine. While it might seem daunting at first, it’s a straightforward process with a little guidance. Let’s dive into the specifics and make sure you’re ready to enjoy your time on the water without any hiccups.Gather Your Supplies
Before you start, ensure you have everything you need at hand. This includes the correct type of 2-stroke oil recommended by your motor’s manufacturer. A funnel will help you pour without spilling, and a clean cloth can wipe away any excess oil. Having everything ready will save you from unnecessary trips back to the store. You might even want to keep a small toolkit nearby in case you need to make any adjustments.Locate The Oil Reservoir
Find the oil reservoir on your motor. Typically, it’s marked clearly, but if you’re unsure, your manual is your best friend. Once located, unscrew the cap and set it aside in a safe place to avoid dropping it into the water. Remember the time when I almost lost a cap overboard? It’s a lesson in why you should always be cautious. Double-check that you’re opening the correct compartment.Pour In The New Oil
Now, it’s time to add the new oil. Use your funnel to ensure a smooth pour into the reservoir. Fill it to the recommended level, checking your manual if you’re uncertain. Pour slowly to avoid overfilling, which can lead to leaks or engine issues. Have you ever wondered how much oil is too much? Your manual usually provides a precise measurement to guide you.Check For Leaks
After adding the oil, it’s essential to check for any leaks. Inspect around the cap and the reservoir for any signs of escaping oil. Tighten the cap securely once you’re confident everything is leak-free. If you notice any leaks, it could indicate a problem with the seal. Address these issues promptly to prevent long-term damage.Test The Motor
Start the motor to ensure everything is running smoothly. Listen for any unusual noises and observe if the motor is operating as expected. This step reassures you that the oil change was successful and your engine is ready for action. What better way to confirm than by planning your next adventure on the water? Adding new oil might seem like a small task, but it’s an essential part of boat maintenance. How do you feel about tackling your next oil change?Checking Oil Levels
Checking oil levels in a 2 stroke outboard motor is essential. It ensures smooth operation and prevents engine damage. This task might seem daunting, but it is quite simple. Regular checks will keep your motor in top condition, ready for your next adventure.
Understanding The Importance Of Oil Levels
Oil lubricates and cools the engine parts. Low oil levels lead to overheating. This can cause serious damage. Maintaining the correct oil level keeps your engine running smoothly. It enhances the lifespan of the motor.
Gather The Necessary Tools
Before checking oil levels, gather your tools. You’ll need a clean cloth, a flashlight, and an oil dipstick. These tools make the process easier. They help in spotting any issues early.
Position Your Boat Motor Properly
Ensure your boat motor is upright. This ensures accurate oil level readings. Tilting the motor can give false readings. A stable position is key for accuracy.
Locate The Oil Reservoir
Find the oil reservoir on your motor. It is usually marked clearly. Refer to your manual if unsure. Knowing its location saves time.
Check The Oil Level
Insert the dipstick into the reservoir. Remove it to check the oil level. The oil should be between the minimum and maximum marks. If it is low, add the appropriate oil.
Inspect The Oil Condition
Look at the oil color and consistency. It should be clear and smooth. Dark or gritty oil may indicate a problem. Change the oil if needed.
Document Your Findings
Keep a record of your checks. This helps in tracking oil consumption. It also aids in scheduling future maintenance. Consistent records ensure engine health.
Disposing Of Old Oil
Proper disposal of old oil is crucial for environmental safety. It’s important to avoid polluting water sources and harming marine life. Learning how to dispose of oil correctly is essential for any boat owner. This section will guide you through the necessary steps to ensure safe and responsible disposal.
Understanding The Importance
Old oil can be harmful if not disposed of properly. It contains chemicals that can damage the ecosystem. Protecting the environment is everyone’s responsibility. Proper disposal prevents contamination of water bodies and landfills.
Finding Disposal Locations
Many places offer safe disposal options. Local marinas often have facilities for oil disposal. Auto shops and recycling centers may accept old oil. Contact them to ensure they handle oil waste. Always verify if they accept boat motor oil.
Using Oil Disposal Kits
Oil disposal kits can be a convenient option. They contain absorbent materials for oil collection. Some kits come with containers for storage and transport. Ensure the kit is suitable for your specific oil type. Follow instructions for safe usage.
Transporting The Oil Safely
Transport old oil in sealed containers. Use containers that are leak-proof and sturdy. Ensure labels indicate the type of waste inside. This helps prevent accidents during transport. Handle containers with care to avoid spills.
Following Local Regulations
Check local regulations for oil disposal. Some areas have strict guidelines. Regulations might dictate where and how to dispose of oil. Following these rules is crucial to avoid fines. Always stay informed about local disposal laws.
Educating Others
Share your knowledge about proper disposal. Educating friends and family helps protect the environment. Encourage others to dispose of oil responsibly. Together, we can make a difference.
Maintenance Tips
Proper maintenance of a 2-stroke outboard motor is vital for smooth operation. Regular oil changes ensure the motor runs efficiently and prolongs its lifespan. Understanding basic maintenance tips can save time and prevent costly repairs.
Check Oil Levels Regularly
Keep an eye on the oil levels. Low oil can damage the engine. Use the dipstick to measure the level. Top it up if needed. Consistent checks prevent engine wear.
Use Recommended Oil
Always use the oil recommended by the manufacturer. Different engines need specific oils. Using the wrong oil can harm the motor. Follow the manual for guidance.
Inspect Fuel Lines
Check fuel lines for cracks or leaks. Damaged lines can affect performance. Replace any faulty lines immediately. This ensures the motor runs smoothly.
Clean Spark Plugs
Inspect spark plugs for dirt or wear. Clean them regularly for optimal performance. Dirty plugs can lead to engine misfires. Replace worn plugs promptly.
Monitor Cooling System
Ensure the cooling system works effectively. Overheating can damage the motor. Check for blockages and clean if necessary. Proper cooling is crucial for engine health.
Store Properly
Store the motor in a dry place. Protect it from moisture and harsh weather. Cover it when not in use. Proper storage prevents corrosion.
Maintaining a 2-stroke outboard motor is straightforward. Follow these tips for a reliable and efficient engine. Regular checks and care make a huge difference.
Credit: tohatsu.com
Conclusion
Changing the oil in a 2 stroke outboard motor is essential. It ensures smooth performance and prolongs engine life. Regular maintenance prevents costly repairs and enhances boating safety. Follow each step carefully to avoid mistakes. Gather all necessary tools before starting.
This task saves time and money in the long run. Keep a schedule for oil changes. This helps maintain the motor’s efficiency. With practice, the process becomes quicker and easier. Enjoy a reliable boat motor with proper care. Happy boating!