Are you tired of dealing with a cracked or broken side mirror glass? It’s frustrating, isn’t it?
You rely on your mirrors every time you drive, and a damaged one can compromise your safety on the road. But here’s the good news: you don’t always need to rush to a mechanic to get it fixed. With the right tools and a little guidance, you can cut and replace side mirror glass yourself.
Imagine the satisfaction of solving this problem on your own while saving money. In this guide, we’ll walk you through the step-by-step process, ensuring you feel confident every step of the way. Let’s dive in and get your mirrors looking brand new!
Tools And Materials Needed
Cutting side mirror glass requires special tools. First, get a glass cutter. It’s sharp and precise. A safety ruler helps guide the cutter. Wear safety goggles to protect your eyes. A glove is essential for hand safety. You also need a marker to draw lines. Use a workbench for stability. Have a cloth ready to wipe glass dust. A vacuum can clean up shards. Sandpaper smooths edges after cutting.
Safety Precautions
Always wear glovesand goggles. Keep your hands safe. Protect your eyes from tiny glass pieces. Wear a long-sleeved shirt to cover your arms. It’s important to stay safe.
Ensure your work area is cleanand organized. Use a large table or workbench. Make sure it’s stable. Remove any clutter around you. Have a trash bin nearby for glass pieces. This keeps your area tidy.
Check all tools before starting. Look for any damageor wear. Use only sharp cutters. Dull tools can slip. Be careful with all tools.
Preparing The Work Area
Start by finding a safe place to work. A clean table is best. Make sure there is enough light. This will help you see better. Gather all your tools. You will need a ruler, marker, and gloves. Safety is very important. Wear gloves to protect your hands. Clear the table of any clutter. This will help you stay organized. Place the mirror on a flat surface. Make sure it does not move around. This will help you cut it evenly. Use a towel or cloth under the mirror. This will protect the surface and keep the mirror steady.

Credit: www.amazon.com
Removing The Old Mirror Glass
Wear gloves for safety. Use a flat screwdriver to pry the mirror. Start at the corner. Lift the glass gently. Be careful not to break it. Check for screws behind the mirror. Remove them if present. Hold the mirror firmly. Twist slightly to loosen. Pull the glass away slowly. Dispose of broken glass safely.
Inspect the backing plate. Clean it well. Check for damage. Ensure all clips are intact. Prepare for new glass. Handle with care. Follow these steps for safety. Avoid rushing the process. Take your time. Success depends on careful removal.
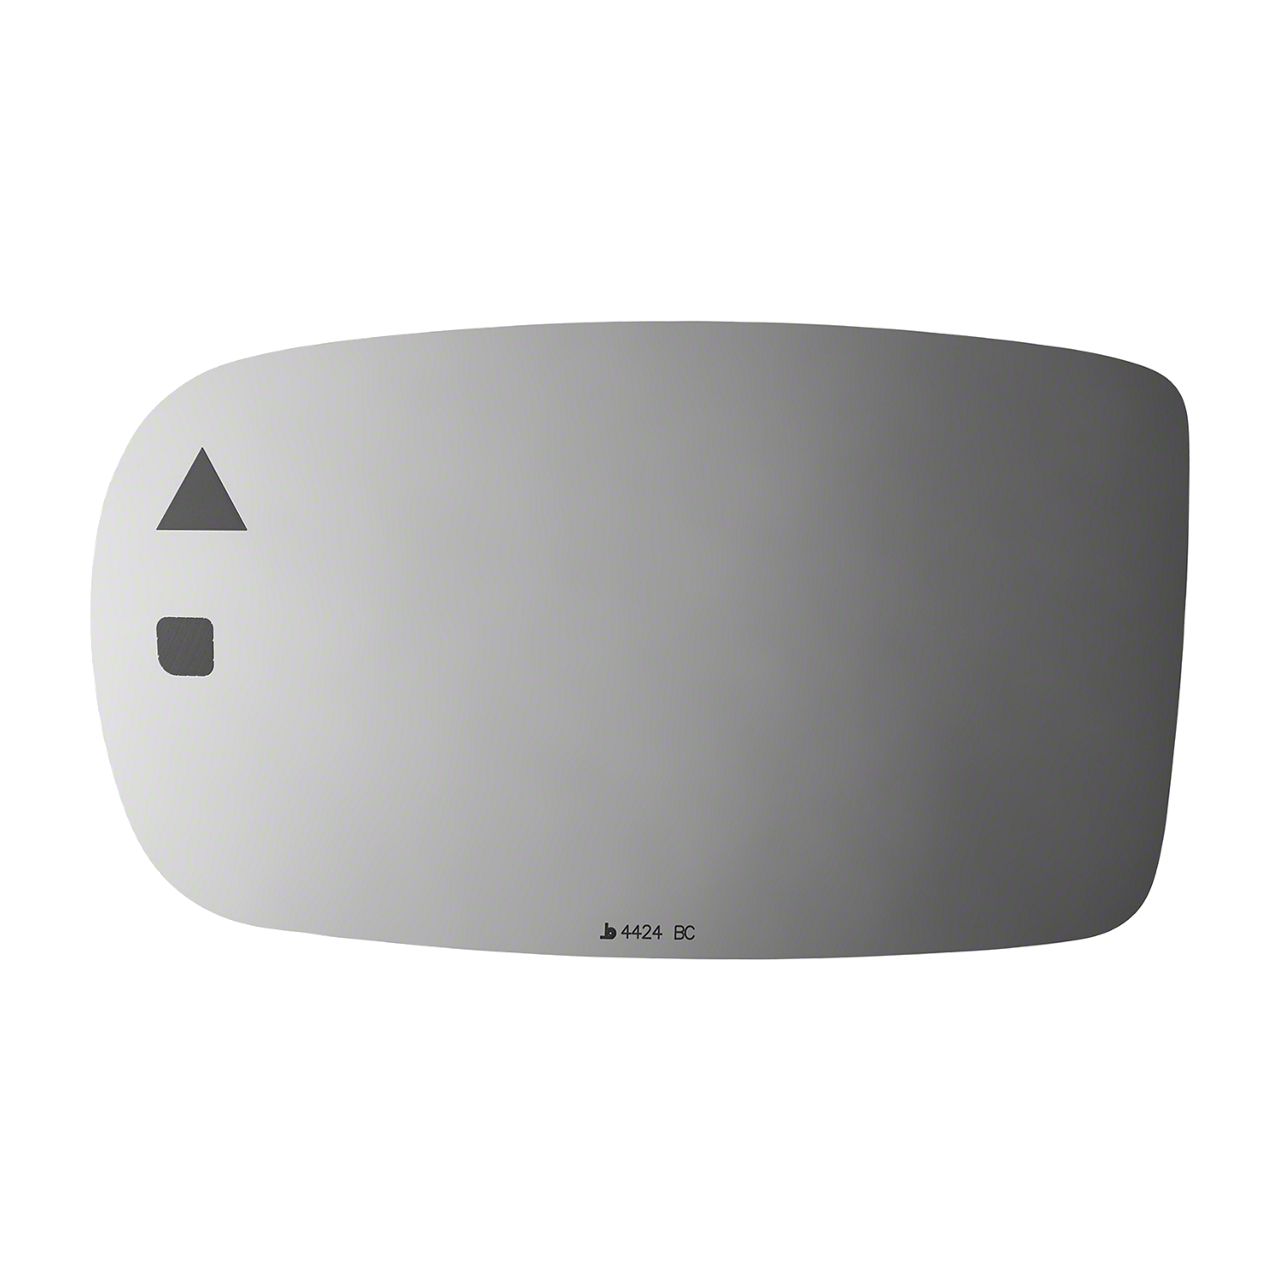
Measuring The New Glass
First, hold the old mirror glass. Use it as a template. Trace its shape onto the new glass. Make sure the tracing is clear. Use a marker for better visibility.
Next, use a ruler. Measure the length and width of the traced shape. Double-check these measurements. They must be accurate. Mistakes can lead to poor fitting.
Be sure the corners are rounded. This helps in fitting. If corners are sharp, sand them. This avoids scratches and ensures safety.
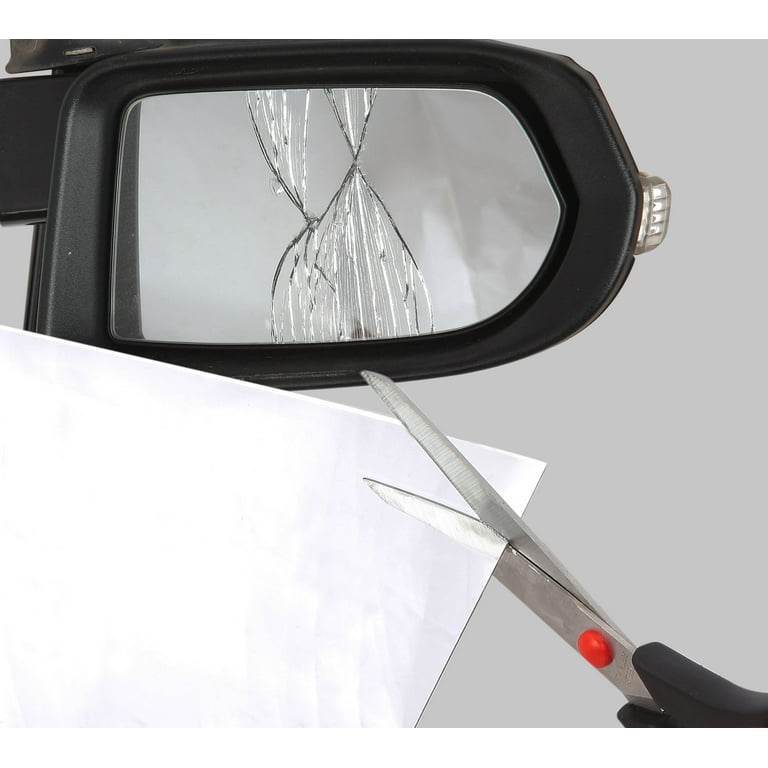
Cutting The Mirror Glass
First, place the mirror on a flat surface. Use a ruler to measure the size. Draw a line with a marker where you want to cut. Make sure the line is straight. Check the line twice to be sure. This helps in cutting the mirror correctly.
Hold the glass cutter like a pen. Start cutting from one end of the line. Press gently but firmly. Move the cutter along the line without stopping. Keep your hand steady. Repeat the cut if needed. Make sure the cut is clear.
Wear gloves to protect your hands. Place the mirror on a table edge. The cut line should be on the edge. Press down on the part that hangs. The glass should break along the line. If not, tap gently on the line. Use caution to avoid sharp edges.
Smoothing The Edges
Edges can be sharp after cutting. Safety is important. Use a fine-grit sandpaper. Move it gently on the edges. Wear gloves to protect hands. Sandpaper smooths rough spots. Check edges after sanding. Feel the surface with fingers. Smooth edges are safe to touch. Repeat sanding if needed. Take your time with this step. Patience is key for good results.
Credit: www.walmart.com
Fitting The New Mirror
Clean the mirror frame. Make sure it is dry and dust-free. Get the right adhesive. Read the instructions on the adhesive package. Apply the adhesive evenly on the back of the mirror. Cover all corners and edges. Let the adhesive sit for a few minutes. This helps it stick better.
Place the mirror carefully on the frame. Press gently but firmly. Hold the mirror in place for a few minutes. This helps the adhesive bond. Check if the mirror is straight. Adjust it if needed. Let the adhesive dry completely. This might take a few hours. Avoid touching the mirror during this time.
Final Checks And Adjustments
Check that the new mirror glass is securely attached. Ensure no loose edges or gaps. Inspect the mirror from different angles. Make sure it reflects clearly. Adjust the mirror position. Ensure it provides a full viewof the road. Tighten any screws or clips if needed. Look for any scratches or dirt on the glass. Clean the mirror with a soft cloth. Use a gentle cleaner. This keeps the mirror clear and bright. Test the mirror’s movement. It should move smoothly. No stiffness or wobbling should be present. Ensure the mirror heater, if available, works fine. This helps in cold weather. Double-check all adjustments before driving. Safety is important.
Credit: www.americanmuscle.com
Conclusion
Cutting side mirror glass is a simple task with the right tools. Stay focused and patient during the process. Use safety gear to protect your hands and eyes. Measure carefully before making any cuts. A steady hand ensures a smooth finish.
Remember, practice makes perfect. Mistakes teach us valuable lessons. Ensure the glass fits the frame snugly. A well-installed mirror boosts driving safety. Try it yourself and enjoy the results. Share your experience with friends. Encourage others to learn this useful skill.
Confidence grows with each successful attempt. Happy cutting!