
A quick home check can catch problems before they cost you a repair bill. Many drivers skip this step and end up with unexpected breakdowns. Learning how to do a basic car inspection at home saves time and money.
As of 2026, DIY checks are more popular than ever.
Per AAA 2023 research, 23 percent of motorists never inspect fluids weekly. Manufacturer specifications indicate tire pressure should be 32 PSI for most sedans. A simple walk‑around takes under fifteen minutes and prevents costly issues.
Let's start with the essential checklist.
How to Do a Basic Car Inspection at Home: Easy Guide
How to Do a Basic Car Inspection at Home
Inspect tires, fluids, brakes, battery, and lights weekly.
Check tire pressure to 32 PSI and tread depth 2/32 in.
Verify oil level at the dipstick mark and coolant level.
Test battery voltage at 12.6 V.
Record findings to track trends.
Why a DIY Inspection Matters and What to Check
A home inspection catches wear before it leads to a breakdown. Ignoring small leaks can cause engine damage, and missed recalls can be unsafe. Checking the NHTSA recall database ensures you address any safety notices.
- Tire pressure: 32 PSI (use a gauge for accuracy)
- Tread depth: minimum 2/32 in
- Oil level: between dipstick marks, check viscosity 5W‑30
- Coolant level: at the reservoir line, ethylene‑glycol type
- Brake pads: thickness 3 mm or more
- Battery voltage: 12.6 V when off, 14‑15 V when running
- Lug nuts: tighten to proper lug nut torque (80‑100 ft‑lb)
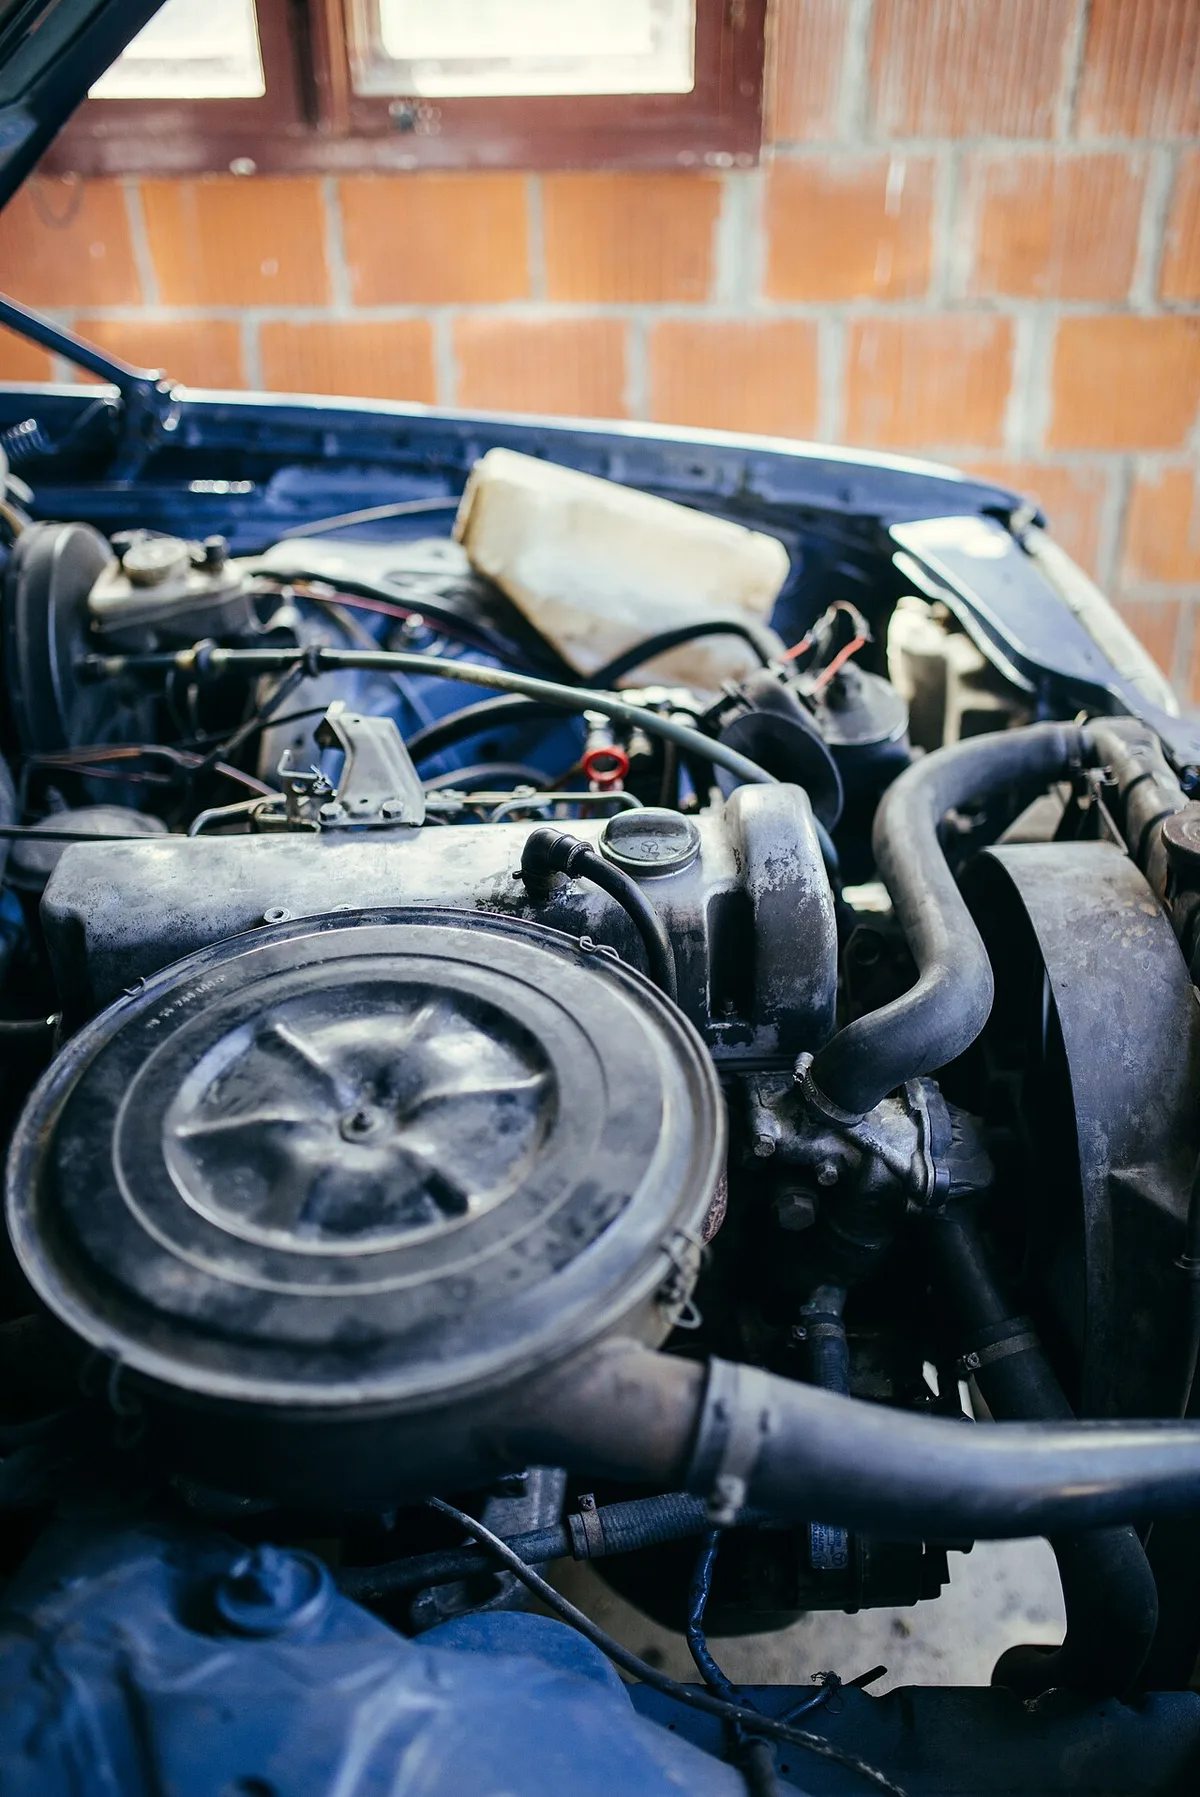
Image source: Wikimedia Commons / Shixart1985 (CC BY)
Regular checks also improve fuel efficiency and extend vehicle life. Keeping a simple log helps you spot trends and schedule repairs before they become emergencies. Consistency beats occasional deep dives, and a 10‑minute weekly routine is easier to maintain.
Step-by-Step Home Inspection Guide
- Park on a flat surface, engage the parking brake, and turn off the engine.
- Grab a flashlight, a tire pressure gauge, and a cloth for fluid checks. Know the recovery point location for emergencies.
- Walk around the car and inspect body panels, lights, and tire condition. Sit upright and keep your hands at 9 and 3 o’clock on the steering wheel for safe movement.
- Check each tire with the gauge and adjust to 32 PSI if needed. If a lug nut is damaged, replace it; the average cost is $5‑$10 per nut.
- Open the hood and verify oil, coolant, brake fluid, and transmission fluid level.
- Test the battery with a multimeter and look for corrosion on terminals.
- Inspect brake pads through the wheel spokes and check for rotor wear.
- Review the AAA vehicle check guide for any additional items.
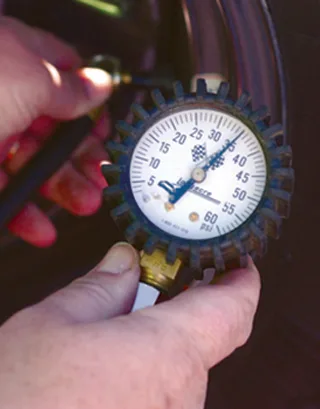
Image source: Wikimedia Commons / (U.S. Air Force photo by Airman Frank Snider)
Document each step and note any deviations from specs. If a fluid is low, top it up before the next drive. Wear safety glasses when checking fluids to avoid splashes.
Keeping a checklist on your phone speeds up the process each week.
Common Mistakes & Safety Warnings
Many drivers overlook simple items that lead to big problems later. Over‑tightening lug nuts can warp wheel studs, and ignoring a dim headlight can cause a ticket. Forgetting to check the spare tire leaves you stranded when you need it most.
- Skipping the weekly tire pressure check
- Relying on visual oil level only; use the dipstick
- Ignoring brake pad wear until you hear squealing
- Not testing the battery before a cold snap
- Forgetting to verify recall status each month
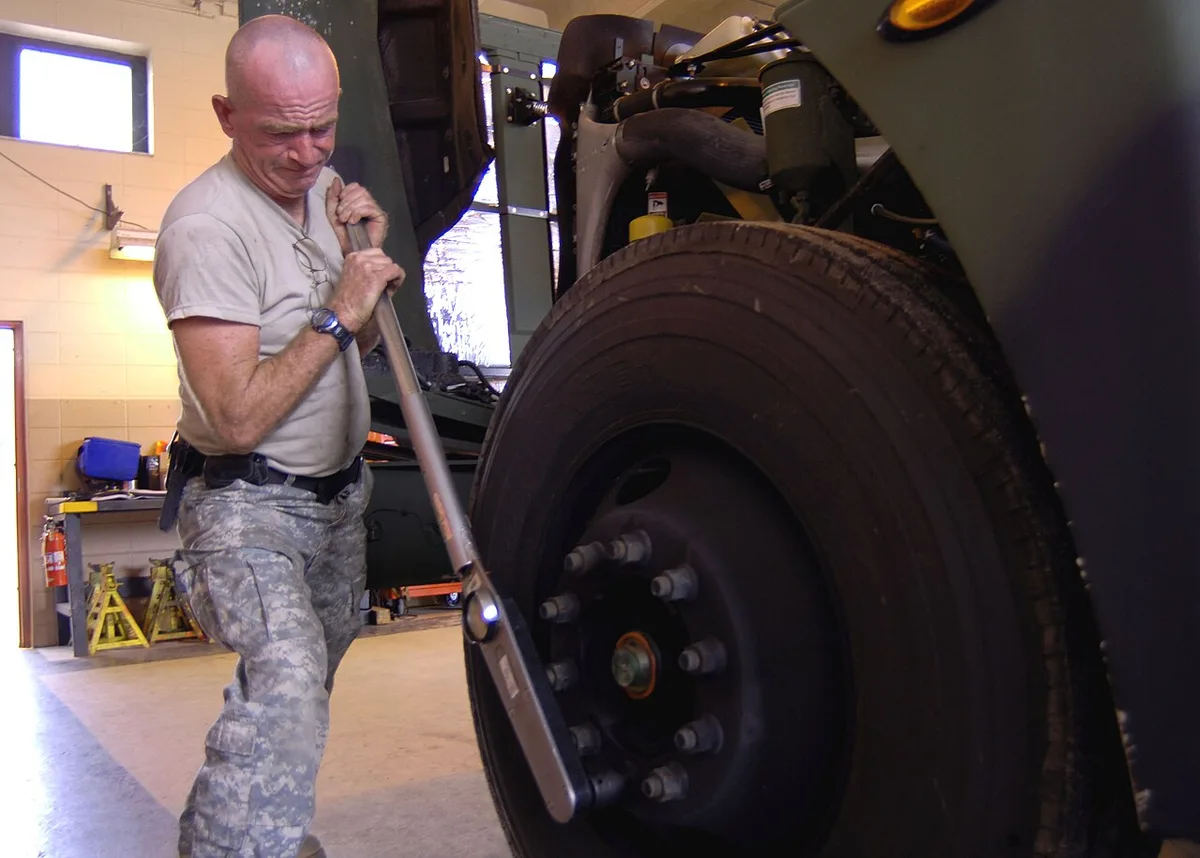
Image source: Wikimedia Commons / Tech. Sgt. Thomas Kielbasa, U.S. Air Force
Always work on a level surface and use wheel chocks to prevent roll‑away. Wear gloves when handling fluids to protect your skin. Follow OSHA garage safety guidelines to avoid injuries.
If a problem exceeds your comfort level, schedule a professional inspection promptly.
Frequently Asked Questions
How often should I perform a basic car inspection?
Weekly checks are ideal for most drivers. A quick visual walk‑around and fluid verification each week catches issues early. If you drive less frequently, a monthly inspection is still advisable.
What tools do I need for a DIY inspection?
A tire pressure gauge, flashlight, cloth, and a multimeter cover most needs. A dipstick for oil and a spare lug nut socket are useful additions. All tools are inexpensive and fit in a small toolbox.
Can a basic inspection replace a professional service?
It complements but does not replace a full service. A professional can diagnose hidden issues, perform brake bleeding, and reset service lights. Use DIY checks to stay ahead of wear and reduce shop visits.
How do I know if my battery is failing?
A multimeter reading below 12.6 V when the car is off indicates a weak battery. Dim headlights, slow engine crank, and corrosion on terminals are additional clues. Replace the battery if voltage drops significantly under load.
What should I do if I find a problem during inspection?
Document the issue with photos and notes. If the problem is minor, repair it yourself if you’re confident. For safety‑critical items like brakes or steering, consult a qualified mechanic immediately.
Final Verdict
A consistent, 10‑minute weekly inspection saves money, improves safety, and extends vehicle life. Use the checklist, keep records, and address any deviation promptly. When in doubt, a professional inspection is the safest choice.
