Fixing a brake line is a critical task that involves precision and safety measures. Vehicle owners and mechanics face the challenge of a damaged brake line, which can lead to loss of braking power and pose serious safety risks.
A swift and accurate repair not only restores vehicle functionality but also ensures the driver’s and passengers’ safety.
With the right tools and a step-by-step approach, a brake line fix can be executed efficiently. The process demands attention to detail, from diagnosing the issue to the final checks of the brake system performance.
Making sure you work in a clean, well-lit area and follow the manufacturer’s guidelines will lead to a successful repair, getting you safely back on the road.
Credit: koultools.com
Hidden Dangers Of A Faulty Brake Line
Hidden Dangers of a Faulty Brake Line often go unnoticed until it’s too late. A car’s brake line is the lifeline between the brake pedal and the wheel brakes.
A small fault can lead to catastrophic failure, making it essential to recognize and fix any issues promptly. Understanding the risks associated with a damaged or corroded brake line is crucial for your safety on the road.
Symptoms Of Brake Line Failure
Identifying brake line issues early can prevent dangerous situations.
Look out for these warning signs:
- Soft Brake Pedal: The pedal feels spongy or goes to the floor with little resistance.
- Visible Leaks: Pools of brake fluid near tires signal line damage.
- Warning Lights: Your dashboard may alert you to brake system problems.
- Uneven Braking: The car pulls to one side when the brake is applied.
- Loss of Braking Power: It takes longer to stop than usual.
Potential Risks While Driving
Driving with a faulty brake line is a gamble with life. The following risks are serious:
| Risk | Consequence |
|---|---|
| Total Brake Failure: | Unable to stop, leading to collisions. |
| Partial Brake Loss: | Increased stopping distance, rear-end crashes. |
| Erratic Braking: | Loss of control, swerving, off-road accidents. |
Beginning The Repair: Preparation And Safety
Addressing a brake line issue is urgent for vehicle safety. A well-prepared approach includes gathering tools and enforcing safety measures.
This guide will ensure a smooth start to the repair job.
Read each step carefully and prepare your workspace accordingly.
Tools And Materials Needed
Before diving into this task, verify you have all necessities.
- Replacement brake line
- Wrench set
- Flare nut wrench
- Brake fluid
- Line wrenches
- Tube cutter
- Tube bender
- Flaring tool
- Container for fluid collection
- Rags for spill clean-up
Safety Measures Before Starting
To avoid hazards:
- Park the car on a flat surface
- Engage the parking brake to keep the vehicle stationary
- Wear safety glasses to protect your eyes
- Use gloves to shield your hands from sharp objects and fluids
- Prepare a fire extinguisher nearby, as brake fluid is flammable
- Drain brake fluid correctly to prevent spills and environmental damage
Secure the workspace and ensure adequate lighting. Safety is paramount. With everything in place, you’re ready to proceed confidently.
Locating The Brake Line Damage
Finding where your brake line is damaged is crucial for a quick fix. Brake systems are vital for safety. A faulty line needs immediate attention.
This guide helps you spot the issue fast.
Visual Inspection
A thorough visual check is step one. Look for these signs:
- Rust or corrosion on the lines.
- Signs of physical damage like dents or cuts.
- Fluid on the ground beneath your vehicle.
- Wear and tear where the line meets other car parts.
Testing For Leaks
After your visual check, test for leaks. Here’s how:
- Start the engine to build brake pressure.
- Press the brake pedal firmly for a few seconds.
- While pressing, check each brake line for leaks.
- Note where any brake fluid seeps or sprays out.
Leaks can be small and hard to see. Use a clean cloth to wipe areas and look for wet spots. Look for drips or wetness on the lines and joints particularly.
Step-by-step Guide To Fixing The Brake Line
Your vehicle’s brake line is vital for safe driving. Even a small leak can lead to brake failure. Restoring your brake line promptly is essential. This guide details impactful measures to fix a brake line quickly.
Removing The Damaged Section
Identify and extract the faulty segment first. Safety is crucial. Raise the vehicle and secure it on jack stands. Locate the damaged brake line.
Use a line wrench to disconnect the fittings near the compromised area. Have a drain pan ready to catch any leaking fluid. Slice out the affected line segment carefully.
Flaring And Bending New Lines
Crafting the new line demands precision. Cut a length of the brake line tubing with a tubing cutter for a clean edge.
Flare the ends using a flaring tool, ensuring a tight seal when connected. Match the bends of the original line using a tube bender, maintaining a smooth curve without kinking.
Securing The Replacement
Position the new line segment where the old one was removed. Secure both ends with fittings, tightening them snugly to prevent leaks.
Replenish brake fluid and bleed the brake system, removing any trapped air. Test the repaired brake line with caution to confirm the fix is successful.
Bleeding The Brakes: A Critical Step
Imagine driving with brakes that just won’t respond. Sounds scary, right? That’s why bleeding the brakes is a must-do in fixing a brake line.
Bleeding removes trapped air, ensuring your brakes are responsive and reliable. Let’s dive into how to get this critical step done right.
The Importance Of Removing Air
Air in the brake line is a big no-no. It compresses, unlike brake fluid, causing spongy or weak brakes. Safe driving depends on air-free brakes. That is why mechanics always stress on removing air with utmost care.
Procedure For Effective Bleeding
The right bleeding technique ensures a firm pedal feel.
Follow these steps for effective bleeding:
- Locate the brake bleeder screw on the caliper.
- Attach a clear tube to the screw, submerging the other end into fluid.
- Have a helper press the brake pedal while you open the screw.
- Fluid and air bubbles will exit through the tube.
- Close the screw before the pedal is released.
- Repeat the process until no bubbles appear.
- Check brake fluid levels and top up if necessary.
This simple yet critical task keeps the brake system in top shape. Remember, regular maintenance prevents brake failure on the road.

Credit: www.amazon.com
Post-repair Checklist
Completing repairs on your brake line is just the beginning. It’s crucial to perform a thorough post-repair checklist.
This step ensures everything operates smoothly and safely. The checklist includes testing brake pressure, checking for leaks, and road testing your vehicle.
Let’s dive into the specifics to guarantee a successful repair.
Testing Brake Pressure
Post-repair brake pressure is critical for safety. To test this:
- Start the engine and allow it to idle.
- Press the brake pedal firmly several times.
- The pedal should feel firm, not spongy or slack.
If the pedal isn’t firm, air may still be trapped in the system. Bleed the lines until achieving the correct pressure.
Ensuring No Leaks Remain
It’s crucial to ensure no fluid leaks post-repair. Follow these steps:
- Inspect all connections for tightness.
- Look for any signs of fluid on the ground.
- Wipe the lines and check for wet spots after a test drive.
Any hint of leakage requires immediate attention. Tighten connections or replace faulty lines as needed.
Road Testing Your Vehicle
The final step is a practical road test.
Here’s how:
- Choose a safe, empty road or parking lot.
- Gradually accelerate to a moderate speed.
- Gently apply the brakes several times.
During the road test, listen for unusual noises and feel for brake responsiveness. Your vehicle should stop evenly and promptly.
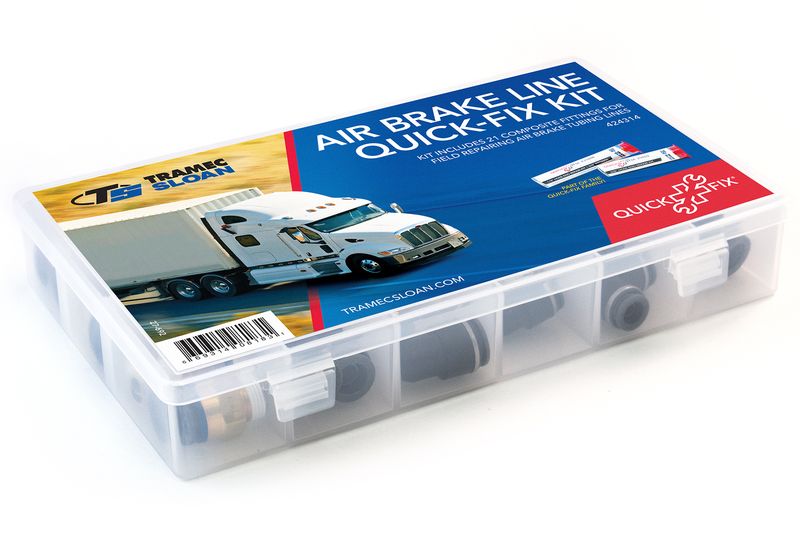
Credit: hd.tramec.com
Frequently Asked Questions Of How To Fix A Brake Line Quick
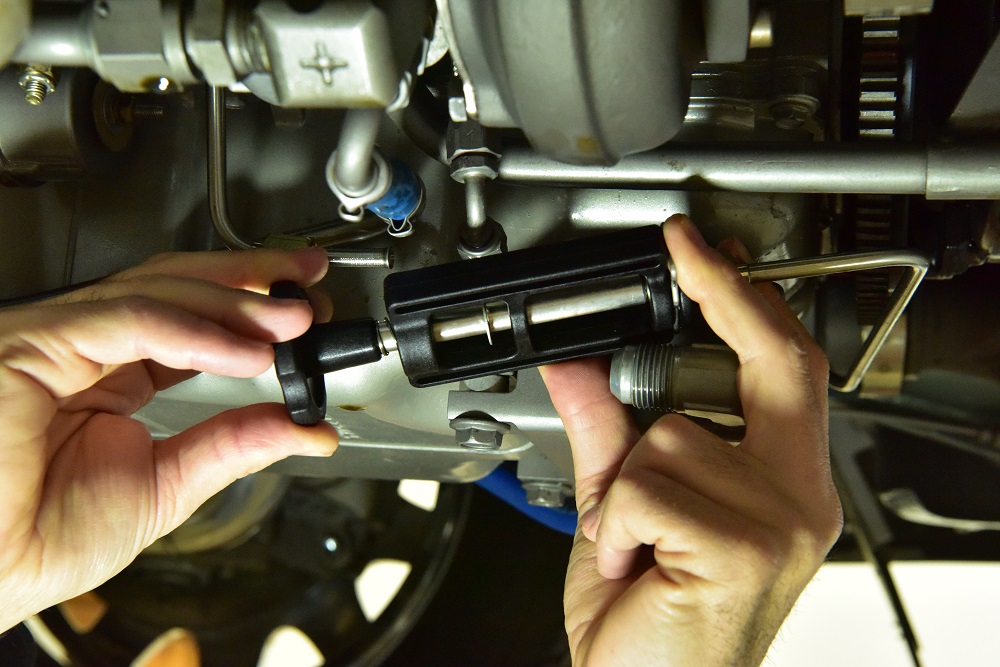
How Do You Temporarily Fix A Brake Line?
To temporarily fix a brake line, locate the leak and cleanly cut out the damaged section. Connect a brake line repair kit which includes compression fittings to bridge the gap.
Ensure connections are secure and check immediately for leaks before driving.
Always seek professional repairs as soon as possible.
How Do You Temporarily Fix A Cut Brake Line?
Stop the vehicle and turn off the engine. Clean the damaged area and tightly wrap it with electrical tape or a similar sealant as a temporary fix. Seek professional repair immediately to ensure safety.
Can You Patch A Brake Line With Rubber Hose?
It is not safe to patch a brake line with rubber hose. Doing so can lead to brake failure. Always replace a damaged brake line with the correct metal tubing.
Is Fixing A Brake Line Easy?
Fixing a brake line can be challenging due to the precise nature of brake systems. It requires technical knowledge, specialized tools, and attention to safety. Professional assistance is recommended for most individuals.
Final Result
Tackling brake line repairs at home can save time and money. With the right tools and guidance, anyone can become their own mechanic. Remember, safety is paramount; double-check your work before hitting the road.
Keep this guide handy for future fixes, and drive with confidence knowing you’ve mastered a vital automotive skill.