Imagine cruising through rugged terrains, or tackling late-night adventures with your Can-Am Defender. Now, picture enhancing these experiences with a powerful light bar illuminating your path.
Installing a light bar isn’t just about adding flair to your vehicle; it’s about transforming your ride into a beacon of visibility and style. But how do you install one without running into a maze of confusion and tangled wires?
You’re in the right place to find out. In this guide, you’ll discover simple steps to effectively install a light bar on your Can-Am Defender, ensuring you get the best performance and aesthetic results. Whether you’re a seasoned off-roader or new to vehicle modifications, this article will help you make your installation process seamless and stress-free. Dive in to unlock the secrets of a brighter, safer ride.
Tools And Materials Required
You need some basic tools and materialsto install the light bar. A screwdriverand a drillare essential. Make sure you have wrenchesand plierstoo. You will also need wiring kitsand mounting brackets. These help in fixing the light bar securely.
Don’t forget the light baritself. Ensure it fits your Can-Am Defender. Check for boltsand screwsas well. These hold the light bar in place. Having these tools ready makes the job easier and faster.
Credit: keepitrad.com
Choosing The Right Light Bar
Picking the perfect light bar is important for your Can-Am Defender. Think about the size and type of light bar. A bigger light bar gives more light but needs more power. Smaller ones use less power but give less light. Check if the light bar is waterproofand strong. Your Defender might face rain and bumps. Also, look at the light color. White light is bright, but amberlight is good for fog. Choose a light bar that matches your driving needs.
Installation is easier with a light bar that fits well. Some light bars have easy mounting options. This saves time and effort. Always read the instructions before buying. They help you understand if the light bar is right for your Defender.
Preparing The Can-am Defender
First, park your Can-Am Defender on a flat surface. Ensure the vehicle is stable. Turn off the ignition and remove the keys. Gather all necessary tools. You’ll need a wrench, screwdriver, and tape measure. Check your light bar kit. Make sure all parts are included. Safety is important. Wear gloves and goggles. Avoid working alone. Ask a friend to help you. Clear the area around the vehicle. Make space for tools and parts. Keep the manual close by. It provides useful tips. Follow each step carefully. Double-check each connection. Secure all wires tightly. Avoid loose ends. Test the light bar before final installation. Ensure it works properly. Use a level to align the light bar. It should be straight. This preparation helps avoid mistakes. A well-prepared setup ensures a smooth install.

Credit: www.puddlebuster.com
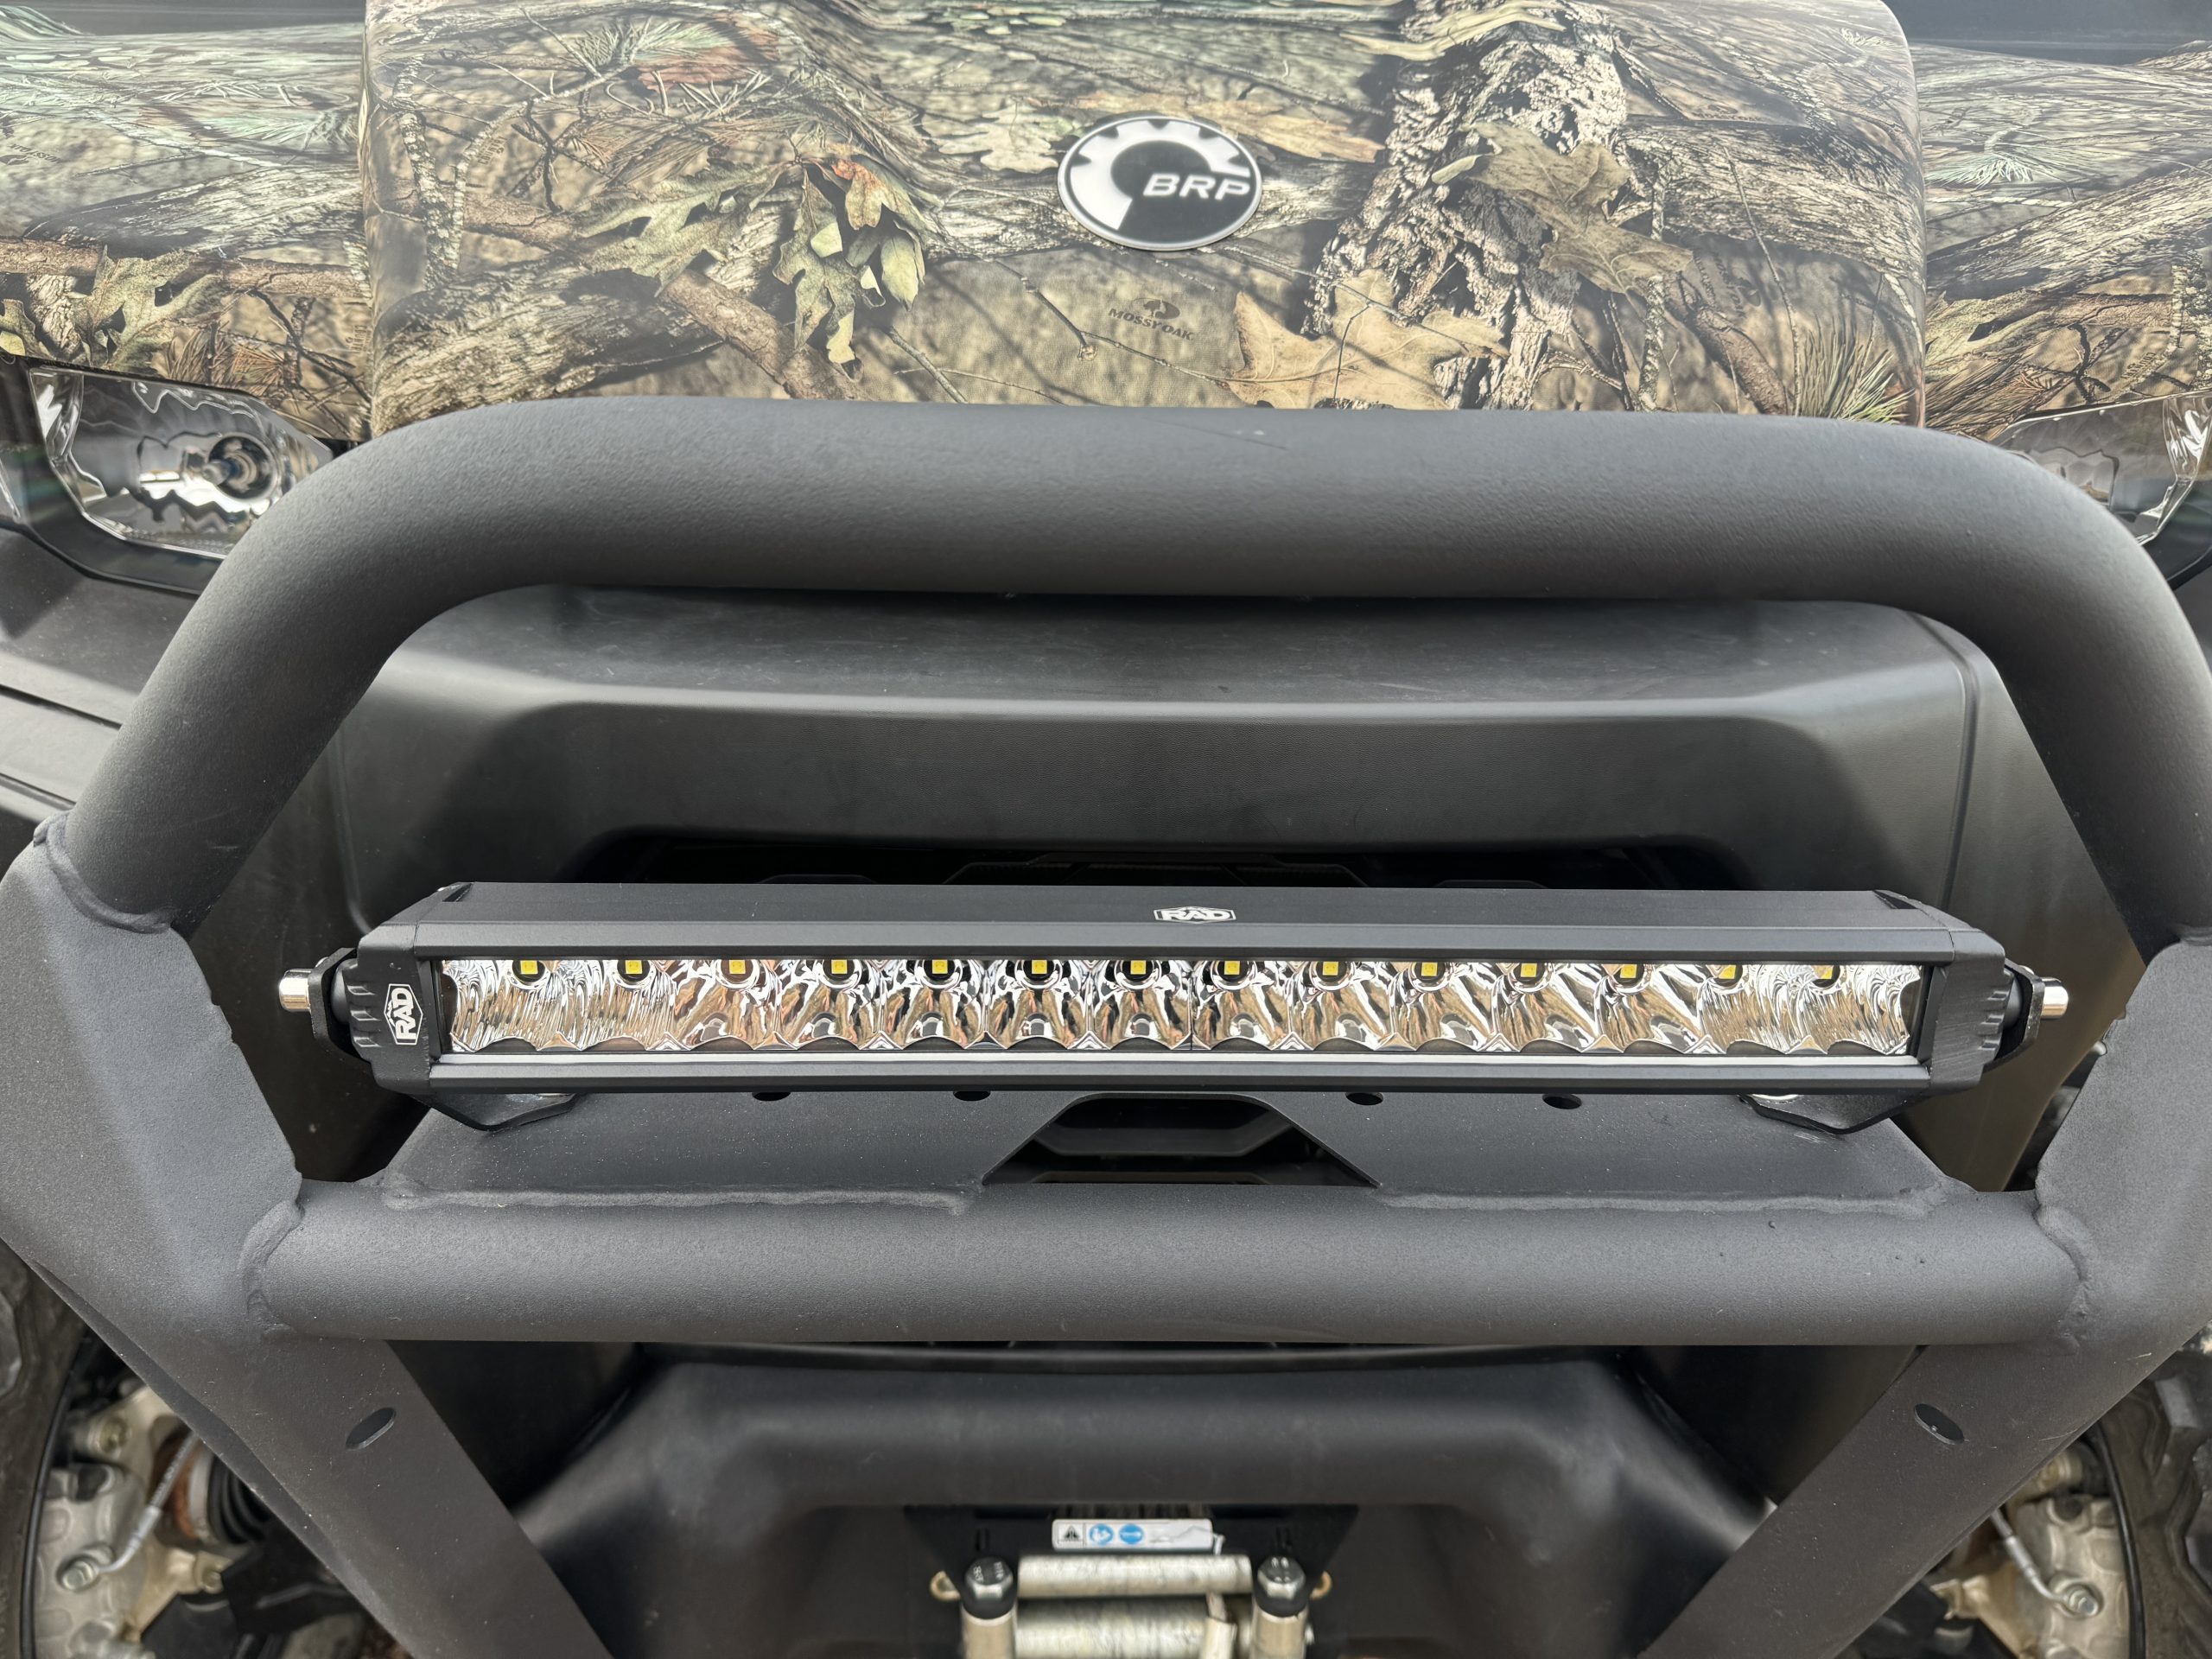
Mounting The Light Bar
Installing a light bar on a Can-Am Defender can greatly improve visibility. Start by securely mounting the brackets onto the roof. Then, attach the light bar to the brackets, ensuring it’s tightly fastened. Connect the wiring to the vehicle’s electrical system, and test the light for proper function.
Positioning The Mounting Brackets
Find the perfect spot on your Can-Am Defenderfor the light bar. Make sure it won’t block your view. Use a measuring tape to check both sides. Keep them even. Mark the spots with a pencil. This helps you know where to drill. Safety first! Wear gloves and goggles.
Securing The Light Bar
Use strong bolts and nutsto hold the light bar. Align the bar with the brackets. Ask a friend to help you. They can hold it steady. Check that the light bar is straight. Tighten the bolts well. Test the light. Make sure it works fine. Double-check all bolts. They should be tight and secure.
Wiring The Light Bar
Begin by connecting the wiring harness to the light bar. Ensure the harness is firmly attached. This prevents any loose connections. Next, identify the positive and negative wires. Match them with the battery terminals. Use a wrench to tighten the connections. Secure the harness clips to hold wires in place. This keeps them from tangling. Check all connections are tight and secure. This ensures the light bar will work properly.
Plan the path for your wires. Keep them away from moving parts. Use zip ties to secure them. This keeps the wires neat. Run the wires along the frame. Avoid sharp edges that can cut the wires. Make sure the wires do not dangle. Tuck them in safely. This prevents any accidental snags. Check the entire route once more. Ensure all wires are hidden and secure.
Testing The Installation
Turn on the Can-Am Defender. Check if the light bar lights up. Ensure all connections are secure. Look for any loose wires. Wiggle them gently. If the light does not work, check the fuse box. Replace any blown fuses. Test the light bar once more.
Ensure the light bar is aligned. Adjust if needed. Use a friend to help. Let them stand in front. Ask if it’s too bright. Adjust the angle to avoid glare. Make sure it’s pointing forward. This helps when driving at night.
Test the light in different conditions. Try in daylight and at night. Make sure it works in rain. Check if it withstands wind. Safety is very important. Enjoy your new light bar!
Troubleshooting Common Issues
Many face problems with their light bar on the Can-Am Defender. Wires may not connect properly. Check if the connections are tight and secure. Sometimes the light won’t turn on. This can be because of a bad fuse. It’s good to inspect the fuse box. Replace any burnt fuses. Ensure the power source is working. Sometimes, the switch doesn’t work well. Test the switch for proper function. Verify if the battery is charged. Check for any loose parts. Tighten any screws or bolts. Pay attention to the light bar alignment. Proper alignment gives better light coverage. These steps help solve many light bar issues.

Credit: automotivecustomlighting.com
Maintenance Tips
Check the wiring regularly. Look for any signs of damage. Replace any worn-out wires. Clean the light bar often. Use a soft cloth. Avoid harsh chemicals. Inspect the mounting brackets. Ensure they are tight. Loose brackets can cause issues. Test the light frequently. Ensure it functions well. Monitor the battery. Weak batteries affect performance. Check for moisture. Water can damage electrical parts. Store the vehicle in a dry place. This prevents rust. Lubricate the moving parts. This helps smooth operation. Replace broken components immediately. This avoids bigger problems.
Conclusion
Installing a light bar on your Can-Am Defender enhances visibility. It’s a simple process with the right tools. Follow safety precautions for a smooth installation. Ensure all connections are secure. Double-check wiring before hitting the trails. This upgrade makes night rides safer and more enjoyable.
Don’t rush the process. Take your time for the best results. Enjoy your new light bar and the adventures it brings. Your Can-Am Defender is now ready for any challenge. Feel confident and explore with better lighting. Stay safe and have fun on your rides!