Are you ready to transform your Honda Pioneer into a beacon of adventure? Installing a light bar could be your next thrilling upgrade.
Imagine the thrill of exploring rugged terrains or winding trails under the perfect illumination. With a powerful light bar, you can extend your adventures well past sunset, ensuring safety and enhancing visibility. Think about how much easier it would be to navigate unfamiliar paths with a clear view.
Your rides could be safer, and your experiences richer. This article will guide you through the installation process step-by-step, ensuring that your Honda Pioneer is equipped for any challenge the night throws your way. Stay with us, and you’ll be equipped to handle the process with confidence and ease.
Tools And Materials Needed
To install a light bar, gather all necessary tools. You’ll need a wrenchand screwdriver. Also, a drillis important. Get some mounting brackets. Don’t forget boltsand nuts. You will need wiring kit. A relayand switchare also needed. Gather all these before you start.
Make sure your light baris ready. Check the instructions. Follow them carefully. Safety goggles are a must. Wear gloves for safety. Keep a multimeterhandy. It helps check connections. Have electrical tapeon hand. It secures wires.
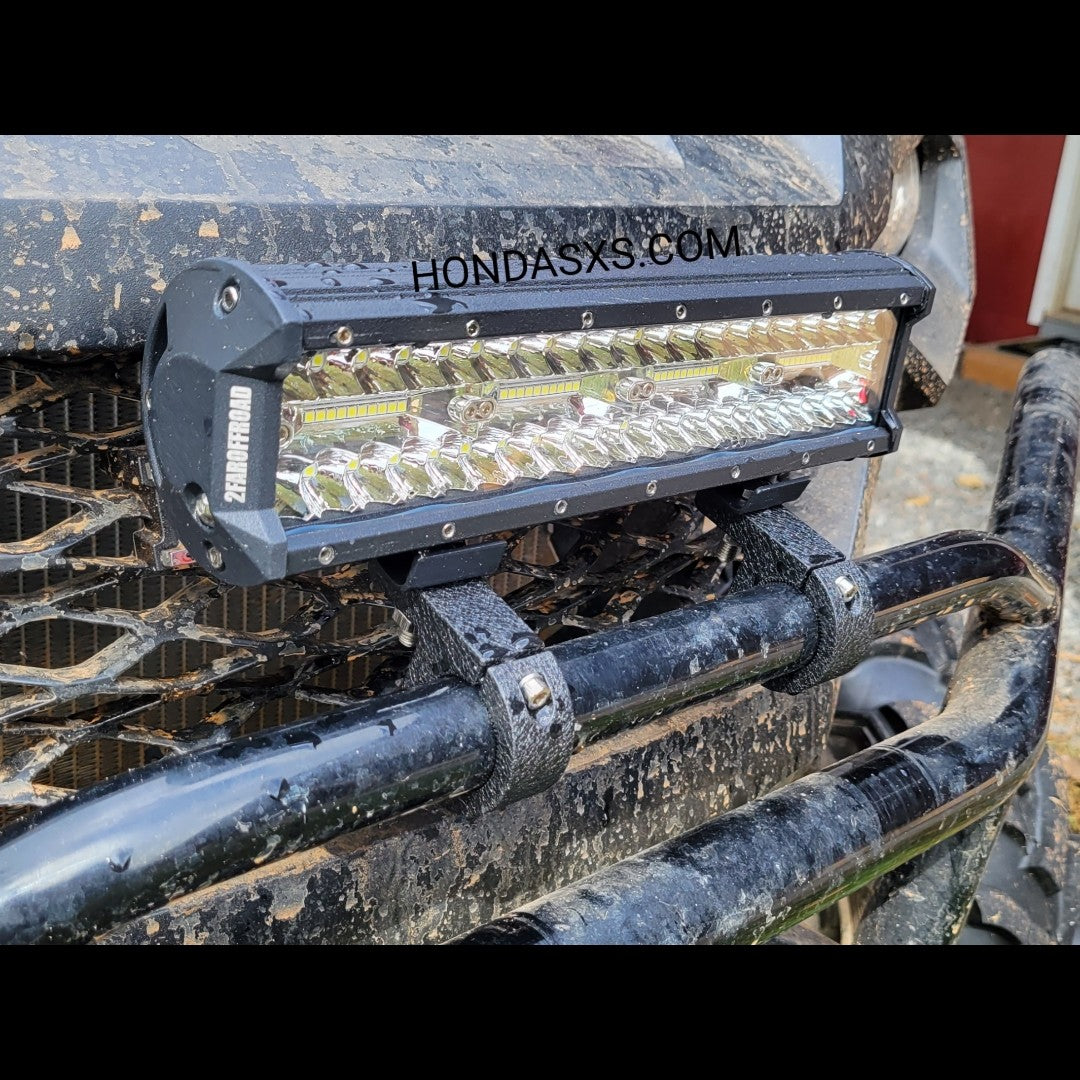
Credit: store.hondasxs.com
Choosing The Right Light Bar
Picking the right light bar for your Honda Pioneer is key. Size and brightness matter. Measure your Honda’s available space first. Weather resistance is also important. Your light bar should handle rain and dust. Check for waterproof ratings. Strong materials like aluminum last longer.
LED lights are a great choice. They save energy and last longer. Think about the beam pattern too. Flood beams light up wide areas. Spot beams reach far.
Choose a trusted brand for quality and support. Read customer reviews online. Compare prices for the best deal. Always ensure the light bar fits your needs.
Preparation And Safety Measures
Gather all needed tools first. Safety goggles and gloves protect your eyes and hands. Disconnect the battery before starting. This avoids electric shocks. Check the light bar for damage. Read the manual carefully. Follow the instructions step by step. Have a friend help you. Two people make the job easier. Secure the work area. Keep tools and parts organized. Make sure you have enough light.
A clean area prevents accidents. Check the weather. Rain or wind might cause problems. Wear proper clothing. Loose clothes can get caught. Stay focused and take breaks. Double-check connections. Tighten all bolts and screws. Test the light bar before finalizing. Ensure everything works correctly. Safety first, always.
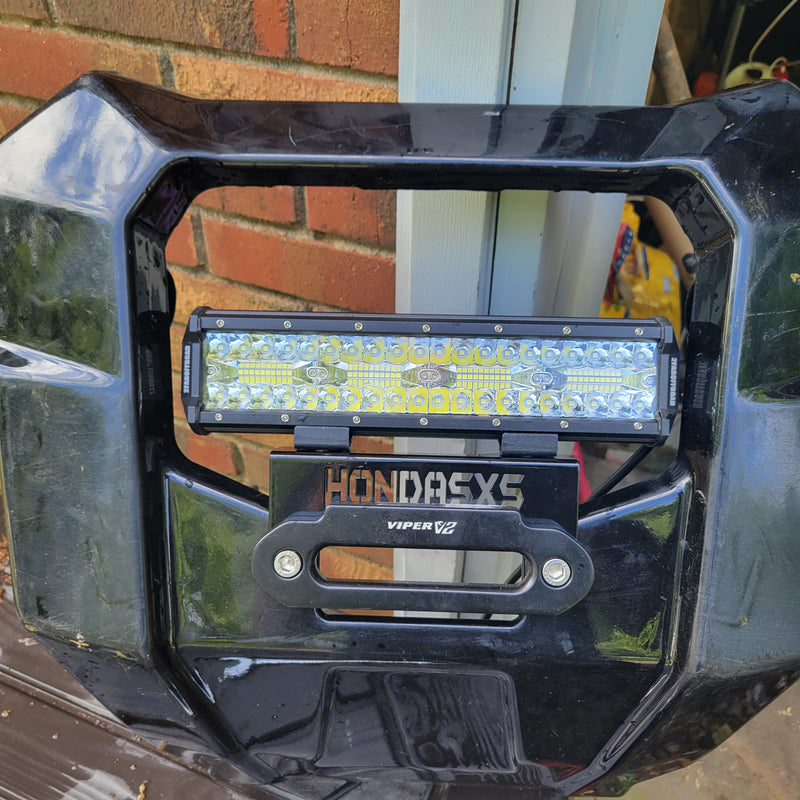
Credit: store.hondasxs.com
Mounting The Light Bar
Find the best spots on your Honda Pioneer. Look for sturdy places. The front and top are good choices. The light bar needs strong support. Make sure the spots are flat. This helps the bar sit nicely. Avoid places with wires or pipes. They can get damaged easily. Use a flashlight if needed. This helps see hidden spots better. Mark the spots with a pencil. This makes it easy to remember.
Get the right brackets for your light bar. They must fit well. Use screws that are the right size. Tighten the screws carefully. Check the brackets after tightening. They should not move. Use a wrench for extra tightness. This keeps the bar steady. If needed, add washers. They help keep things tight. Double-check the brackets once done. A firm grip is important.
Wiring The Light Bar
First, locate the battery in your Honda Pioneer. Use a wire stripper to prepare the wires. Connect the red wire to the positive terminal. Attach the black wire to the negative terminal. Ensure each connection is tight. Loose wires can cause problems. Use electrical tape to cover exposed parts.
Plan the path for your wires. Avoid areas with heat or sharp edges. Use zip ties to secure wires along the frame. Keep them away from moving parts. This prevents damage. Ensure wires are hidden from view. This makes the installation look neat. Check that everything is secure before finishing.
Testing The Installation
Ensure the light bar is securely attached and wired correctly on your Honda Pioneer. Test the installation by turning on the light to confirm proper functionality. Adjust the angle for optimal illumination.
Checking Connections
Ensure all wires are secure. Loose wires can cause problems. Examine each wire carefully. Look for breaks or damage. Tighten connections using proper tools. A loose connection can stop lights from working. Use cable ties to keep wires organized. Organized wires help in future checks. Double-check each connection point. Proper checks ensure the light bar works well.
Adjusting The Beam Angle
Adjust the beam for clear vision. Right angle prevents accidents. Use a wrench to adjust the brackets. Aim the beam slightly downward. Downward helps in seeing the road better. Test the beam after adjusting. Ensure light covers the road evenly. Even light prevents glare. Glare can blind other drivers. Adjust until you find the perfect angle. Good angle means safe driving.
Maintenance Tips
Keep your light bar clean. Dirt can block the light. Use a soft cloth for cleaning. A regular check of wiring is important. Loose wires can cause problems. Check screws and bolts often. Tighten them if needed. Replace broken parts quickly. This prevents further damage. Look for rust on metal parts. Rust can weaken the structure. Use rust remover to clean it. Apply protective spray to avoid rust. Make sure the light bar is secure. A loose light bar can fall off. Avoid using too much force when tightening. This can damage the parts. Regular checks keep your light bar working well.

Credit: www.youtube.com
Conclusion
Installing a light bar on your Honda Pioneer is simple. Follow the steps carefully for a successful setup. Start by gathering the necessary tools and parts. Attach the brackets securely to the frame. Connect the wiring with caution. Test the light bar to ensure it works properly.
Adjust the light angle for optimal visibility. This installation enhances your off-road adventures. Enjoy brighter paths and safer rides. Remember to check local regulations about additional lighting. Now, hit the trails with confidence and improved lighting. Happy adventures with your Honda Pioneer!