Are you ready to transform your Toyota Tacoma into a beacon of style and functionality? Installing a light bar is not only a game-changer for nighttime driving, but it also elevates your truck’s aesthetic appeal to new heights.
Picture yourself cruising through the night, with enhanced visibility and a sleek look that turns heads wherever you go. This guide is crafted with you in mind, offering step-by-step instructions that make the installation process a breeze. You don’t need to be a professional mechanic to achieve professional results.
Dive in, and discover how easy it is to equip your Tacoma with a light bar that stands out in both performance and appearance.

Credit: www.youtube.com
Choosing The Right Light Bar
LED light bars are popular for their brightness. They use less power. Halogen lights are cheaper but not as bright. HID lights give a lot of light. They are expensive. Choose a type that fits your needs.
Light bars come in different sizes. Measure your Tacoma before buying. Check compatibility with your truck. Some bars fit better on certain models. Double-check the fittings and mounts.
Prices vary for light bars. Set a budget first. LED lights may cost more. Halogen lights are usually cheaper. Compare prices online. Look for sales or discounts. Make sure the light bar fits your budget.
Gathering Necessary Tools
Start by collecting all the essential tools. These include a wrench, screwdriver, and drill. A measuring tape is also important for accuracy. Having a wire stripper and electrical tape will help with wiring. Keep some zip ties handy for organizing cables. A socket set might be needed for some bolts. Gather these items to make the job easier.
Safety gear is very important. Wear safety glasses to protect your eyes. Gloves can protect your hands from sharp tools. Keep a fire extinguisher nearby for emergencies. A first-aid kit is good to have on hand. Wearing sturdy shoes is also wise for foot protection. Always think about safety first when working on cars.
Preparing Your Tacoma
Start by washing your Toyota Tacoma. Remove dirt and grime. Check for scratches or dents. Ensure the area is smooth and clean. This helps the light bar stick well.
Look at the front bumper closely. Search for any damage. Fix it if needed. A clean surface keeps the light bar safe. A dirty surface might not hold it right.
First, find your Tacoma’s battery. It is under the hood. Disconnect the negative cable. This prevents electrical problems.
Use a wrench to loosen the bolt. Slide the cable off the terminal. Keep it away from metal parts. This stops accidental sparks.
Work carefully around the battery. Disconnecting helps keep you safe. Electricity can hurt you if not handled right.
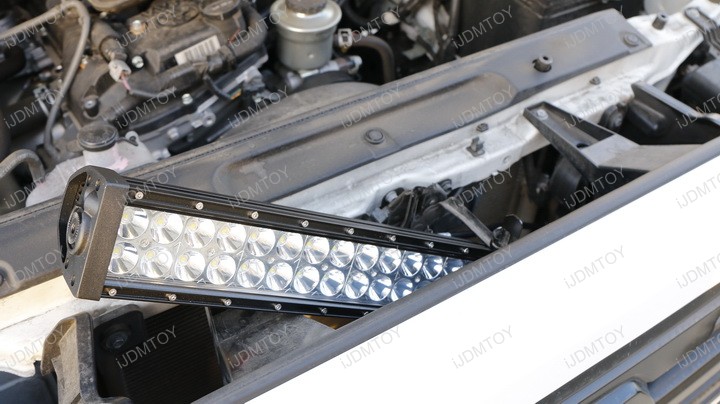
Credit: store.ijdmtoy.com
Mounting The Light Bar
Pick a spot on your Toyota Tacomafor the light bar. The roof or front bumper are popular choices. Make sure the spot is flat and clear. Avoid any curved areas. Check if the light bar will block your view. Also, see if it fits well with the truck’s design. Consider how the light will spread. A good spot means easy wiring and mounting.
First, gather your mounting bracketsand tools. You need a drill and screws. Align the brackets with the chosen spot. Mark the spots for drilling. Hold the brackets steady. Drill holes in the marked spots. Use screws to fix the brackets tightly. Ensure they are secure. Wiggle them a bit to test stability. Now, your brackets are ready for the light bar.
Wiring The Light Bar
Start by locating the best path for the wires. This helps in hiding them. Use a zip tie to keep wires in place. Make sure they do not touch hot parts.
Attach wires to the battery terminal. Red wire goes to the positive side. Black wire connects to the negative. Use a fuse to protect against short circuits.
Turn on the car to test the light bar. Check if it lights up. If not, check all connections again. Ensure there are no loose wires.
Securing And Adjusting
Installing a light bar on a Toyota Tacoma enhances visibility. Carefully secure the brackets and adjust the alignment to ensure optimal light distribution. Follow the instructions for proper wiring and attachment to avoid mishaps.
Tightening Bolts
Use a wrench to tighten the bolts on the light bar. Ensure each bolt is secure but not too tight. Over-tightening can damage the light bar or mount. Check each bolt twice for security. This helps keep the light bar from moving while driving. Secure bolts means a safe and sturdy light bar.
Adjusting Light Angle
Tilt the light bar to find the best angle. It should face forward for the best light spread. Adjust slowly and check the light pattern. Make sure the light does not blind other drivers. Test at night to see how it lights the road. Adjust as needed until satisfied.
Final Checks And Maintenance Tips
Testing Light Functionalityis important. Turn on the light bar. Check if it lights up. Look for flickering or dim lights. Ensure wires are connected properly. Tighten loose connections. Inspect for damage or wear. Replace faulty bulbs or wires. Test all settings. Verify brightness levels. Adjust angles if needed. Keep light bar clean. Dirt can affect brightness. Use a soft cloth to wipe the surface.
Regular Maintenanceensures long-lasting performance. Check the light bar monthly. Inspect for cracks or breaks. Tighten any loose bolts. Clean the light bar regularly. Remove dust and grime. Check wiring for damage. Replace worn wires promptly. Ensure battery connections are secure. Look for rust or corrosion. Use protective sprays if needed. Keep the light bar dry. Avoid heavy impacts or shocks. Follow these steps for a bright light bar.
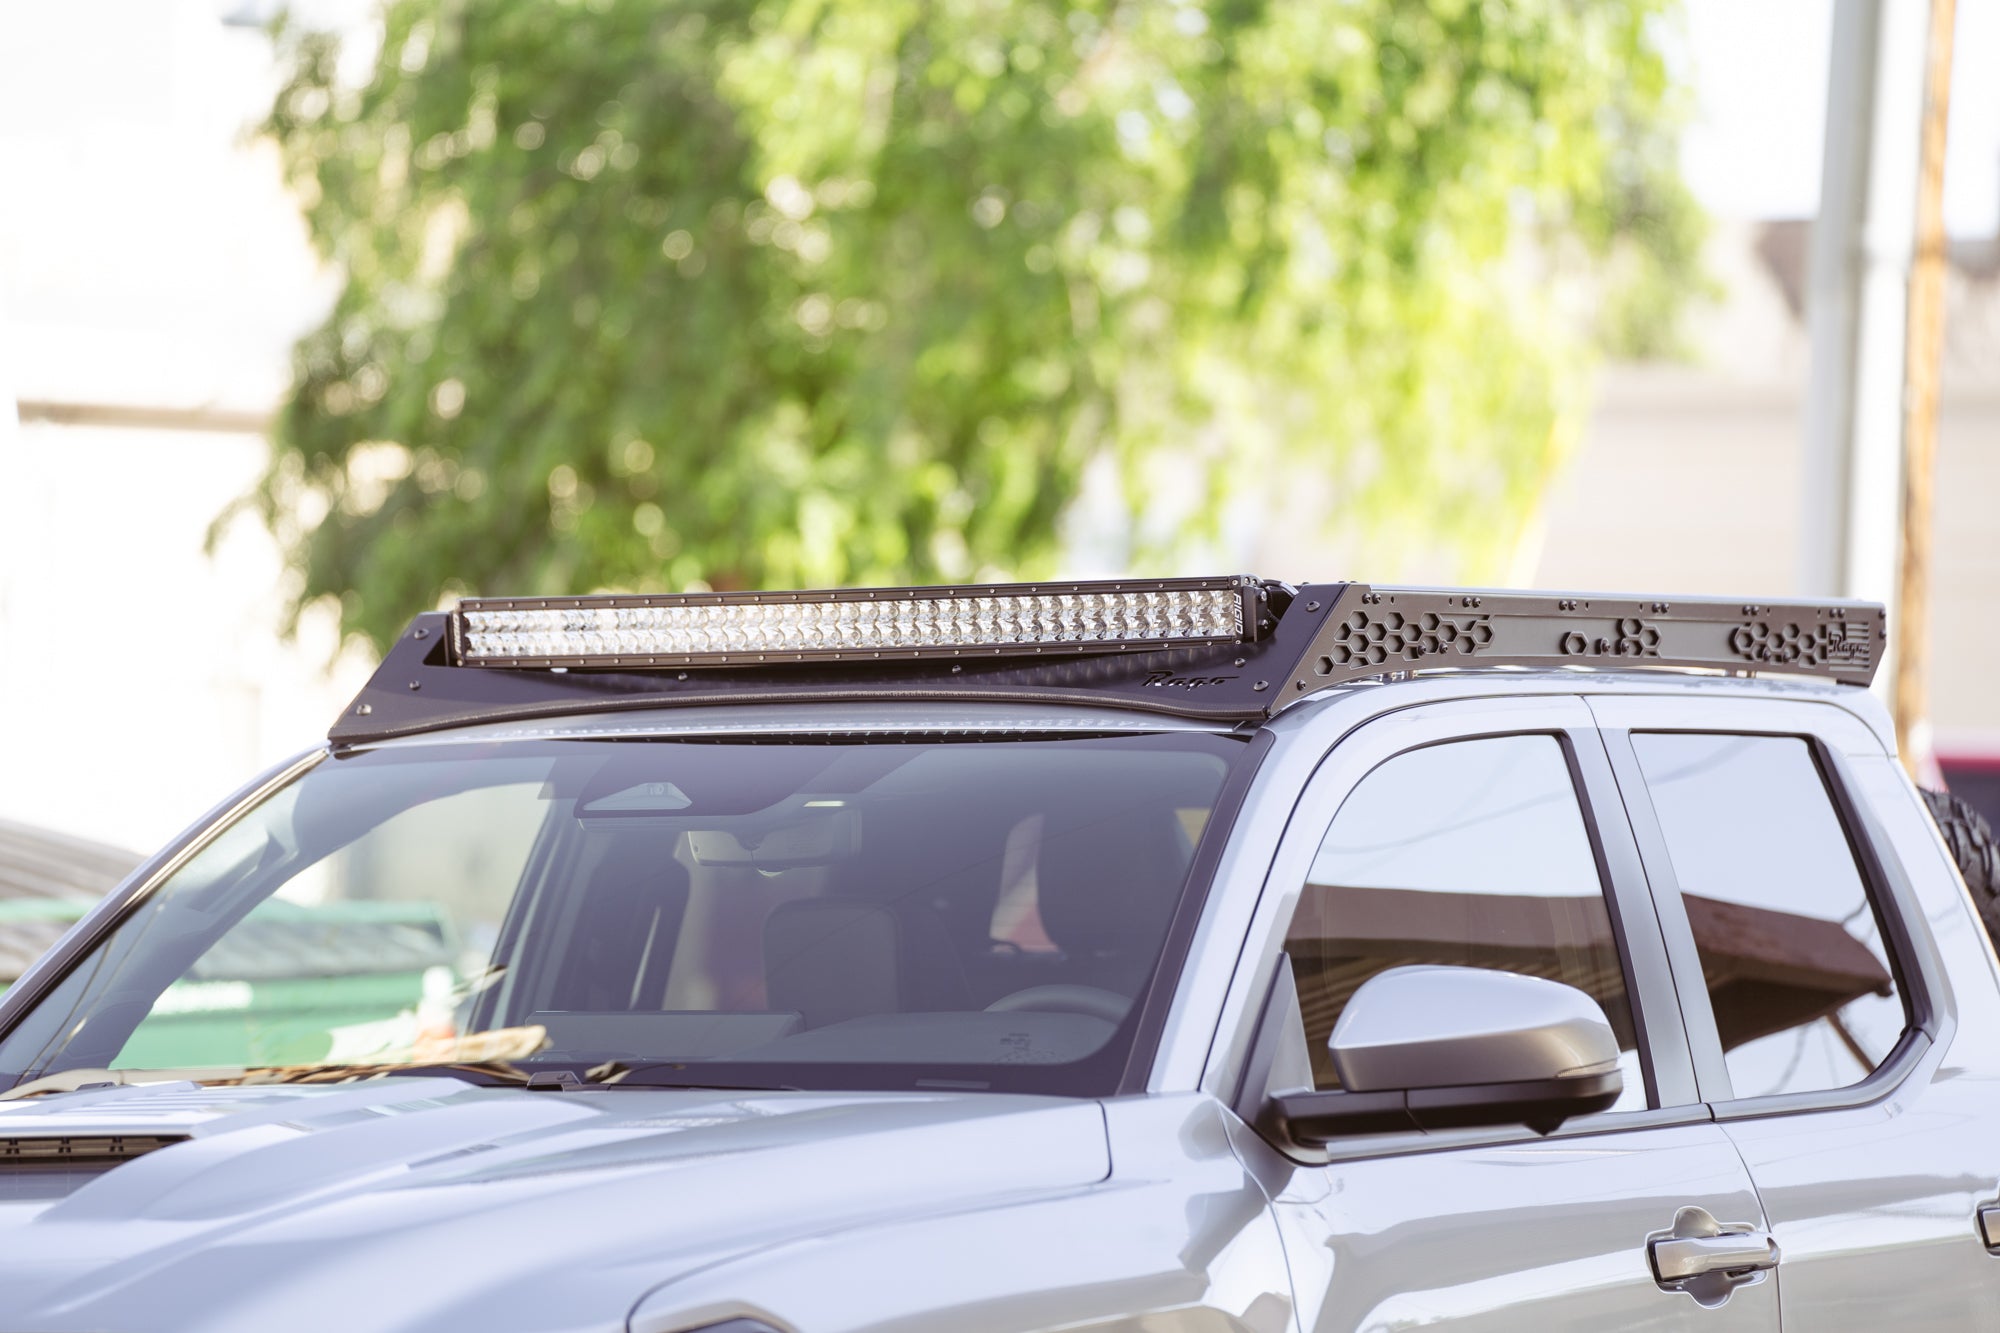
Credit: www.ragofabrication.com
Conclusion
Installing a light bar on your Toyota Tacoma is straightforward. Follow each step carefully for best results. Gather all necessary tools beforehand. This ensures a smooth installation process. Secure the light bar firmly to avoid issues. Test the lights after installation for proper function.
A well-installed light bar enhances your Tacoma’s look and safety. Enjoy brighter drives during nighttime adventures. Always prioritize safety and consult a professional if unsure. Now, you’re ready to hit the road with confidence and style. Happy driving with your new light setup!