Are you tired of dealing with stubborn lug nut studs? Whether you’re a car enthusiast or just someone who wants to save money on repairs, learning how to install lug nut studs yourself can be a game-changer.
Imagine the freedom of not having to rely on a mechanic for what can be a straightforward task. It’s simpler than you might think, and you don’t need a garage full of tools to do it. In this guide, you’ll discover the step-by-step process that can save you time, money, and a lot of headaches.
Stay with us, and you’ll soon feel empowered to tackle this task with confidence.
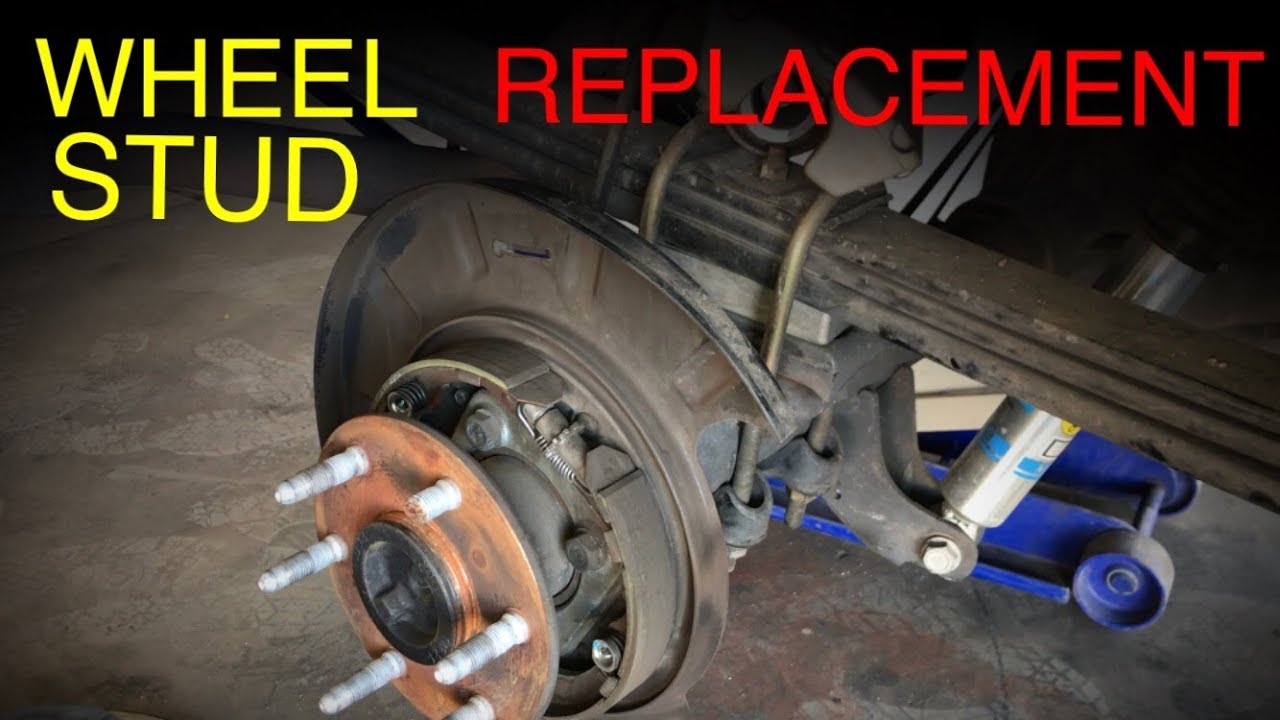
Credit: www.youtube.com
Tools And Materials Needed
Installing lug nut studs demands specific tools and materials. A well-prepared setup streamlines the process and ensures efficiency. Having the right equipment is crucial for safety and success. This section outlines everything you need for this task.
Tools Required
Begin with a socket wrench set. It’s essential for loosening and tightening bolts. A torque wrench helps in applying precise pressure. This avoids over-tightening and damaging threads.
An impact gun can be useful for removing stubborn nuts. Invest in a stud installer tool for ease. This tool makes fitting studs much simpler. Ensure you have a hammer for tapping the studs into place.
A wheel chock is vital for safety. It prevents the vehicle from moving while you work. Finally, safety glasses protect your eyes from debris.
Materials Needed
You’ll need new lug nut studs for installation. Choose high-quality ones for durability. The right size nuts ensure a snug fit. Make sure they match the studs’ specifications.
Anti-seize lubricant is crucial. It prevents rust and makes future removal easier. Grease can also be handy for smooth installation. Consider having a repair manual specific to your vehicle. It provides guidance and technical details.
Having all these materials ready speeds up the installation. You avoid unnecessary delays and frustrations.
Safety Precautions
Installing lug nut studs requires careful attention to safety. Ensuring safety helps prevent accidents and damage. Follow these precautions to keep the process smooth and secure.
Check Your Tools
Ensure all tools are in good condition. Damaged tools can cause injuries. Verify you have the right tools for the job.
Wear Protective Gear
Always wear safety glasses and gloves. They protect your eyes and hands. Proper gear reduces the risk of injury.
Secure The Vehicle
Use a jack stand to support the vehicle. Never rely solely on a jack. A secure vehicle prevents it from falling.
Inspect The Area
Check the workspace for hazards. Keep the area clean and organized. A tidy area helps you work safely.
Follow Torque Specifications
Use a torque wrench to tighten lug nuts. Follow the manufacturer’s torque guidelines. Proper torque ensures the studs stay secure.
Stay Focused
Pay attention while working. Avoid distractions to prevent mistakes. Focus ensures you follow each step correctly.
Double-check Your Work
Review each step after completion. Ensure all nuts are tight and secure. Double-checking prevents loose parts.
Preparing The Vehicle
Preparing your vehicle is essential before installing lug nut studs. This step ensures safety and efficiency. It involves lifting the vehicle and removing the wheel. Each task requires care and attention. Let’s explore these steps in detail.
Lifting The Vehicle
First, find a flat and stable surface. Ensure your vehicle is parked securely. Use wheel chocks to prevent rolling. Place them behind the wheels. Next, locate the vehicle’s jack points. They are usually near the wheel wells. Check your manual for exact locations.
Use a hydraulic jack for lifting. It’s more reliable than a scissor jack. Position the jack under the jack point. Slowly lift the vehicle until the tire is off the ground. Ensure stability before proceeding. Double-check the vehicle’s balance. Safety first!
Removing The Wheel
Once lifted, remove the wheel’s lug nuts. Use a wrench for this task. Turn them counterclockwise to loosen. Remove all lug nuts and set them aside. Now, carefully remove the wheel. Place it flat on the ground nearby.
Inspect the wheel hub and studs. Clean any dirt or rust. This ensures smooth installation of new studs. Keep the area tidy and organized. Proper preparation prevents future issues.

Credit: www.wikihow.com
Removing The Old Studs
Replacing lug nut studs is crucial for wheel safety. Old or damaged studs can jeopardize your vehicle’s security. Understanding how to remove them is essential. This process requires patience and attention to detail.
Accessing The Hub
Start by loosening the lug nuts. Use a wrench to do this. Lift the vehicle using a jack. Ensure it’s stable before proceeding. Remove the wheel to expose the hub. This gives you clear access to the studs. Clean the hub area with a cloth. This ensures you can see the studs clearly.
Removing Damaged Studs
Locate the damaged studs on the hub. Use a hammer and punch to push them out. Hit gently to avoid damaging the hub. If the studs are stubborn, apply penetrating oil. This helps loosen them. Once removed, inspect the hub for any damage. Clean the area again to prepare for new studs. This ensures proper installation and safety.
Installing New Lug Nut Studs
Replacing worn lug nut studs involves removing the wheel and brake components. Ensure a proper fit by aligning the new studs correctly. Secure the studs tightly to maintain wheel stability and safety during driving.
Installing new lug nut studs can enhance your vehicle’s safety. Damaged or worn-out studs can lead to serious issues. Replacing them ensures your wheels are secure. With the right tools, you can do it yourself. Here’s a simple guide to help you.Inserting New Studs
Start by placing the new stud into the hole. Make sure it aligns properly. Use a hammer to lightly tap it in. Be gentle to avoid damaging the threads. If it doesn’t fit easily, check for obstructions. Ensure everything is clean and clear.Securing The Studs
Once inserted, secure the stud using a lug nut. Tighten the nut by hand first. Then use a wrench to fully secure it. Tighten in a cross pattern for even pressure. Ensure each stud is tightly secured. Double-check all studs before lowering the vehicle. Your wheels should now be safely attached.Reassembling The Wheel
Installing lug nut studs involves removing the old ones and pressing new studs into the wheel hub. Ensure proper alignment for secure attachment. Use a torque wrench to tighten the nuts for safety.
Reassembling the wheel after installing lug nut studs can feel like putting the final piece in a puzzle. It’s the moment where everything comes together, and you witness your hard work paying off. You may be thinking, “Is there a wrong way to put a wheel back on?” Surprisingly, yes! Proper alignment and tightening ensure safety and performance. Let’s dive into the steps for placing the wheel back and tightening lug nuts.Placing The Wheel Back
First, ensure the wheel hub is clean and free of debris. A dirty hub can cause uneven seating, leading to wobbles and vibrations. Align the wheel with the lug nut studs. This might require some gentle maneuvering. It’s a good idea to use a little bit of muscle, but don’t force it. Slide the wheel onto the studs carefully. You should feel a snug fit. If the wheel feels loose or misaligned, take it off and try again.Tightening Lug Nuts
Start by hand-tightening each lug nut. This helps prevent cross-threading. Cross-threading can damage the studs, costing you time and money in repairs. Once hand-tightened, use a wrench to snug each nut. Here’s a tip: tighten in a star pattern. This means moving diagonally from one lug to the next. It ensures even pressure across the wheel. Finally, use a torque wrench for precise tightening. Over-tightening can warp the wheel, while under-tightening can lead to a loose wheel. The torque specifications are usually found in your vehicle’s manual. Have you ever wondered why mechanics emphasize torque so much? It’s because it ensures the wheel is secure without damaging components. Keep this balance in mind, and you’ll have a safe and smooth ride. What do you think about these steps? Are there moments when you felt uncertain about tightening lug nuts? Let these insights guide you to confidently reassemble your wheel, knowing you did it right.Final Checks
Complete the process by ensuring all lug nut studs are secure and tight. Double-check each one individually. Use a torque wrench to achieve the correct tightness. This prevents wheel-related issues. Inspect for any unevenness or movement. Safety first, always.
Installing lug nut studs can be a rewarding experience, giving you a sense of accomplishment and ensuring your wheels are securely attached. However, before you hit the road, it’s crucial to perform final checks to guarantee safety and proper installation. These checks are not just a formality; they can make a significant difference in your driving experience and vehicle performance.Ensuring Proper Alignment
Proper alignment is key to a smooth ride and the longevity of your lug nut studs. After installation, take a moment to visually inspect the alignment of each stud. Are they evenly spaced and securely placed? Use a torque wrench to check that each lug nut is tightened to the manufacturer’s specifications. This step prevents unnecessary wear and tear and keeps the wheels balanced. Consider using a flashlight to spot any misalignment or debris. It’s a simple trick that can save you from future headaches. Have you ever checked your car’s alignment only to find a stud slightly off? It can lead to vibration or uneven tire wear, both of which are easily avoidable.Test Driving For Safety
Once you’ve ensured proper alignment, it’s time for a test drive. This isn’t just about feeling the power of your engine; it’s about checking for strange noises or vibrations. Start with a slow drive around your block, paying attention to any unusual sounds. Listen closely—is there a grinding noise or wobble? If you notice anything out of the ordinary, stop immediately and inspect your work. Gradually increase your speed and take a few turns. This allows you to test the studs under different conditions. Feel the car’s response. Is the handling smooth and predictable? If the car sways or vibrates, it might be a sign that something needs adjustment. Don’t overlook the importance of final checks. They provide peace of mind and ensure your vehicle is ready for the road. Are your wheels secure and aligned for your next adventure? Ensuring these final checks could be the difference between a safe drive and a roadside stop.
Credit: www.youtube.com
Conclusion
Installing lug nut studs doesn’t have to be difficult. Follow the steps carefully. Gather all necessary tools and equipment before starting. Take your time with each step. Ensure everything fits securely to avoid future issues. Regular maintenance keeps your vehicle safe and reliable.
Practice can build confidence in doing repairs yourself. Always prioritize safety throughout the process. Refer back to this guide if you need help. With patience, you’ll succeed in installing lug nut studs. Enjoy the satisfaction of completing the task. Your car’s performance will benefit from your effort.