Are you looking to add a sleek, modern touch to your vehicle with a curved light bar? Imagine cruising down the road, your path illuminated brightly and clearly.
Installing a curved light bar can enhance both the style and functionality of your ride, but the process might seem daunting at first. Fear not, because you’ve come to the right place. You’ll discover simple, straightforward steps to mount a curved light bar seamlessly.
Picture yourself effortlessly transforming your vehicle into a beacon of light, commanding attention and ensuring safety. Keep reading, and you’ll soon realize how easy it is to achieve that perfect look you’ve envisioned. Your vehicle deserves the best, and with this guide, you’ll have everything you need to make it happen. Let’s dive in and get started!
Credit: dv8offroad.com
Choosing The Right Light Bar
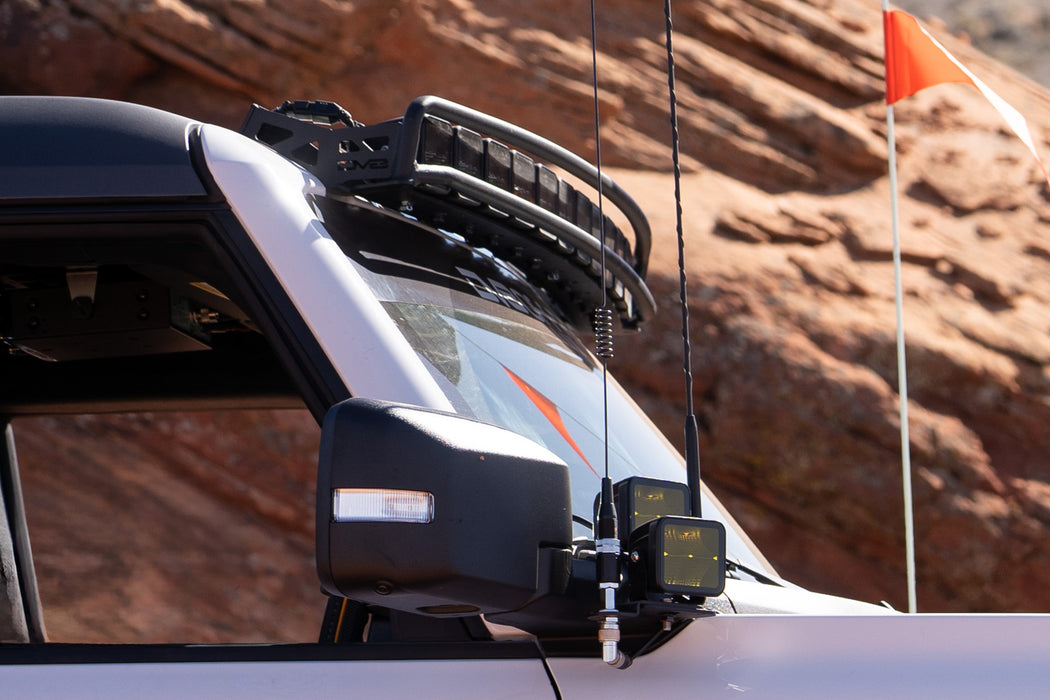
Curved light bars come in different sizes and shapes. Some are long, while others are short. They can have different colors of light. Some are white, some are yellow. The light pattern can also vary. Some spread light wide, others focus it far.
Think about the size of your vehicle. A big car needs a big bar. Check the brightness of the light. More bright lights are better for dark places. Look at the power it uses. Make sure your vehicle can handle it. Waterproof bars are good for rainy days. Also, see if it is easy to install. Some need special tools, others do not.

Credit: zroadz.com
Essential Tools And Materials
Before starting, gather all the necessary tools. You’ll need a screwdriver, drill, and socket wrench. Make sure you have a tape measure too. It’s important to check that your wrench set fits the bolts. A level is also helpful to keep the bar straight. Don’t forget protective gloves to keep your hands safe. A ladder might be needed for higher mounts.
Choose the right materials for the mount. Stainless steel brackets are strong and resist rust. Get rubber washers to reduce vibration. You might need extra bolts for secure fitting. Cable ties can help organize wires neatly. Ensure you have electrical tape to cover exposed wires. A power source must be ready for testing. Heat shrink tubing is useful for wire protection.
Preparing The Mounting Surface
Always keep the mounting surface clean. Dirt can cause issues. Use a damp cloth. This removes all dust and debris. Make sure the surface is dry after cleaning. Wet surfaces are slippery. They can reduce grip.
Measurement is crucial. Use a ruler or tape. Measure twice for accuracy. Mark the spots lightly. Pencil marks are easy to erase. Double-check the measurements. Mistakes can lead to misalignment.
Marking ensures proper placement. Use a marker or pencil. Light marks work best. They are easy to adjust. Align marks with light bar brackets. Ensure marks are straight and even. Double-check all markings. Accuracy is key for a perfect fit.
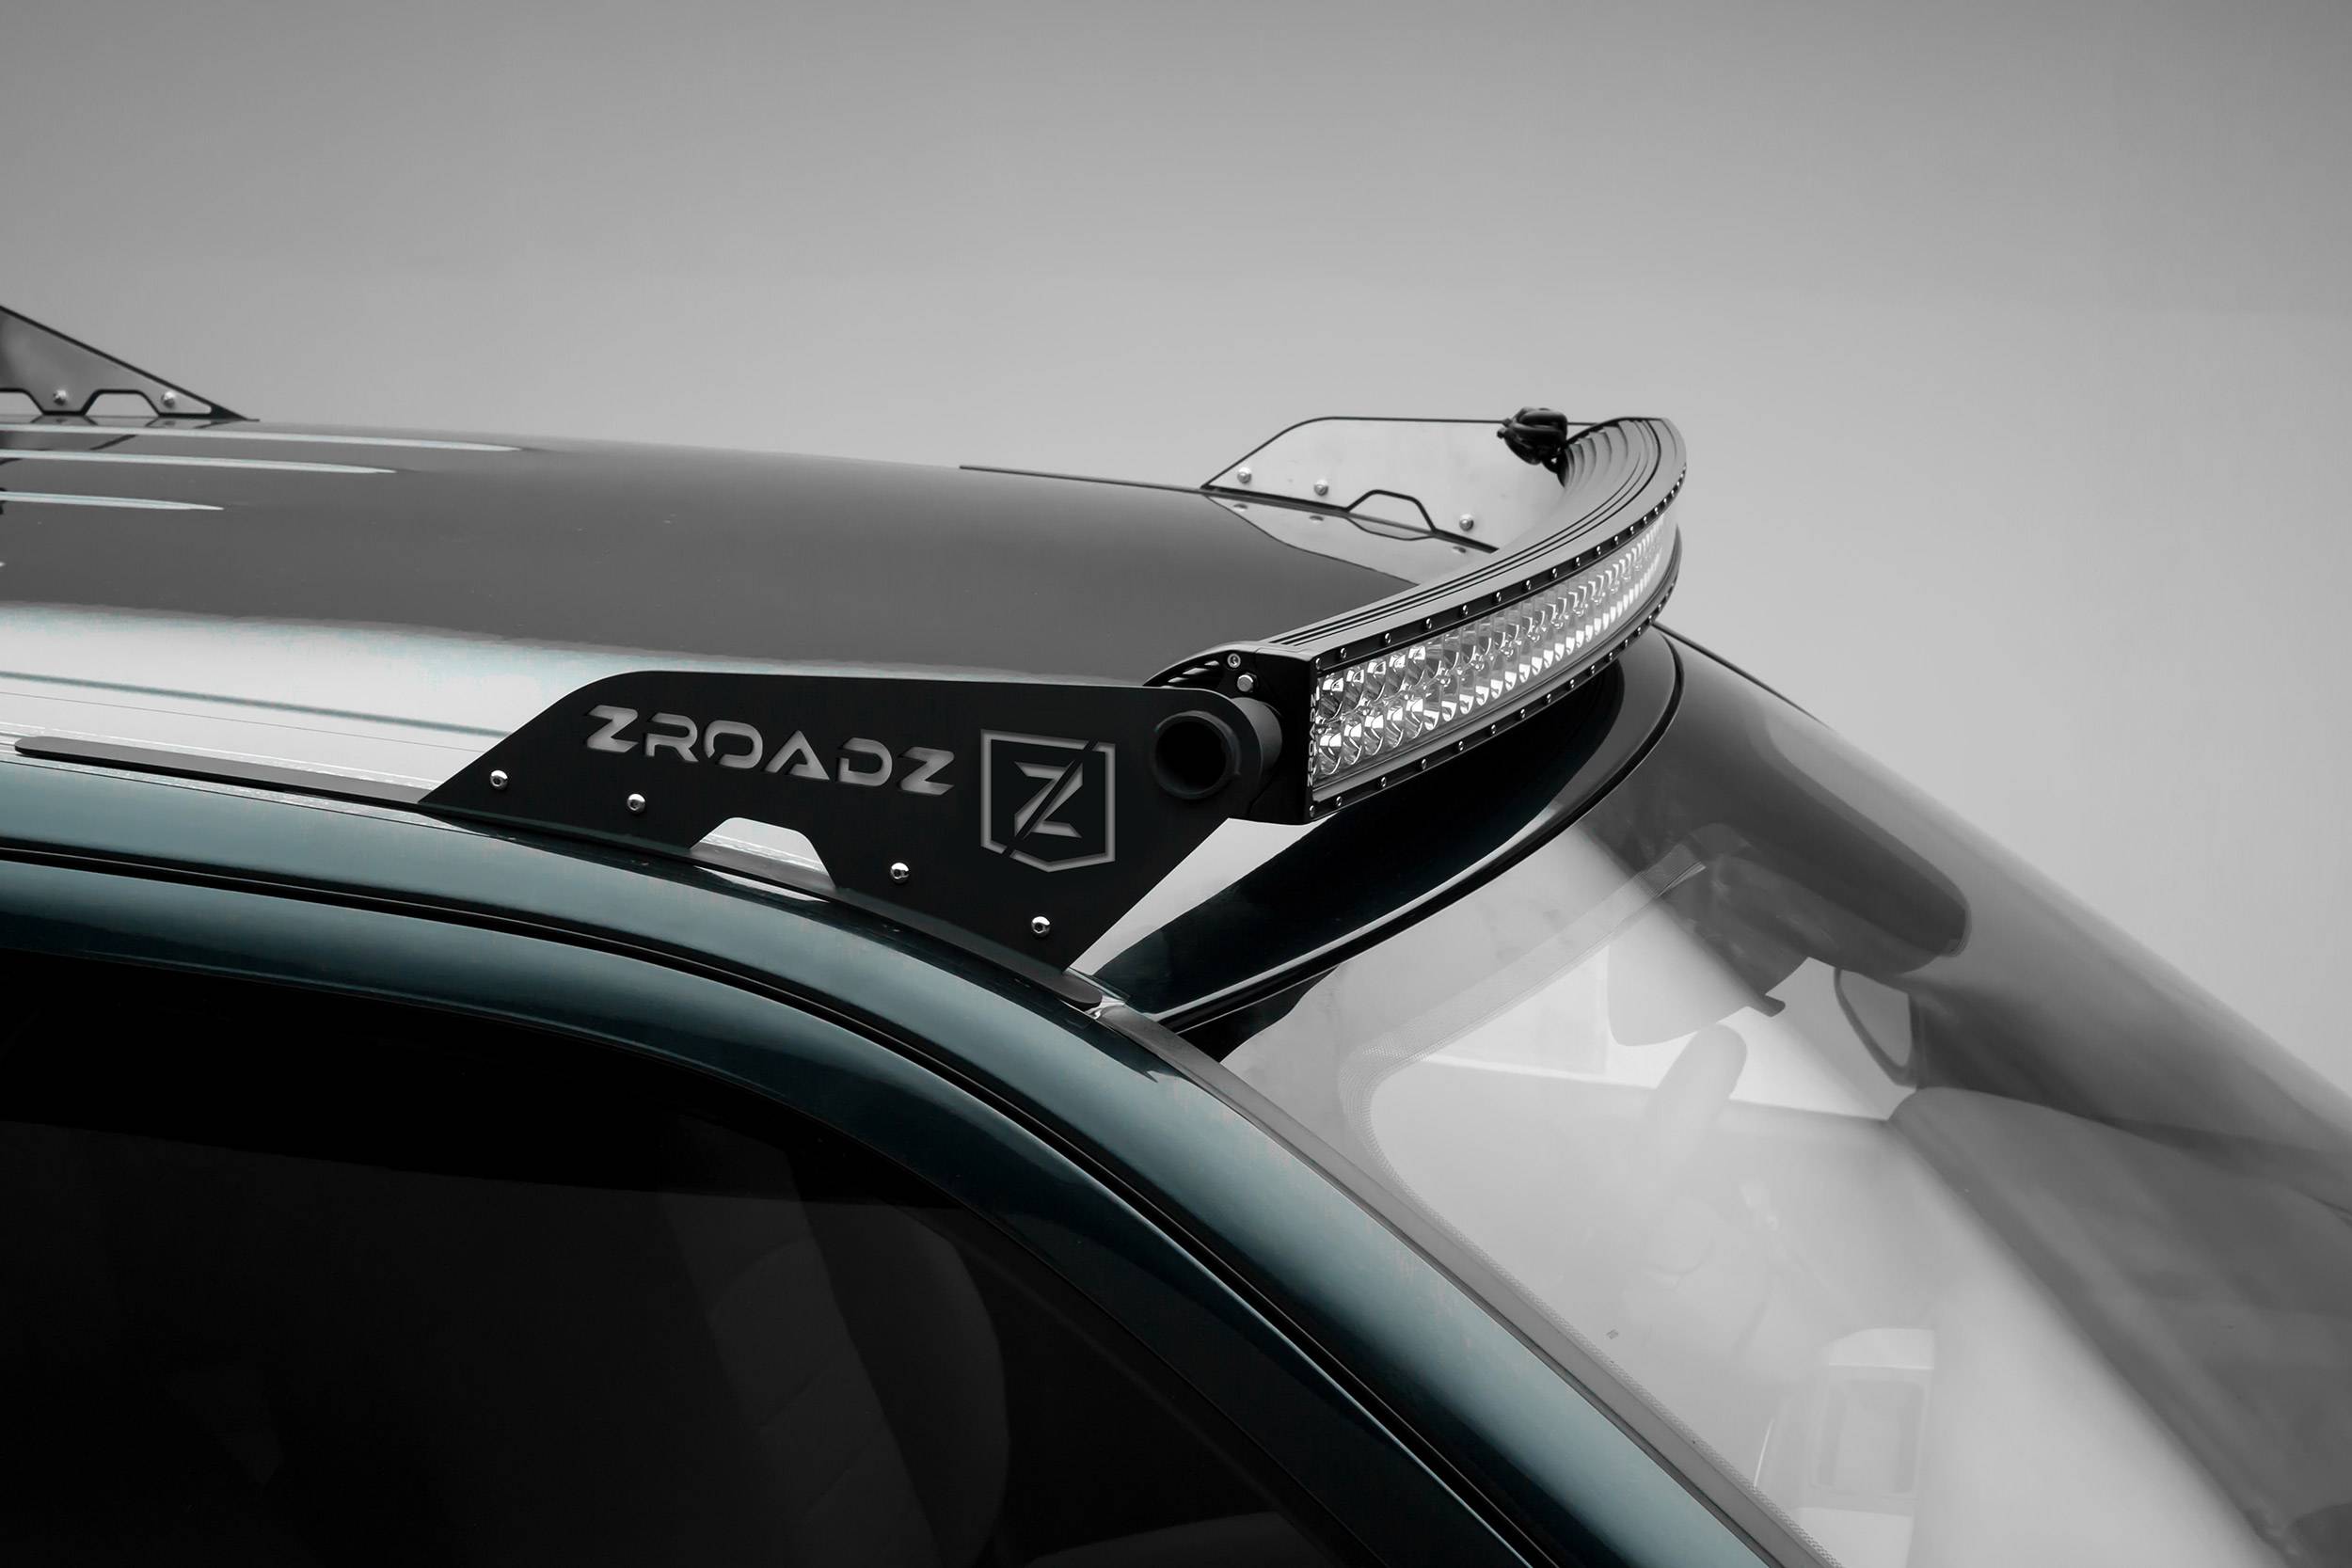
Credit: zroadz.com
Installing The Mounting Brackets
Curved light bars need strong brackets. Some brackets are adjustable. Others are fixed. Adjustable brackets offer more flexibility. Fixed brackets are sturdy. Choose the right type for your vehicle. Always check the size. It must fit perfectly. You don’t want it to move or fall. Safety is important.
Once you choose the bracket, it’s time to secure it. Use a wrench to tighten screws. Ensure each screw is tight. Loose screws can cause problems. Brackets should be firm. They hold the light bar. A loose bracket can be dangerous. Always double-check your work. Safety first!
Wiring And Electrical Connections
Safety is very important. Always wear safety gloves and goggles. Ensure the vehicle is off before you start. Keep your tools organized. Use insulated tools for electrical work. Check the area for flammable materials. Keep a fire extinguisher nearby. Double-check all connections before turning on the power.
Find the power source in the car. It is usually the battery. Use the right wires. Connect positive to positive. Connect negative to negative. Secure the wires with clips. Use a fuse for extra safety. Test the connection with a voltmeter. Make sure everything is tight. Now, you are ready to turn it on.
Adjusting And Testing The Light Bar
Adjust the angle of your light bar to get the best light. Use a simple wrench to turn the bolts. Make sure the light shines where you need it. It should not blind other drivers. A 45-degree angle is often a good start. Always check from a distance. See how the light spreads. Adjust if needed. This helps get the best view at night.
Testing your light bar is very important. Turn it on in a dark place. Look at how far the light goes. Check if it covers the road well. Make sure there are no dark spots. Walk around your vehicle. Look for any uneven light. This ensures you are safe while driving. Adjust if needed. Keep testing until you’re happy with it.
Maintenance And Troubleshooting
It’s crucial to check your curved light bar often. Look for any loose connections. Inspect the wiring for damage. Ensure the mounting brackets are tight. Regular checks keep your light bar working well.
Curved light bars can face some common issues. Flickering lights might occur. This often means a loose wire. Water damage can happen. This might affect the light’s brightness. Regular checks can help prevent these problems.
Conclusion
Mounting a curved light bar can be simple with the right steps. Start with gathering all necessary tools and materials. Follow the instructions carefully to ensure a secure fit. Test the light bar after installation to confirm proper alignment. A well-mounted light bar improves visibility and safety on the road.
Regular checks and maintenance keep it in top condition. Enjoy the enhanced lighting and style it brings to your vehicle. Remember, patience and precision are key. Happy driving with your new curved light bar!