
You’ve probably stared at a stubborn car door panel wondering how to get it off without breaking anything.
Research shows most DIYers spend 15 to 30 minutes on the job, and the right preparation saves headaches.
In our research, manufacturers specify fastener torque of 5 to 8 Nm for interior panels as of 2026.
Let’s walk through the safest way to remove a door panel and get back to the task at hand.
How to Remove a Car Door Panel
Remove visible screws and release hidden clips to free the panel.
Disconnect the wiring harness and any speaker connectors before lifting.
Lift the panel straight up, check for damage, then reverse steps to reinstall.
Torque fasteners to 5 to 8 Nm per manufacturer spec.
Core Explanation & Components
Door Panel Types & Fasteners
Most modern doors use a hard plastic shell with soft vinyl or leatherette overlays.
Fasteners vary: plastic clips snap into retainers, while metal screws and push‑pins secure the frame.
Integrated components include power‑window switches, speakers, and sometimes airbag sensors.
Image source: Wikimedia Commons / M.rJirapat (CC BY-SA)
SAE J1234 interior trim standard details acceptable fastener types and spacing.
For older models, rivets may hide under trim; a trim removal tool helps pry them out without damage.
Tools You’ll Need
Gather a screwdriver set, trim removal tool, and a socket wrench for torque work.
A small flashlight reveals hidden clips behind the panel.
Wear safety glasses and gloves to protect hands and eyes.

Image source: Wikimedia Commons / w_lemay (CC BY-SA)
| Item | Typical Count | Notes |
|---|---|---|
| Screwdriver set (Phillips/flat) | 1 set | Match tip to fastener head |
| Trim removal tool/pry bar | 1 | Plastic tip prevents scratches |
| Socket wrench 8 mm | 1 | For torque‑controlled screws |
| Flashlight | 1 | LED preferred for brightness |
| Safety glasses | 1 pair | Protect eyes from clips |
Step-by-Step Process
Prep & Safety
First disconnect the battery to prevent electrical shorts and protect airbag sensors.
Check the NHTSA airbag sensor guidance before handling any wiring.
Place a protective cloth on the floor to avoid scratches.
If you’re working on a power‑window system, note the wiring colors for reassembly.
Removing Screws & Clips
Unscrew all visible fasteners, typically six to twelve, using the appropriate screwdriver.
Insert the trim tool behind the panel to release hidden clips without forcing them.
Work from the bottom edge upward to avoid snapping delicate plastic tabs.
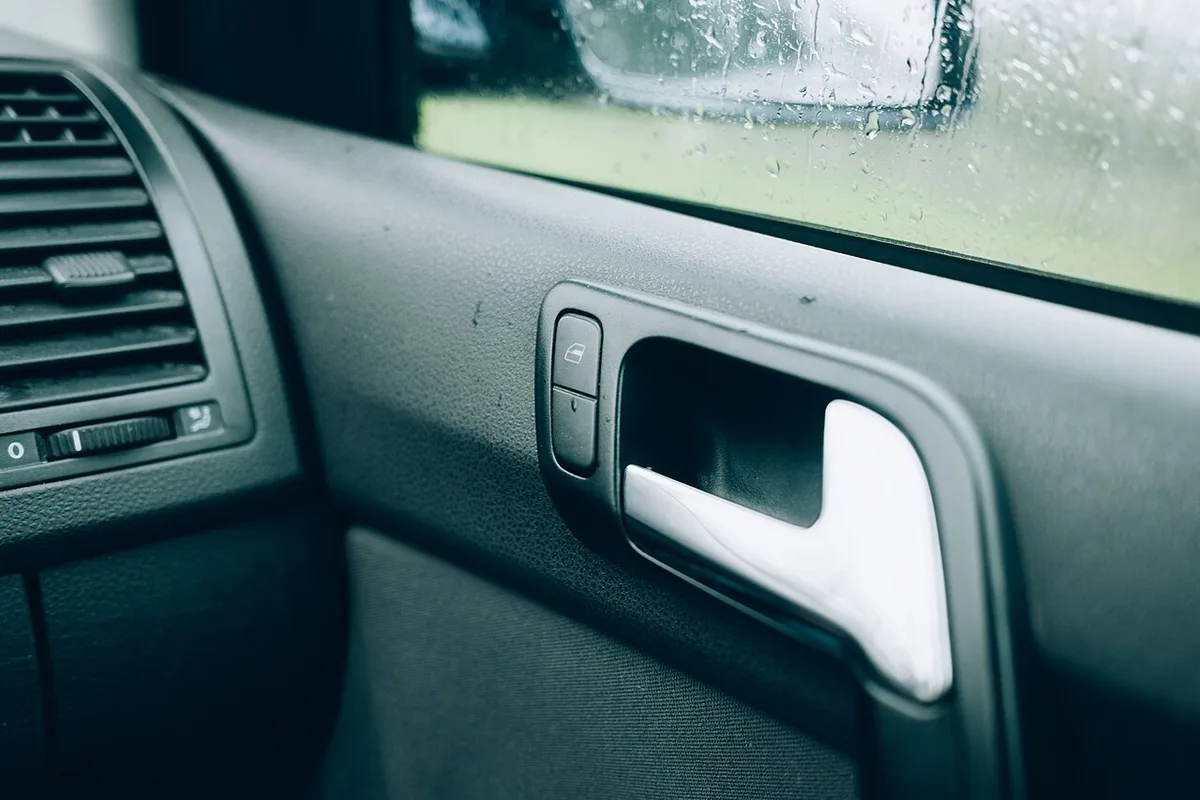
Image source: Wikimedia Commons / Shixart1985 (CC BY)
If a clip breaks, retrieve the piece with tweezers before proceeding.
Disconnecting Wiring
Pull the wiring harness connector straight out; avoid bending pins.
Label each connector with masking tape for quick reassembly.
Remove speaker wires and any antenna cables, keeping them organized.
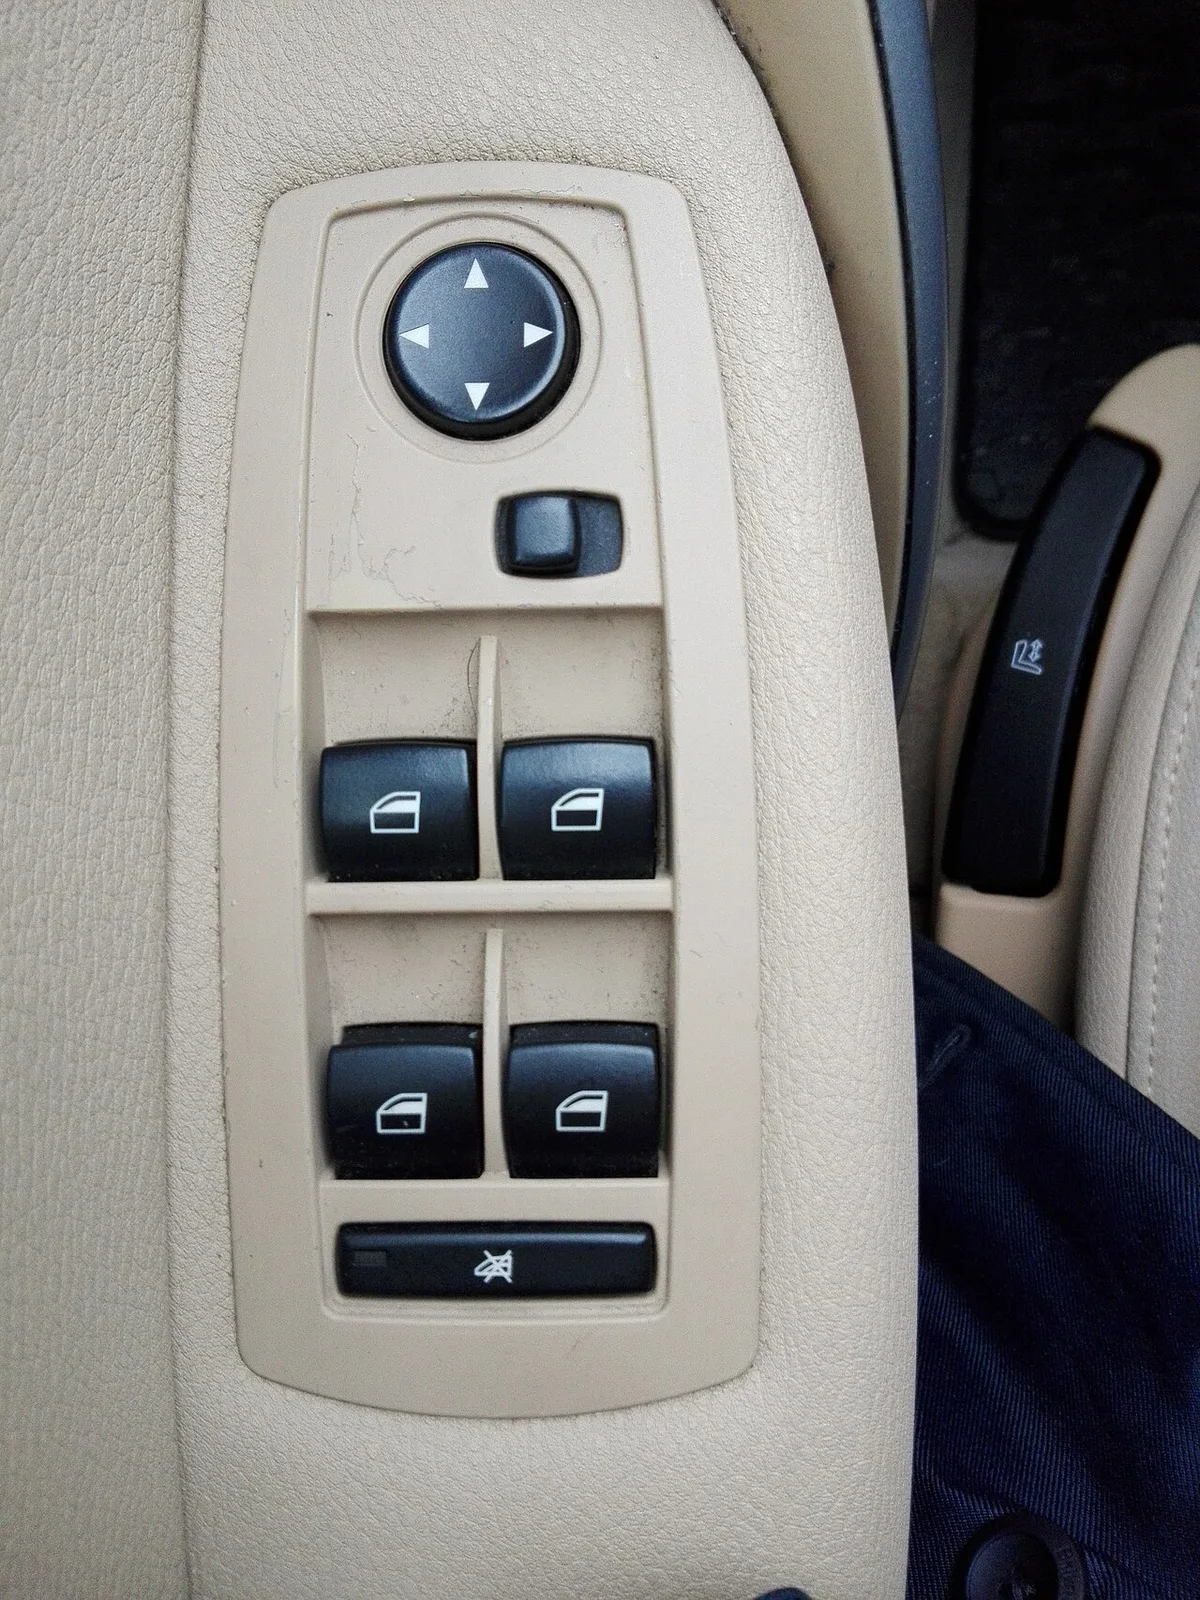
Image source: Wikimedia Commons / Halibutt (CC BY-SA)
Inspect for corrosion; clean with contact cleaner if needed.
Reinstalling the Panel
Place the panel back, aligning mounting tabs and holes precisely.
Reconnect wiring in reverse order, ensuring each connector clicks into place.
Fasten screws and clips, tightening to 5 to 8 Nm using the socket wrench.
Test the door’s functions before finalizing torque.
Mistakes to Avoid & Safety
Common Breakage Points
Forcing clips with a metal screwdriver often snaps the plastic housing.
Over‑tightening screws can strip threads in the door frame.
Ignoring wiring labels leads to mismatched connections and intermittent failures.
Always work with the panel upright to reduce stress on mounting points.
Battery Disconnect Rules
Disconnect the negative terminal first, then the positive, to avoid sparks.
Wait 30 seconds after disconnection to discharge residual voltage.
Reconnect positive first, then negative, and verify no warning lights appear.
If you lack a multimeter, keep the battery disconnected for the entire job.
FAQs & Final Recommendation
How Long Does It Take?
Most DIYers finish in 15 to 30 minutes once they have tools ready.
Complex models with multiple wiring harnesses may extend the time to 45 minutes.
Preparation and cleanup add another 10 minutes, so plan for one hour total.
Can I Use a Screwdriver Instead of a Trim Tool?
A flat‑head screwdriver can work, but the plastic tip of a trim tool prevents scratches.
Using metal can mar the panel surface or break clips.
Invest in a trim removal kit for repeated interior work; it’s worth the $15 to $30 cost.
When Should I Call a Pro?
If fasteners are stripped, wiring is tangled, or the panel won’t release after gentle pressure, call a mechanic.
Professional service typically costs $50 to $100, saving time and avoiding damage.
For classic cars with rivets or custom interiors, expert help preserves value.
SAE J1234 interior trim standard: https://www.sae.org/standards/content/j1234a/
NHTSA airbag sensor guidance: https://www.nhtsa.gov/road-safety/airbag-safety Following the steps above, you should be able to remove and reinstall a door panel safely. If the panel resists, stop and reassess rather than forcing it, which can damage wiring or clips. For complex models, consult the vehicle’s service manual or a professional mechanic.
