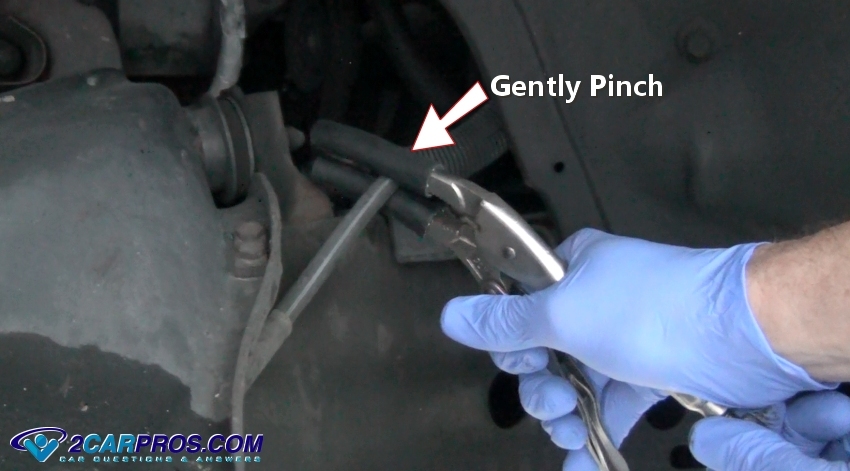
Preparation For Brake Line Removal
Before removing the brake line from the caliper, it is important to ensure the vehicle is parked on a flat and level surface and the parking brake is engaged.
Safety goggles and protective gloves should be worn at all times. Additionally, ensure that the engine is cool before starting the removal process.
Materials Needed:
- Box-end wrench
- Flare wrench
- Brake fluid catch pan
- Brake line bender
- Brake line flare tool
- New brake line
- Brake fluid
- Clean rags
- Penetrating oil
- Anti-seize lubricant
Step-by-Step Guide to Remove Brake Line from Caliper
Removing a brake line from a caliper is a straightforward process that requires attention to detail.
Follow this step-by-step guide to ensure a smooth and safe removal:
Step 1: Safety First
Before starting, ensure your vehicle is safely secured on a level surface. Put on safety gear, including gloves and safety glasses, to protect yourself from brake fluid splatter.
Step 2: Locate the Brake Line
Identify the brake line you want to remove. Follow it from the caliper to the point where it connects to the brake system. Typically, this connection point is a brake line junction or a flexible brake hose.
Step 3: Brake Fluid Catch Pan
Place a brake fluid catch pan beneath the area where you’ll be working to catch any brake fluid that may spill during the process.
Step 4: Loosen the Brake Line
Using an appropriate-sized wrench or brake line wrench, carefully loosen the brake line fitting. Keep in mind that brake line fittings can be tight, so use steady and controlled force to avoid damaging the fittings.
Step 5: Use Brake Line Wrench
If your brake line wrench has a specialized design for brake fittings, it can provide a more secure grip and reduce the risk of rounding off the fitting edges. Apply even pressure while turning the wrench counterclockwise.
Step 6: Brake Line Removal
Once the fitting is sufficiently loose, continue to unscrew it by hand. Be prepared for a small amount of brake fluid to drip. Direct the fluid into the catch pan.
Step 7: Cap or Plug the Opening
Quickly cap or plug the open end of the brake line to minimize brake fluid leakage and prevent air from entering the brake system. This step is crucial to maintaining proper brake function.
Step 8: Secure and Dispose
Secure the removed brake line to prevent it from hanging or causing damage. Properly dispose of the brake fluid following local environmental regulations.
Step 9: Inspection
Take this opportunity to inspect the brake line for any signs of damage, wear, or corrosion. If necessary, replace the brake line with a new one.
Alternative Removal Methods
In order to remove the brake line from the caliper, there are alternative methods that can be utilized. One method is to use a brake line wrench. This specialized tool is designed to fit over the brake line fitting and provide a secure grip for loosening and tightening.
The brake line wrench is available in different sizes to accommodate various brake line fittings. Another important step in the removal process is applying an anti-seize compound. This compound helps to prevent the brake line from seizing or sticking to the caliper, making it easier to remove in the future.
The anti-seize compound should be applied to the threads of the brake line fitting before reinstalling it. By following these methods, the brake line can be safely and effectively removed from the caliper.

Credit: www.toyotanation.com
Conclusion
Removing a brake line from your caliper is a task that can be accomplished with the right tools and proper technique. By following the step-by-step instructions provided in this blog post, you can safely and effectively remove the brake line without causing damage.
Remember to take your time, be cautious, and consult a professional if you are unsure. With a little patience and practice, you’ll be able to tackle this maintenance task confidently and keep your brakes in top condition. Happy wrenching!
