Are you struggling with dim or flickering headlights? It’s time to tackle the often-dreaded task of replacing your headlight bulb.
Knowing how to remove a headlight bulb from its socket is a crucial skill for every car owner. But don’t worry, it’s easier than you think, and you don’t need to be a car expert to get it done. In this guide, you’ll discover simple steps to remove your headlight bulb without any hassle.
Whether you’re dealing with an H11 bulb or one that seems stubbornly stuck, we’ve got you covered. Say goodbye to costly mechanic visits and take control of your car maintenance. Dive in to learn how to brighten your road ahead with ease and confidence.
Credit: www.youtube.com
How To Remove H11 Headlight Bulb From Socket
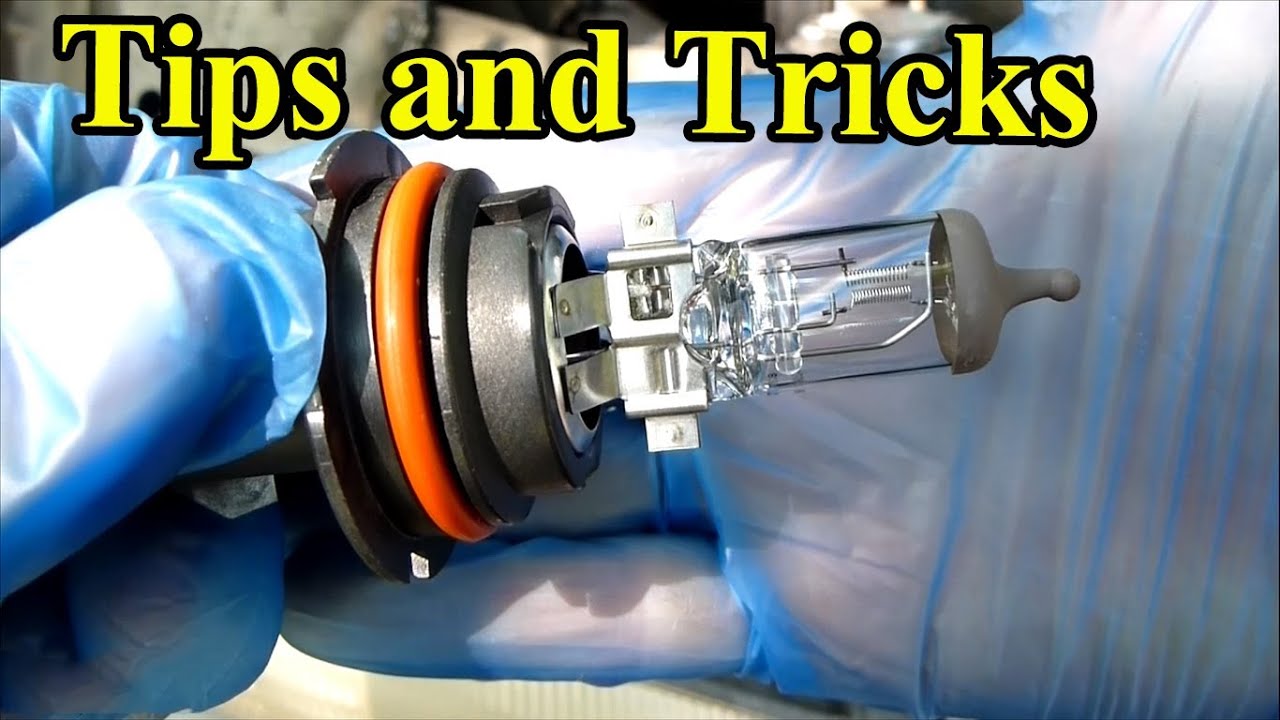
Removing the H11 headlight bulb involves turning it counter-clockwise to unlock it from the socket. Carefully pull the bulb out, ensuring you don’t touch the glass with your fingers. Disconnect the bulb from the wiring harness by pressing the release tab.
Removing an H11 headlight bulb might seem daunting at first. But with a few simple steps, you’ll find it quite manageable. This guide will help you navigate the process smoothly, ensuring you can do it with ease and confidence. Gather Necessary Tools Before starting, you’ll need a few items: – Screwdriver: Useful for removing any screws holding the headlight assembly.
– Gloves: Protects your hands and prevents oils from touching the bulb. – Flashlight: Provides better visibility inside the socket area. – Clean cloth: Useful for wiping down the bulb and socket if needed. Turn Off Your Vehicle It’s crucial to ensure safety during the process.
– Switch off the engine: Prevents any electrical accidents while handling the bulb. – Disconnect the battery: Ensures there’s no power flowing to the headlights. – Allow the bulbs to cool: Avoids burns from hot bulbs. Access the Headlight Assembly Finding the right entry point is essential.
– Open the hood: Gives access to the headlight area. – Locate the headlight compartment: Usually near the front of the vehicle. – Remove any covers or panels: Allows direct access to the bulb socket. Disconnect the Bulb Carefully handle the bulb for safety and efficiency.
– Identify the bulb socket: Locate the H11 bulb connection. – Twist the bulb counterclockwise: This releases it from the socket. – Gently pull the bulb out: Avoid using excessive force to prevent damage. Install New Bulb Now you’re ready to insert a new bulb.
– Align the new bulb: Match it with the socket grooves. – Twist clockwise to secure: Ensures the bulb is firmly in place. – Reattach any panels or covers: Returns the assembly to its original state. By following these steps, you’ll successfully remove and replace your H11 headlight bulb.
How To Remove Stuck Headlight Bulb From Socket
Removing a stuck headlight bulb requires patience and care. First, ensure the car is off and cool. Gently twist and pull the bulb, using a cloth for grip if needed, to avoid breaking it.
Removing a stuck headlight bulb can be tricky. Many car owners face this issue, often feeling frustrated. Luckily, there are steps you can follow to safely remove the bulb without causing damage. Assess the Situation Before starting, understanding the problem helps.
Here’s what to look for: – Check for corrosion: The socket may be rusty, preventing easy removal. – Inspect for physical obstructions: Dirt or debris might be blocking the bulb’s movement. – Analyze bulb condition: A broken bulb can complicate removal.
Gather Necessary Tools Certain tools make the job easier. Consider having these on hand: – Gloves: Protect your hands from sharp edges. – Screwdriver: Useful for prying the bulb gently. – Lubricant: Helps loosen any corrosion in the socket. Apply a Gentle Twist Begin by trying a simple twist.
This often works well: – Grip the bulb gently: Use gloves to get a firm hold. – Twist counterclockwise: This direction typically releases the bulb. – Maintain steady pressure: Avoid forcing the bulb, which can break it. Use Lubrication If the bulb remains stuck, lubrication can help.
Here’s how to proceed: – Apply a small amount: Use a lubricant designed for electrical parts. – Let it sit: Allow the lubricant to penetrate for a few minutes. – Try twisting again: The lubricant may have loosened the bulb.
Consider Professional Help Sometimes, expert help is necessary. If the bulb remains stuck: – Contact a mechanic: They can safely remove the bulb. – Prevent further damage: Professionals have the right tools and experience. These methods can help remove a stuck headlight bulb.
Always take care to avoid damaging the socket or bulb.

Credit: www.hella-bulbs.com
Conclusion
Removing a headlight bulb can be simple with the right steps. Always start by turning off your car for safety. Locate the bulb socket under the hood. Twist gently to release the bulb. If stuck, use a cloth for better grip.
Check for any clips or tabs holding the bulb. Carefully remove the bulb from its socket. Replace with a new one if needed, ensuring it fits securely. Remember, patience is key. Following these steps makes the process smooth. Enjoy clear headlights and safe driving.