Are you looking to tackle a car maintenance task on your own? Removing the lower dash panel under the steering wheel might sound daunting, but it’s simpler than you think.
Whether you’re fixing a wiring issue, installing a new accessory, or just curious about your vehicle’s inner workings, this guide will walk you through the steps with ease. Imagine the satisfaction of understanding your car better and saving money on mechanic fees.
By the end of this article, you’ll be ready to handle this task confidently and efficiently. So, let’s get started and empower yourself with the know-how to remove that lower dash panel like a pro!
Credit: www.f150forum.com
Tools Needed
Essential tools include a screwdriver set and a panel removal tool. These help in loosening screws and gently prying panels without damage. A flashlight can illuminate hard-to-see areas, ensuring safe and accurate removal.
Removing the lower dash panel under your steering wheel can seem daunting, but with the right tools, it’s a task you can handle with ease. Having the correct tools not only simplifies the process but also helps prevent damage to your vehicle. Imagine not having to run back and forth to the toolbox or the auto parts store, saving you time and frustration. ###Basic Screwdriver Set
A basic screwdriver set is essential. You’ll likely need both a Phillips and a flathead screwdriver. These are used to remove screws holding the panel in place. Make sure your screwdrivers are the right size to avoid stripping screws. Stripped screws can turn a simple task into a major headache. ###Socket Wrench Set
A socket wrench set will be your best friend. Some panels are secured with bolts that require a socket wrench to remove. Use the correct socket size to ensure a snug fit. A loose fit can damage the bolt, complicating your task further. ###Trim Removal Tool
Consider investing in a trim removal tool. This tool helps you gently pry the panel away from the dash without scratching or breaking it. Plastic trim removal tools are ideal because they are less likely to damage the interior surfaces. They’re affordable and a great addition to your toolkit. ###Flashlight Or Headlamp
A flashlight or headlamp is crucial for visibility. Under the dash can be quite dark, and good lighting will help you see what you’re doing. A headlamp keeps your hands free, making it easier to work efficiently. Why struggle in the dark when you can illuminate your work area? ###Work Gloves
Protect your hands with work gloves. The area under the dash can have sharp edges or rough materials. With gloves, you can work comfortably and safely. No one wants to end a DIY project with cuts or bruises. Think about how much easier this process will be with the right tools. It’s like having a secret weapon to tackle car maintenance. Wouldn’t you prefer to approach this task with confidence and ease?Safety Precautions
Removing the lower dash panel under the steering wheel requires care and precision. Safety is crucial to prevent injuries and damage. Following proper precautions ensures a smooth process.
Disconnect The Battery
Before starting, disconnect the car’s battery. This prevents electrical shocks. It also stops the airbag from deploying accidentally.
Wear Protective Gear
Wear gloves to protect your hands from sharp edges. Safety goggles shield your eyes from dust and debris. These simple steps can prevent accidents.
Ensure Proper Lighting
Work in a well-lit area to see all components clearly. Good lighting reduces the risk of mistakes. It also helps in spotting any hidden screws.
Use The Right Tools
Using the correct tools is essential. It prevents damage to the panel and surrounding parts. This makes the process easier and safer.
Keep Area Clean And Organized
Keep your workspace tidy. An organized area helps you find tools quickly. It also prevents losing small parts.
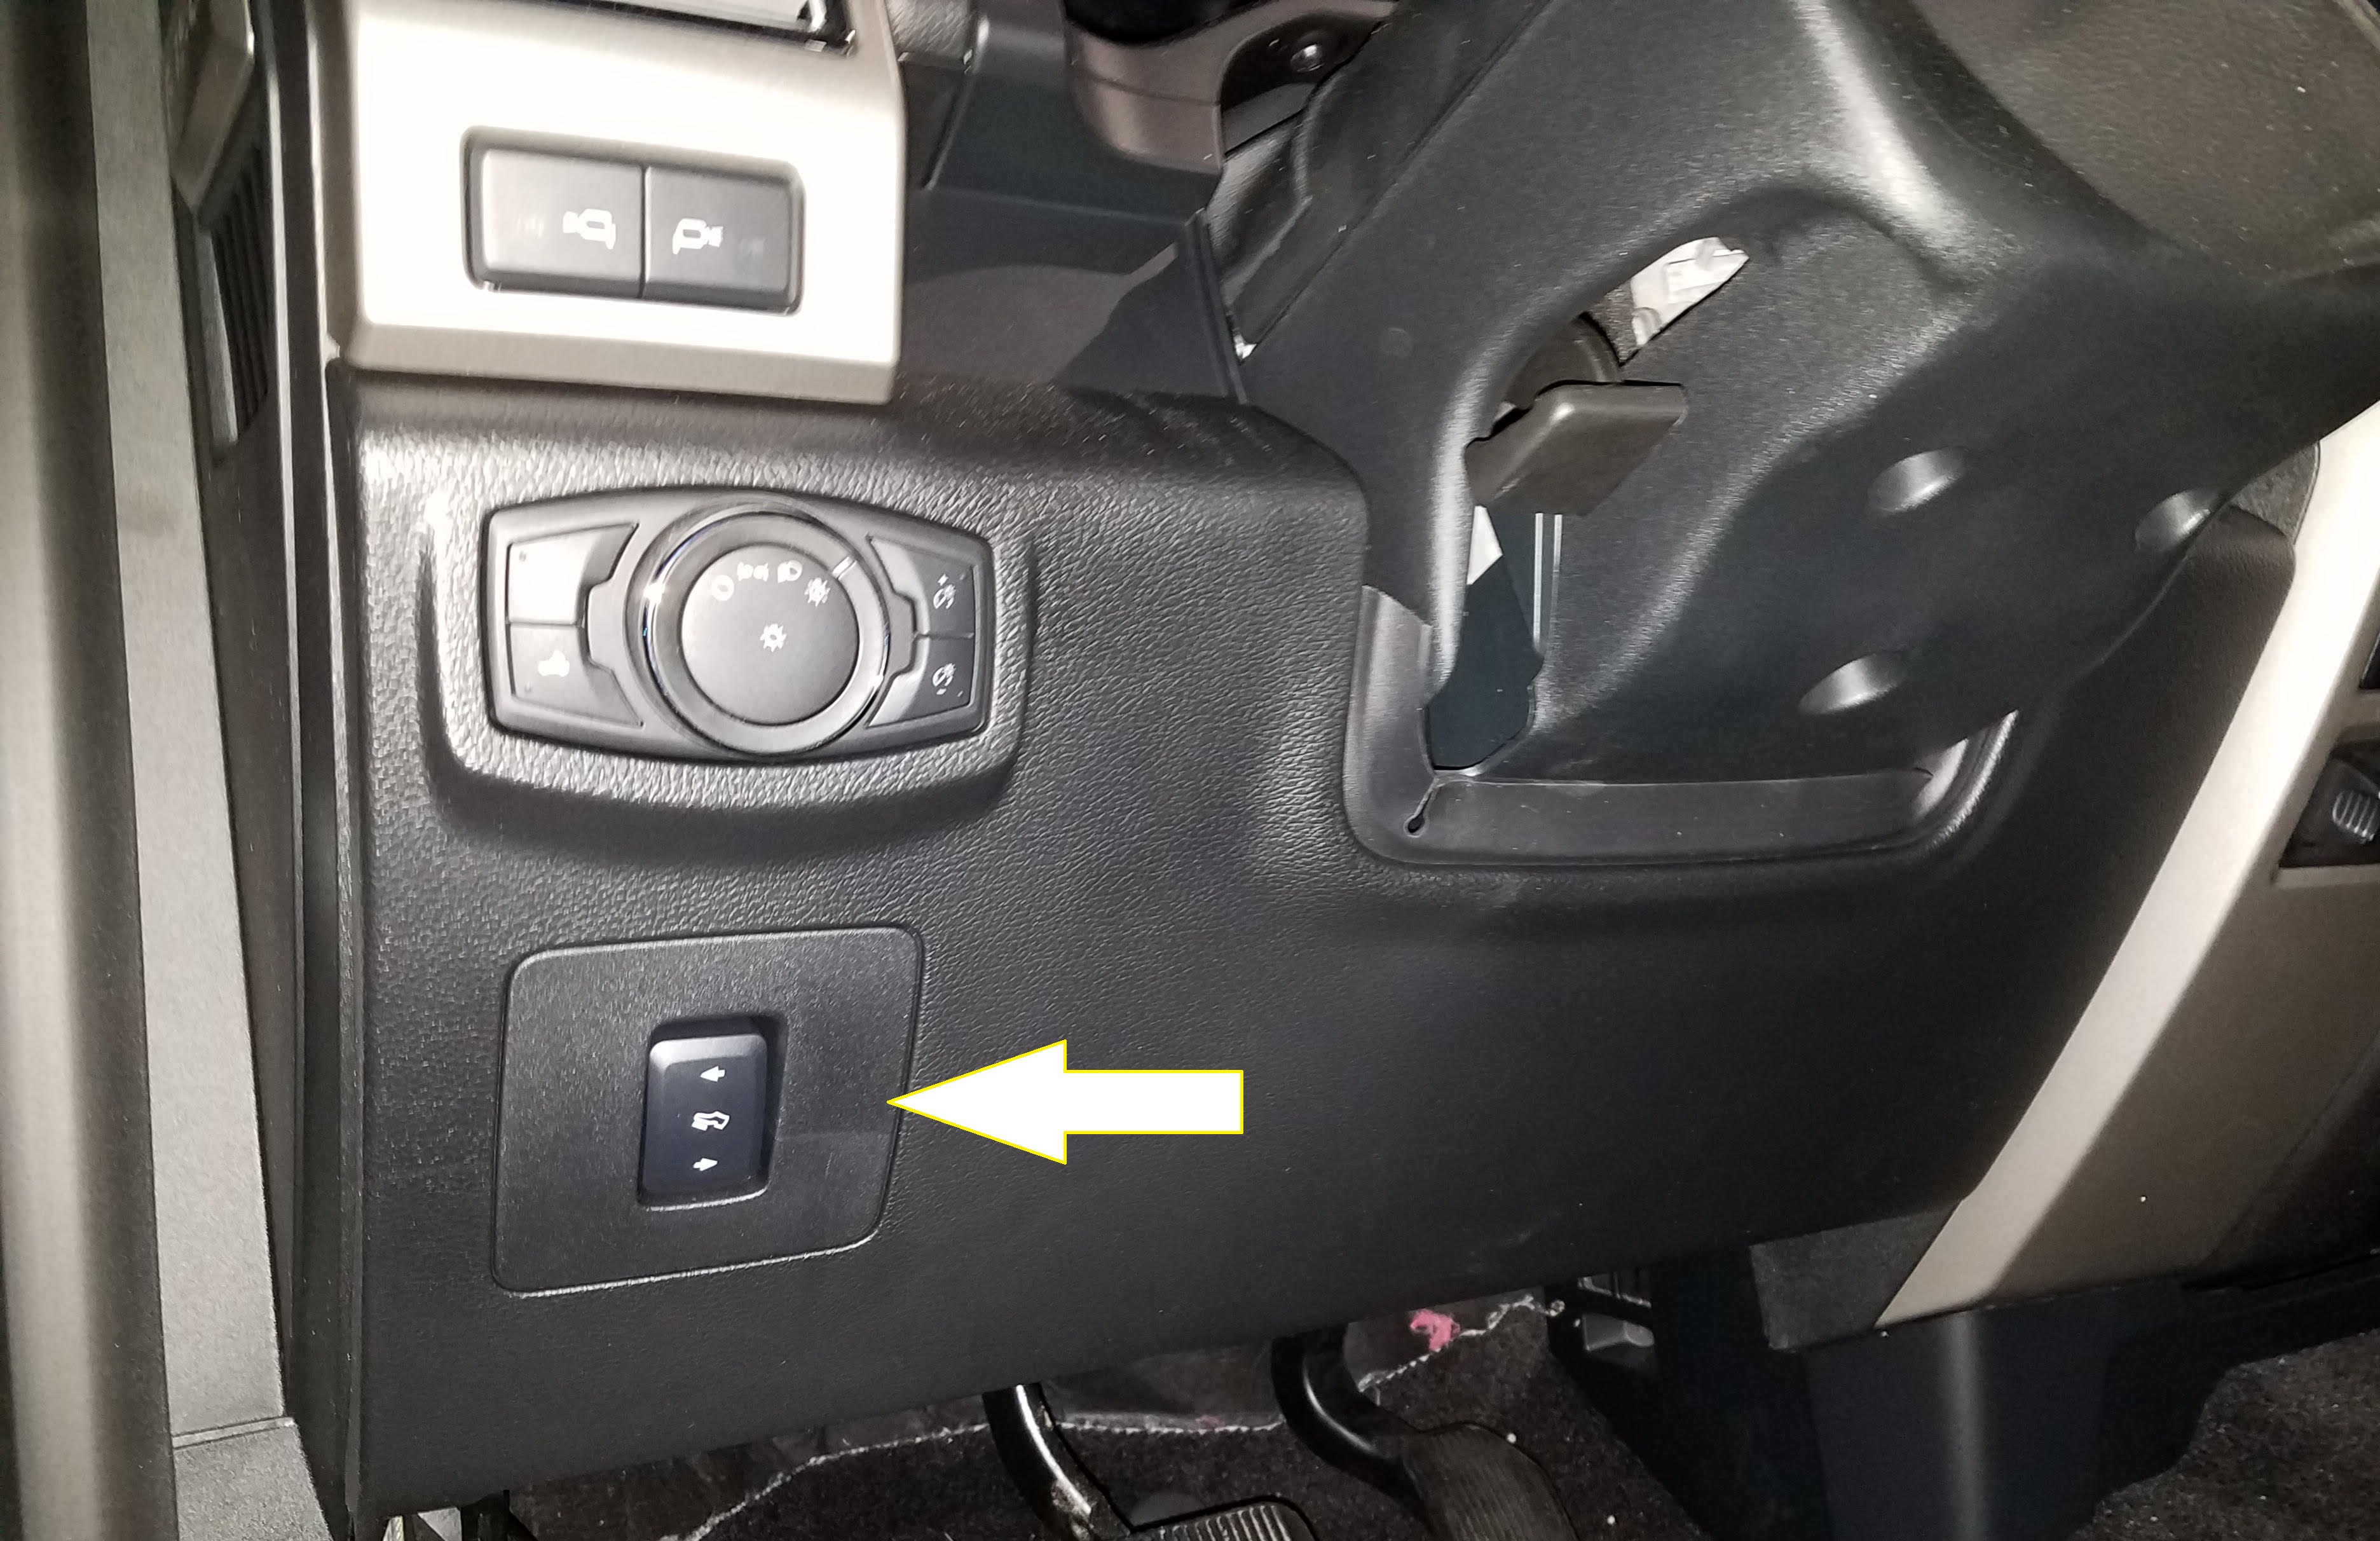
Locate Fasteners
Removing the lower dash panel under the steering wheel starts with locating fasteners. These fasteners secure the panel in place. Knowing their location ensures a smooth removal process. Proper identification helps you avoid damage and makes reinstallation easier. Follow the steps below to locate these fasteners effectively.
Check Manufacturer’s Manual
The first step is to check the manufacturer’s manual. This guide offers specific details about your vehicle model. It usually has diagrams showing fastener locations. The manual provides the exact number of fasteners to look for. Keep this guide handy for reference during the process.
Identify Screw Types
Identifying screw types helps you choose the right tools. Vehicles may use different screws like Phillips or Torx. Use a flashlight for better visibility. Check the screws closely to know their type. This step prevents tool mismatch and potential damage.
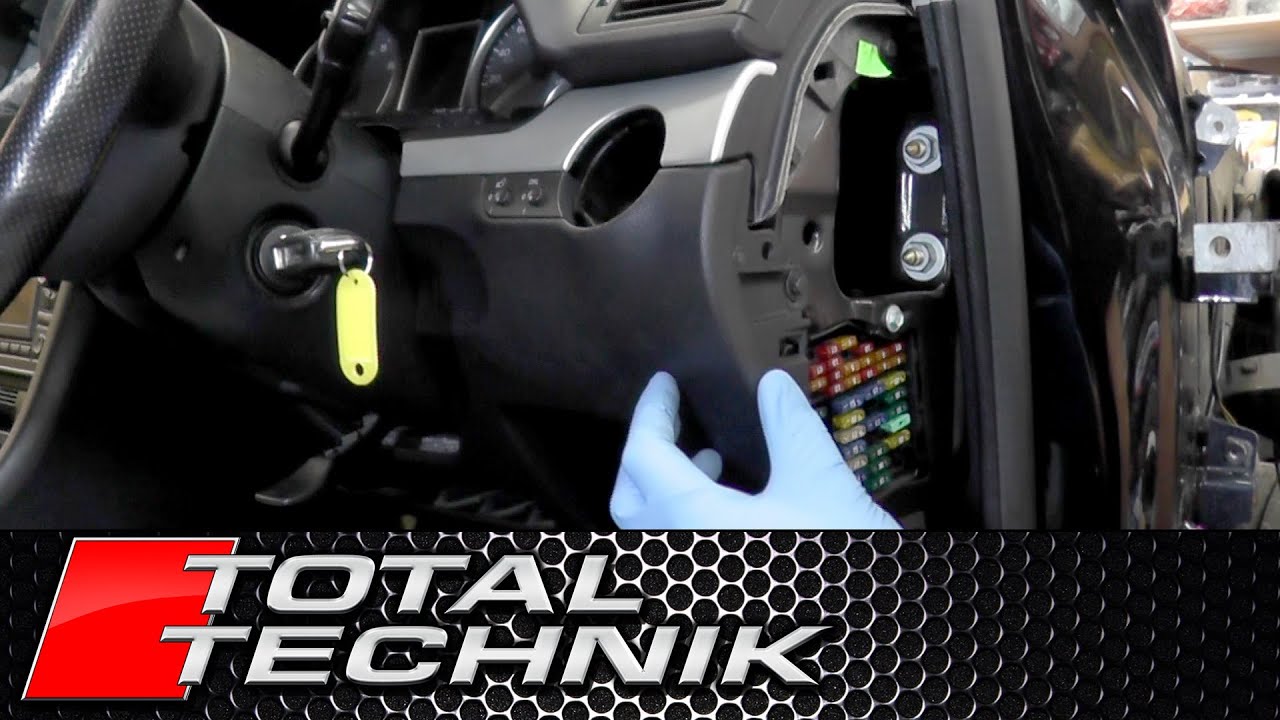
Disconnect Electrical Components
Disconnecting electrical components is a critical step when removing the lower dash panel. It ensures safety and prevents damage to your vehicle’s electronic systems. Follow these steps to safely disconnect the components under the steering wheel.
Unplug Wiring Harnesses
Wiring harnesses connect various electronic systems in your car. Locate these harnesses under the dash panel. Carefully unplug them by pressing the release tab. Avoid pulling on the wires directly. This prevents damage to the connectors.
Remove Electronic Modules
Electronic modules control key vehicle functions. Identify these modules near the wiring harnesses. Unscrew them from their mounts using a screwdriver. Gently pull the modules out from their sockets. Handle with care to avoid damaging the pins or connectors.
Remove Fasteners
Removing the lower dash panel under the steering wheel requires precision. Fasteners secure the panel to the dashboard. Removing them properly ensures a smooth disassembly process. This section will guide you through the steps involved in removing fasteners safely and efficiently.
Use Appropriate Tools
Start by selecting the right tools for the job. A screwdriver set can be handy. Phillips or flathead types are common for these fasteners. Ensure the tools fit perfectly to avoid stripping the screws. Consider using a magnetic screwdriver to prevent losing screws. This makes the removal process easier and faster.
Store Fasteners Safely
Keep track of all the fasteners. Use a small container or bag to store them. This prevents losing important pieces during the process. Label the container if needed. You can use sticky notes or tape for labeling. This helps in organizing and identifying fasteners later. Proper storage is key to a successful reassembly.
Detach Lower Dash Panel
Removing the lower dash panel under the steering wheel can seem tricky. With the right approach, it’s straightforward. Follow these steps to detach the panel safely.
Gently Pull Panel
Begin by checking the panel’s edges. Look for any screws or fasteners. If none are visible, grip the panel’s edge. Apply gentle pressure to pull it away. Do not force the panel, as it could snap. Use steady hands and patience.
Check For Hidden Clips
After initial detachment, inspect for hidden clips. Panels often have clips inside that hold them. Use a flashlight to see inside. If clips are present, use a flat tool to release them. Slide the tool gently between the panel and dash. Move slowly to avoid damage.
These steps help detach the lower dash panel effectively. With care, the panel will come off smoothly. Remember to keep all screws and clips safe for reattachment.
Inspect And Clean Area
Gently remove screws to detach the lower dash panel. Carefully disconnect any clips holding it in place. Clean the area to ensure smooth reassembly and avoid future issues.
Inspecting and cleaning the area under the steering wheel is crucial. It ensures your car’s interior remains in good condition. Before reinstalling the lower dash panel, spend time on this task. A clean and well-maintained area can prevent potential issues. It also enhances your driving experience.Check For Wear And Tear
Look closely at the components under the dash. Examine wiring, connectors, and clips for any damage. Check for cracks, frayed wires, or broken parts. Spotting issues early can save time and money. Replace or repair any damaged parts immediately.Clean Dust And Debris
Dust and debris accumulate over time. Use a soft brush or vacuum to clean the area. Ensure all surfaces are free from dust and dirt. Pay attention to corners and tight spaces. Keeping the area clean improves air quality inside the car. A clean interior can also make your car more comfortable.Reinstallation Tips
Reinstalling the lower dash panel under the steering wheel demands careful attention. After removing it, putting it back involves certain steps. This ensures the panel fits well and functions properly. Follow these tips to make the process easier and efficient.
Align Panel Correctly
Begin by holding the panel near its position. Check all edges and corners for proper alignment. Ensure the clips and connectors meet their slots. Misalignment may lead to rattling noises. It could also cause trouble in accessing other components.
Secure Fasteners Firmly
Once aligned, focus on the fasteners. Use the right tools to tighten each screw and bolt. Avoid over-tightening, which can damage the panel. Ensure each fastener holds the panel securely. Loose fasteners can result in vibrations.
Troubleshooting Common Issues
Troubleshooting common issues with removing the lower dash panel can save time. Whether dealing with misalignment or electrical problems, understanding these challenges helps. It’s essential to address these issues for a smooth removal process.
Panel Misalignment
Misalignment of the dash panel can cause frustration. It often occurs if screws are not tightened evenly. Check all screws and realign them carefully. Gentle adjustments can prevent damage to the panel. Use a screwdriver to ensure each screw fits properly. Aligning the panel correctly makes removal easier.
Loose Electrical Connections
Loose electrical connections are a frequent issue. They can affect the functionality of controls. Inspect the wiring closely for any loose connections. Tighten any loose wires using pliers or a screwdriver. Ensure wires are secure before removing the panel. Properly connected wires prevent further electrical issues.
Credit: www.youtube.com
Credit: www.reddit.com
Conclusion
Taking off the lower dash panel is straightforward with the right steps. Follow the instructions carefully to avoid damage. Always check your car’s manual for specific details. Keep tools handy and organized. Patience helps ensure everything fits back perfectly. Remember, safety first during any car maintenance.
Double-check each step to prevent mistakes. This task enhances your understanding of car interiors. Enjoy the satisfaction of a job well done. Share your experience with others who may find it useful. Happy tinkering with your vehicle!