Have you ever stepped into your Ford truck, only to realize that your side steps are wobbly or damaged? It’s a common issue that can be both annoying and unsafe.
Imagine the ease and comfort of getting in and out of your vehicle without worrying about a shaky step. You deserve a smooth and secure entry every time. In this guide, you’ll learn how to repair Ford side steps with simple and effective techniques.
Whether you have a Ford F150 or a Ford Ranger, fixing your side steps is easier than you might think. We’ll walk you through everything you need to know, from gathering the right tools to executing the repair flawlessly. By the end, you’ll not only have sturdy side steps but also the satisfaction of having tackled the job yourself. So, if you’re ready to boost your truck’s functionality and safety, keep reading. Your Ford deserves the best, and you have the power to make it happen.

Credit: www.ebay.com
How To Install Side Steps On Ford F150
Installing side steps on a Ford F150 requires basic tools and patience. First, prepare the vehicle by cleaning and checking alignment. Then, securely attach the brackets and side steps, following the instructions closely. This process enhances accessibility and style without extensive mechanical skills.
Installing side steps on a Ford F150 is a practical upgrade. It enhances accessibility and adds a stylish touch. Whether you’re a seasoned DIY enthusiast or trying it for the first time, this guide will simplify the process. Preparing for Installation Getting ready is crucial.
Ensure you have everything before starting. – Gather Tools: Screwdriver, wrench, drill, and measuring tape. – Safety Gear: Gloves and goggles for protection. – Clear Workspace: Ensure enough space for movement around the truck. Choosing the Right Side Steps Selecting the ideal side steps is important.
Consider these factors. – Material: Aluminum or stainless steel offer durability. – Style: Choose between tubular, running boards, or retractable. – Compatibility: Ensure steps fit your specific F150 model. Step-by-Step Installation Guide Let’s dive into the installation process. Follow these steps for a smooth experience.
1. Position the Side Steps: Align them with the truck’s mounting points. 2. Secure the Brackets: Attach brackets using bolts and ensure tight fit. 3. Attach the Side Steps: Use screws to fasten the steps to the brackets. 4. Check Alignment: Make sure steps are level and properly aligned.
5. Test Stability: Step on them gently to check sturdiness. Common Mistakes to Avoid Avoid these pitfalls to ensure a successful installation. – Incorrect Measurements: Double-check dimensions before drilling. – Loose Bolts: Tighten all bolts to prevent wobbling. – Wrong Tools: Use appropriate tools to avoid damage.
With these steps, your Ford F150 will have functional and stylish side steps in no time.
How To Install Side Steps On Ford Ranger
Installing side steps on a Ford Ranger can enhance both style and convenience. Begin by gathering necessary tools like a wrench and drill. Secure the brackets to the truck’s underside, ensuring alignment with the existing holes for stability. Finish by attaching the steps, tightening bolts securely.
Side steps on a Ford Ranger can elevate its look and functionality. Whether you need easier access or a stylish upgrade, installing them is a rewarding DIY project. Let’s dive into the process of installing side steps on your Ford Ranger.
Tools Needed Gathering the right tools is essential before you start: – Socket wrench set: Needed to secure bolts tightly. – Drill with bits: Required for drilling holes, if needed. – Safety goggles: Protects your eyes while working. – Measuring tape: Ensures accurate placement of side steps.
– Jack stands: Supports the vehicle safely during installation. Preparing Your Vehicle Begin by preparing your vehicle for installation. Ensure the vehicle is parked on a flat surface. This prevents any movement during installation. Next, check the side step kit for all necessary components.
Missing parts can delay your work. Clean the area where the steps will be mounted. Dirt and debris can hinder installation. Marking and Drilling Marking and drilling are crucial steps for precision: – Measure and mark: Use the measuring tape to mark where the side steps will be installed.
– Drill holes: If pre-drilled holes aren’t available, use a drill to create them. – Align brackets: Ensure the brackets align with the drilled holes. Attaching the Brackets Secure the brackets to the vehicle frame: – Position brackets: Align them with the holes and ensure they are level.
– Tighten bolts: Use a socket wrench to secure the bolts firmly. – Double-check: Ensure all bolts are tightened and brackets are secure. Installing the Side Steps Finally, install the side steps on the brackets: – Place side steps: Position them on the mounted brackets.
– Secure with bolts: Tighten bolts using the socket wrench. – Test stability: Step on the side steps gently to check stability. Final Adjustments Make necessary adjustments before finalizing: – Check alignment: Ensure the side steps are straight and aligned.
– Tighten loose bolts: Re-check all bolts and tighten if needed. – Clean the area: Remove any debris or tools from the work area. Installing side steps on your Ford Ranger can be straightforward with the right tools and steps.
Enjoy your new addition!
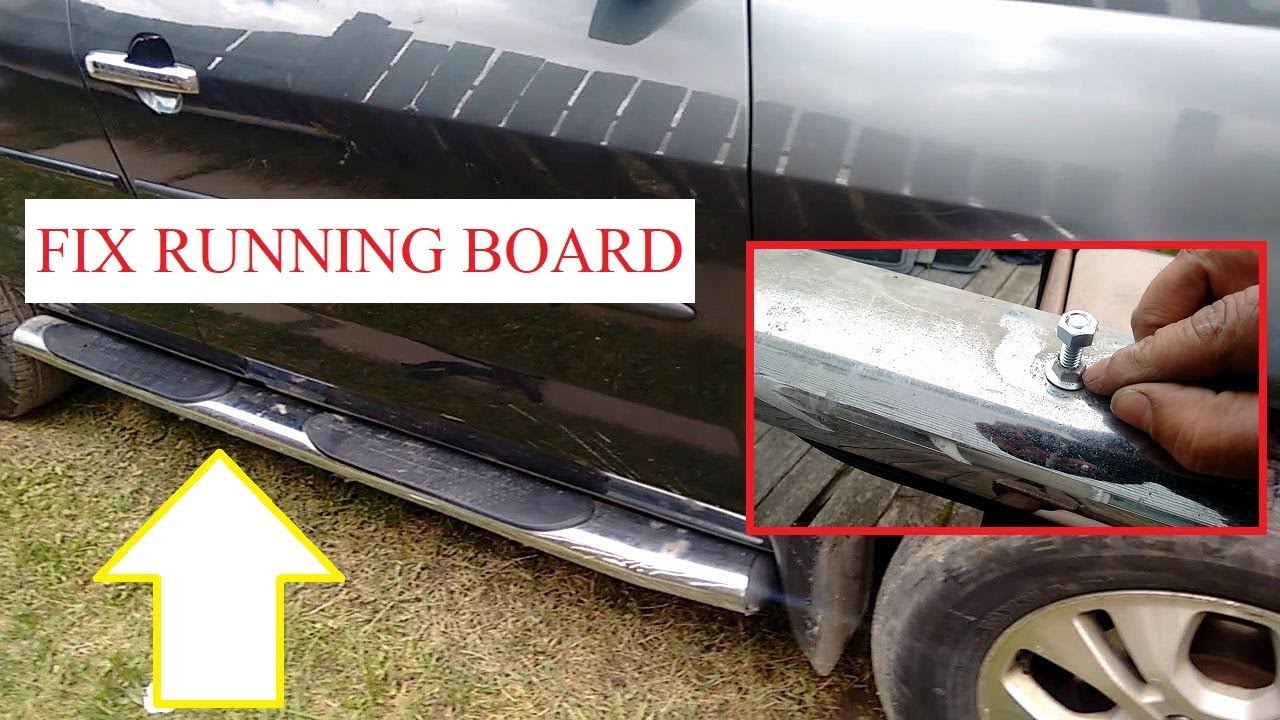
Credit: www.youtube.com
Conclusion
Repairing Ford side steps is straightforward with the right tools. Follow each step carefully, ensuring a secure fit. Check bolts and connections regularly to maintain stability. Always use quality materials for long-lasting results. Practice safety by using the correct protective gear.
With patience and attention, your Ford side steps will look and perform like new. Keep this guide handy for future repairs. This will save both time and money. Happy driving with your newly repaired side steps!