When it comes to maintaining the performance and safety of your Chevy truck 4×4, replacing the lower ball joint is an essential task. Over time, the ball joint can wear out, leading to steering issues and potential safety hazards.
By following the proper steps and using the right tools, you can replace the lower ball joint and ensure the continued reliability of your vehicle.
In this guide, we will cover the necessary steps to replace the lower ball joint on your Chevy truck 4×4, allowing you to complete this task with confidence and precision.
Credit: www.gm-trucks.com
Assessing The Lower Ball Joint Condition
When it comes to assessing the lower ball joint condition, it is crucial to understand the symptoms of a worn lower ball joint. Look for excessive tire wear, knocking noises, or vehicle vibrations while driving, as these could indicate a worn ball joint.
The tools and equipment needed for the replacement include a ball joint press, torque wrench, socket and wrench set, and safety glasses.
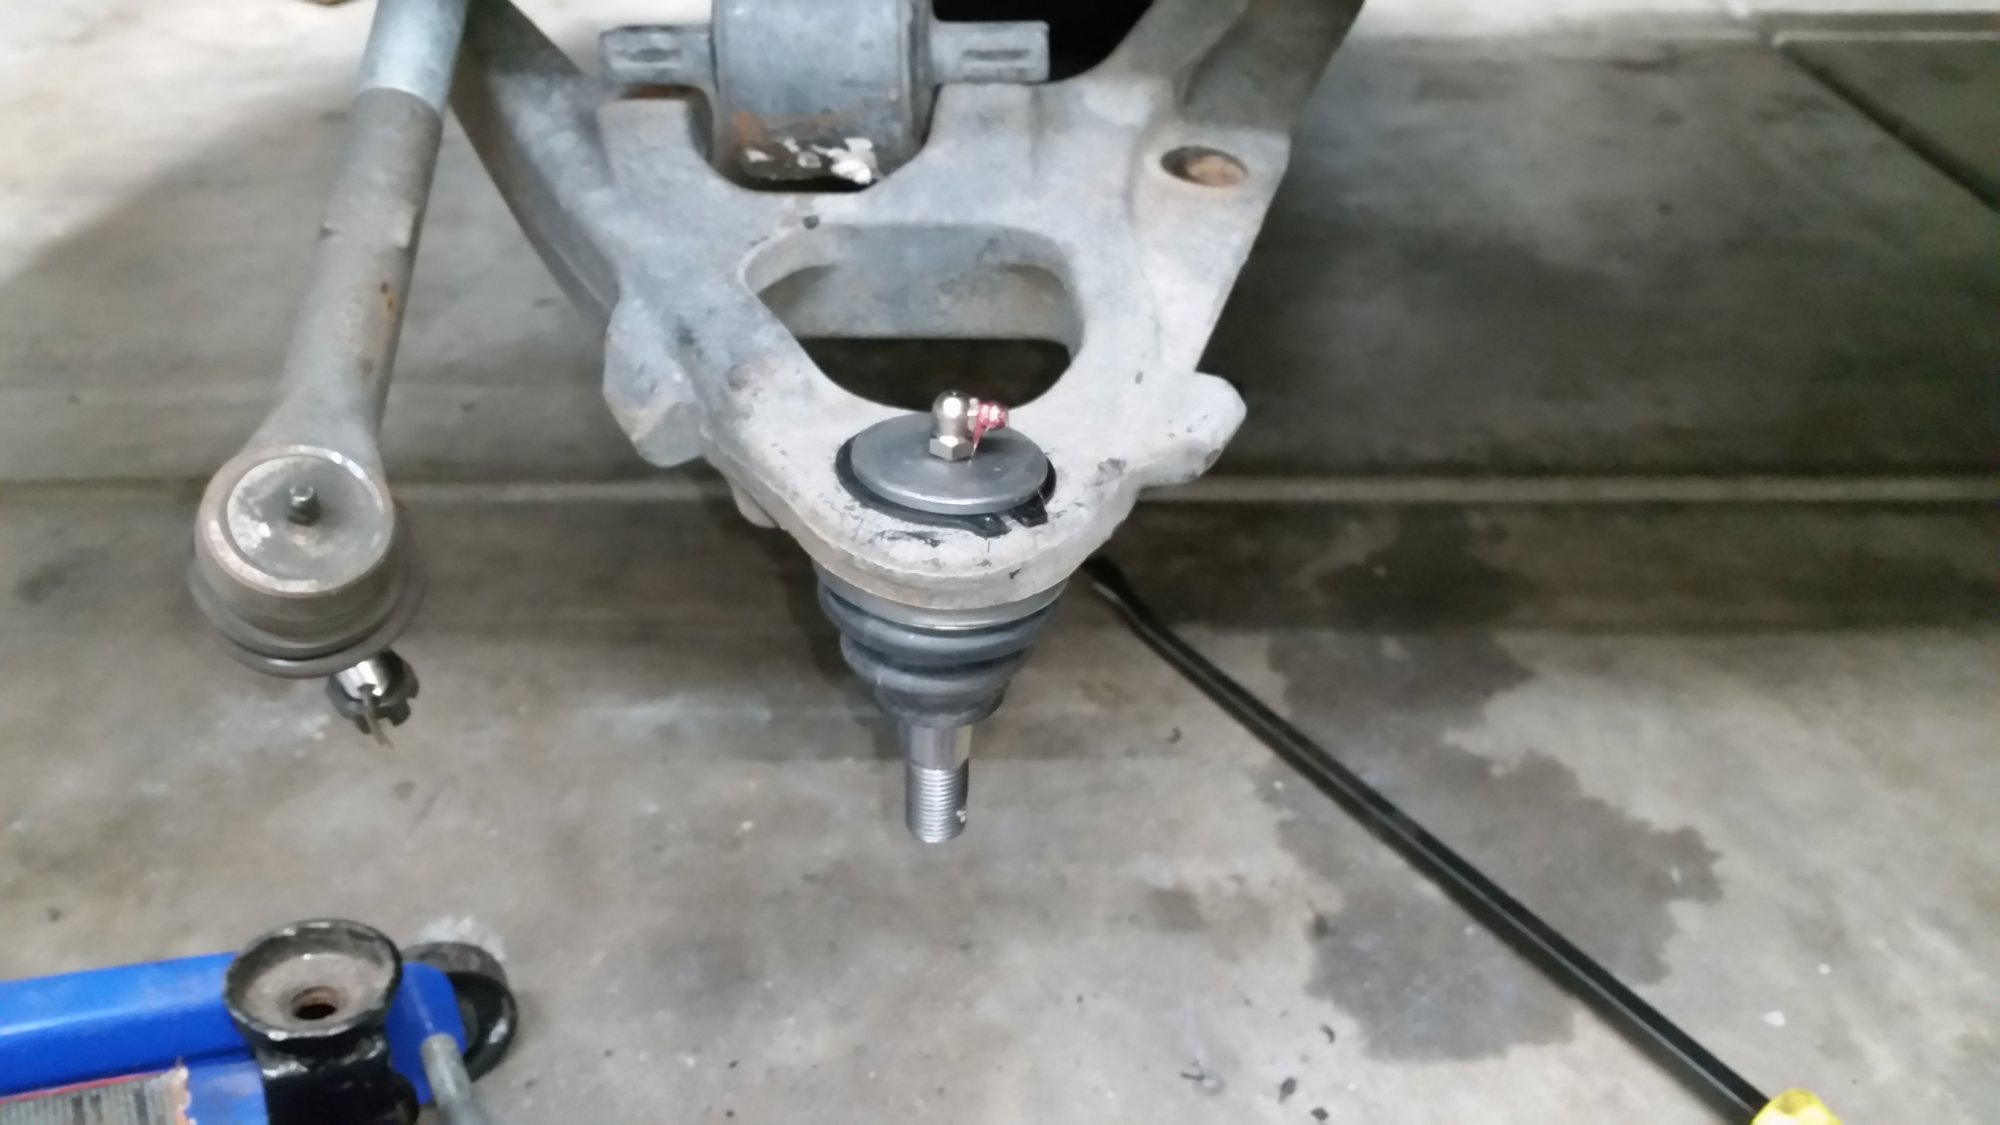
Removing And Replacing The Lower Ball Joint
To replace the lower ball joint on a Chevy Truck 4X4, it’s crucial to prepare the truck for the replacement process.
This includes safely lifting the truck and removing the wheel.
- Once the truck is prepared, the next step involves removing the lower ball joint. This requires loosening and removing the necessary components to access and take out the old ball joint.
- Finally, installing the new lower ball joint is a meticulous process that involves securing it in place and reassembling the components removed earlier.
- Properly installing the new lower ball joint is essential to ensure the safety and functionality of the truck.
Final Steps And Safety Measures
Tightening and Securing the Lower Ball Joint:
Once the lower ball joint is in place, it is crucial to tighten the fasteners securely to ensure the joint is properly secured. Utilize the manufacturer’s recommended torque specifications to achieve the appropriate level of tightness.
Testing the Replaced Lower Ball Joint for Functionality:
After securing the joint, it is essential to thoroughly test its functionality. Ensure that the joint moves smoothly and doesn’t exhibit any signs of resistance or abnormal noise during movement.
Safety Precautions and Best Practices for Maintenance:
Prior to driving the vehicle, conduct a final inspection to confirm that all components are properly installed and tightened. Additionally, it is advisable to adhere to a regular maintenance schedule to uphold the longevity and performance of the lower ball joint and other suspension components.
Conclusion
Replacing the lower ball joint on a Chevy truck 4×4 is a crucial maintenance task that ensures safety and performance. By following the steps outlined in this guide, you can confidently tackle this repair and keep your vehicle in top shape.
Regular maintenance is key to a reliable and smooth driving experience.