Picture this: Your car’s check engine light suddenly flickers on, and your heart skips a beat. You start wondering about the time, money, and stress that could follow.
But what if there was a way to quickly understand what’s happening under the hood without stepping into a mechanic’s shop? Enter the Konnwei OBD2 Scanner, your handy diagnostic tool that empowers you to take control of your car’s health.
This guide will show you how to use the Konnwei KW808 OBD2 Scanner with ease, enabling you to diagnose issues like a pro. By the end of this article, you’ll have the confidence to tackle those pesky engine lights yourself, saving you both time and money. Ready to become the car problem-solving hero you always wanted to be? Let’s dive in!

Credit: www.youtube.com
How To Use Konnwei Kw808 Obd2 Scanner
Start by plugging the Konnwei KW808 OBD2 scanner into your car’s diagnostic port. Turn on the ignition. Follow on-screen instructions to read and clear error codes.
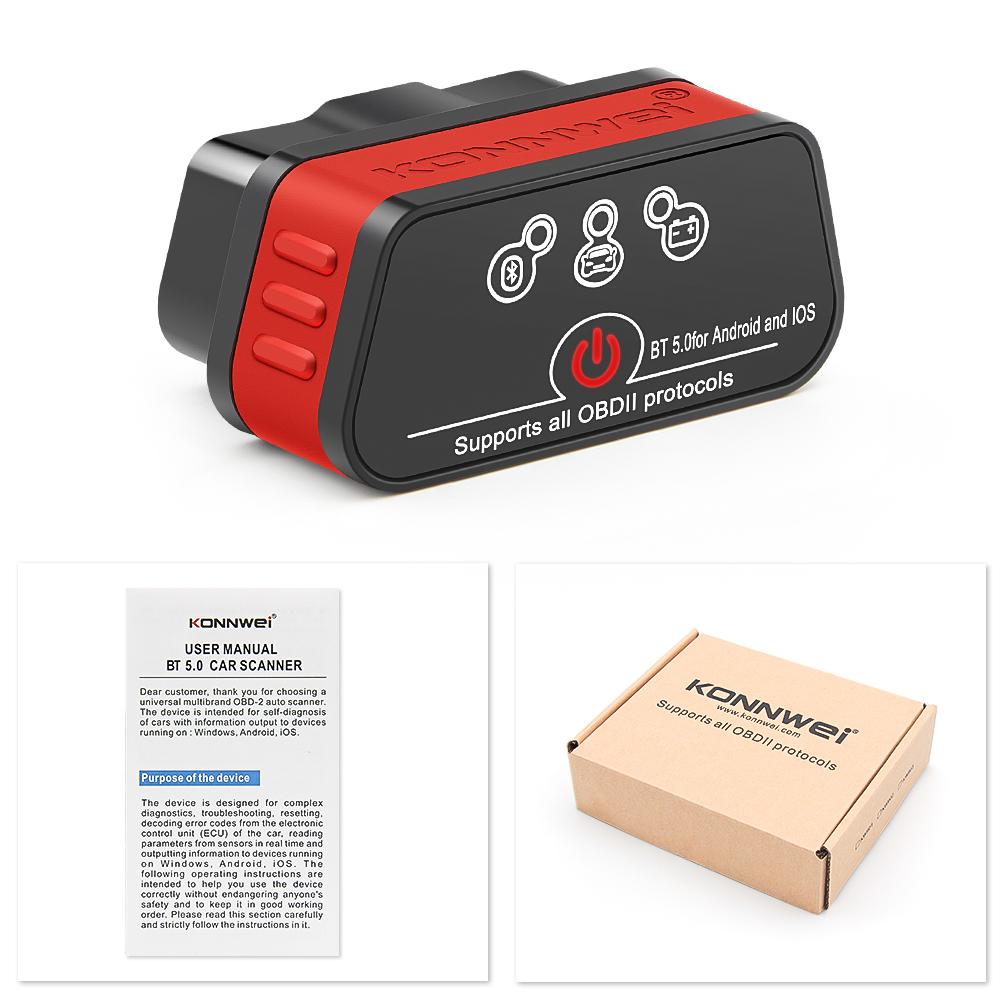
Navigating the world of car diagnostics can seem daunting. Yet, with the Konnwei KW808 OBD2 scanner, you’re in good hands. This nifty tool helps you understand your car’s health with ease. Let’s dive into using this essential gadget. Unboxing Your Konnwei KW808 OBD2 Scanner When you first open the box, you’ll find several components ready for use: – Scanner Unit: This is the main device that displays the diagnostic information.
– OBD2 Cable: Connects the scanner to your vehicle’s OBD2 port. – User Manual: Provides essential instructions for setup and operation. Connecting the Scanner to Your Vehicle Getting started with the scanner is straightforward. Here’s how to connect it: – Locate the OBD2 Port: Usually found under the dashboard.
– Plug in the OBD2 Cable: Connect the cable to the port securely. – Power On the Scanner: It will turn on automatically with the car. Navigating the Menu The Konnwei KW808 features a simple menu. This makes it easy to explore: – Scroll Buttons: Use these to navigate through options.
– Enter Button: Selects the highlighted option. – Exit Button: Returns to the previous menu. Running Diagnostics Once connected, diagnosing your vehicle is a breeze. Here’s what to do: – Select ‘Read Codes’: This option shows any error codes. – View Code Descriptions: Provides a brief explanation of each code.
– Record Data: Saves diagnostic information for later review. Interpreting Diagnostic Codes Understanding diagnostic codes is crucial. Here’s a simple way to interpret them: – Refer to Manual: The manual includes a list of common codes. – Online Resources: Websites offer detailed code descriptions.
– Consult a Mechanic: For complex issues, seek professional advice. Clearing Codes After resolving issues, clear the codes. This ensures your car’s system is updated: – Select ‘Erase Codes’: This option removes stored error codes. – Confirm Erase: Follow prompts to complete the process.
– Recheck for Codes: Ensure no new codes appear after erasing. Regular Maintenance Checks Using the scanner regularly helps maintain your vehicle. Here’s how: – Conduct Monthly Scans: Regular checks catch issues early. – Monitor Fuel Efficiency: Notice drops in performance quickly.
– Track Vehicle Health: Stay informed about your car’s condition. With these steps, using your Konnwei KW808 OBD2 scanner becomes second nature. It’s an invaluable tool for every car owner.
Credit: www.joom.com
Conclusion
Mastering the Konnwei OBD2 scanner is now within reach. Start by connecting it to your car’s port. Follow the prompts on the device screen. Read the error codes carefully. Use the manual for guidance if needed. This tool helps diagnose car issues efficiently.
Regular checks can prevent major problems. Keep your vehicle running smoothly. Save time and money by addressing issues early. Understanding your vehicle’s needs is crucial. Enjoy the peace of mind that comes with knowledge. Stay informed, stay prepared.