
If you're wondering how to install a car stereo, this guide walks you through the essential steps. We cover wiring basics, dash removal, and common pitfalls. Our research draws on SAE standards and manufacturer manuals to keep the process safe.
Per SAE J1850, the power wire should be 16‑AWG and fused at 15 A. Whether you have a single‑DIN or double‑DIN unit, the steps below keep you on track.
How to Install a Car Stereo
This quick guide shows how to install a car stereo safely. Select a single‑DIN or double‑DIN unit that fits your dash. Install a wiring harness adapter to match factory connectors.
Connect power, ground, speakers, and antenna per color code. Reassemble panels, verify Bluetooth and CarPlay, and enjoy.
Decision Path: Stereo Type, Wiring & Components
First, decide between a single‑DIN or double‑DIN head unit based on dash space. A double‑DIN offers larger screens but may require a custom dash kit. Check your vehicle’s make and model to confirm the exact mounting pattern.
Next, choose a wiring harness adapter that matches the OEM connectors. Adapters prevent mismatched colors that can cause shorts or blown fuses. If you need to lift the car for wiring, refer to a car ramp safety guide.
Below is a quick reference for common components you may need.
| Component | Purpose | Typical Spec |
|---|---|---|
| Head unit | Audio source | Single‑DIN or double‑DIN |
| Wiring harness | Power & data | OEM‑matched adapter |
| Speakers | Sound output | 4 Ω, 2‑way or 3‑way |
| Antenna | Radio signal | Mast or shark‑fin |
Consider built‑in Bluetooth, CarPlay, Android Auto, and pre‑amp outputs. These features let you stream music and keep hands free while driving. Per SAE J1850 wiring standard, the power wire must be 16‑AWG and fused at 15 A.
If you plan to add an external amplifier later, select a head unit with RCA pre‑outs. Otherwise a unit with a built‑in amp suffices for most daily driving.
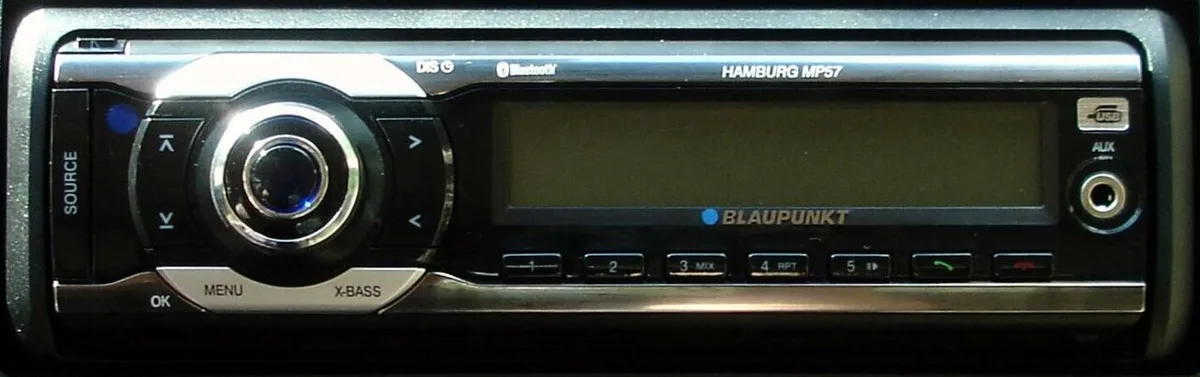
Verify the head unit sits flush and does not interfere with airbags.
Tools Checklist
Gather a trim removal tool, screwdriver set, multimeter, and wire strippers. A small drill bit helps with stripped screws. Keep a flashlight handy for tight spaces.

If you prefer a professional finish, a shop can install the unit for $150, $300, saving you time and ensuring warranty compliance.
Step-by-Step Installation Workflow
Follow these steps to remove the old stereo and install the new one safely. Start by disconnecting the battery to avoid short circuits. Set the parking brake and gather tools before you begin.
- Remove dash panels using the trim tool; keep screws organized.
- Disconnect the old head unit and note wire colors.
- Connect the harness adapter to power, ground, ACC, and speakers.
- Mount the new head unit and secure with supplied screws; refer to light bar mounting tips for torque guidance.
- Tighten dash screws using the proper torque; use tightening bolts correctly technique to avoid stripping.
- Reconnect the antenna and any satellite radio module.
After reassembly, reconnect the battery and test Bluetooth, CarPlay, and radio reception. If any function fails, double‑check wiring polarity and fuse rating. For troubleshooting, see the NHTSA aftermarket electronics guidance for common fixes.
When to Get Help
If you encounter a complex wiring harness or airbag sensor interference, call a certified installer. Professional help prevents costly mistakes and maintains vehicle safety.
Mistakes to Avoid & Safety Checks
Common wiring errors can ruin a new stereo or drain the battery. Always match wire colors: red for power, black for ground, yellow for accessory. Never reverse speaker wires; doing so causes distortion and can damage the amp.
Use the correct fuse rating; a 15 A fuse protects a 16‑AWG power wire. If you install an aftermarket amp, add a dedicated fuse block to avoid overloading. Check that the ground is securely attached to bare metal, not painted surfaces.
Before tightening screws, verify the head unit sits level and does not block airbags. If you need to run new wires, use a grommet to protect them from sharp edges. For additional prep, see a window deflector prep guide to avoid cracking glass.
Safety check: reconnect the battery only after all connections are secure. Test the stereo at low volume before driving to catch any issues. If the unit draws more than 20 A, inspect for short circuits immediately.
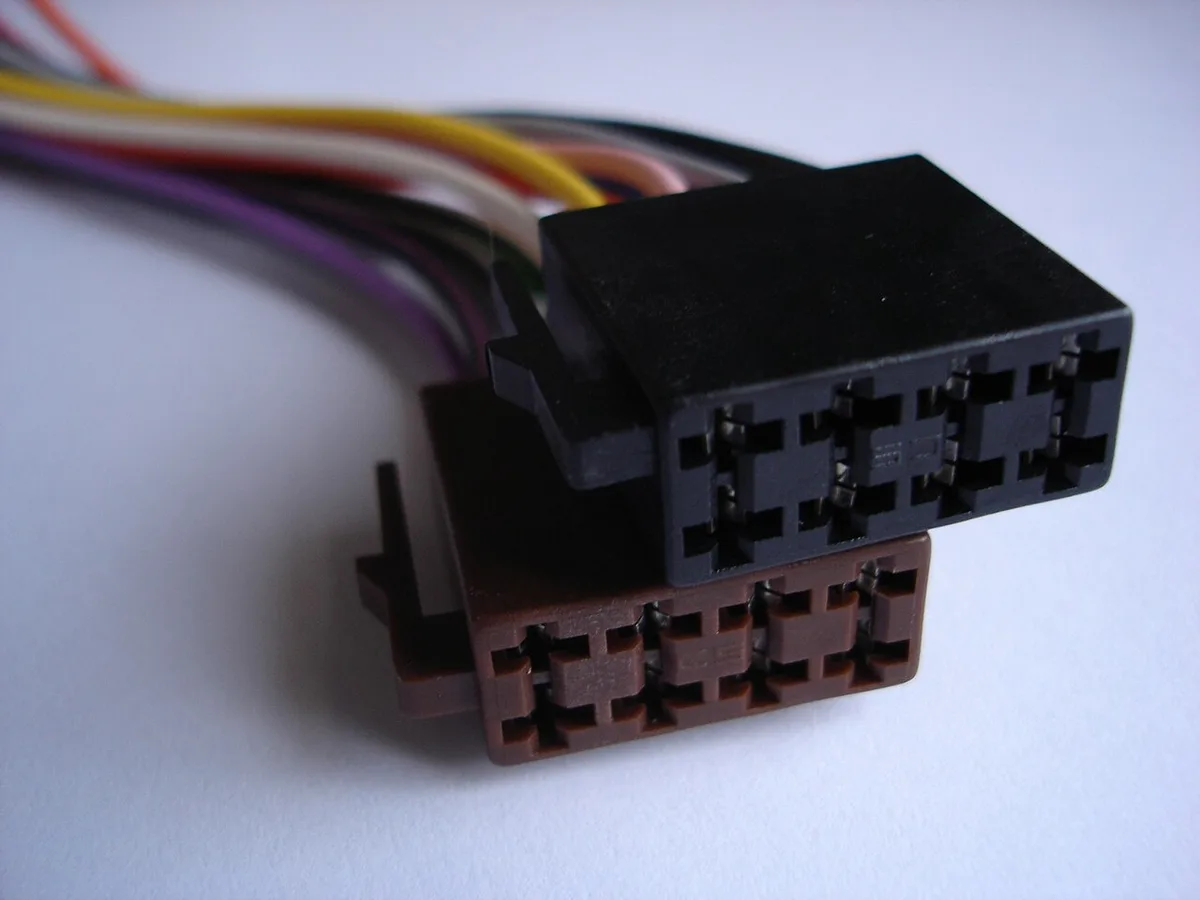
Refer to the wiring diagram to confirm polarity before final installation.
Local Regulations
In some states, aftermarket electronics must meet specific emissions standards; check local DMV guidelines before installation. Keep all original wiring connectors if you plan to return the vehicle to stock.
FAQ & Final Verdict
Do I need a special tool to remove the factory stereo?
A trim removal tool and a Phillips screwdriver are enough for most dashboards; avoid using a knife or pry bar to prevent plastic damage. If screws are stripped, a small drill bit can help, but no proprietary tool is required.
Can I install the stereo without a wiring harness adapter?
You can splice wires directly, but a harness adapter reduces errors and keeps the OEM connectors intact; mismatched colors often cause shorts or loss of features. For safety, use heat‑shrink connectors and verify polarity with a multimeter before powering the unit.
Why does my new stereo have no sound after installation?
Check speaker wire polarity, ensure the head unit is powered, and confirm the mute wire is not engaged; also verify the antenna is connected and the source is selected. If the issue persists, test with a known‑good speaker to isolate the problem. For diagnostic tools, see choosing a scanner guide.
Should I buy a separate amplifier for better sound?
If you listen at high volumes or have multiple speakers, an external amplifier improves clarity and reduces strain on the head unit; choose one with matching impedance and sufficient RMS power. For most daily drivers, the built‑in amp is adequate, especially when paired with quality speakers.
In most cases, a DIY install saves $100, $200 and gives you hands‑on experience. If you’re unsure about wiring or airbag proximity, a professional installer ensures safety and warranty protection. Enjoy your upgraded sound system and the convenience of modern connectivity.
