You’ve got your hands on a shiny new light bar, and you’re excited to install it on your bumper for better visibility and a sleek look. But where do you start?
The process might seem daunting, but with the right guidance, it can be straightforward and rewarding. Imagine hitting the road, your path illuminated brightly, and feeling a sense of accomplishment each time you drive. This guide is designed to help you achieve that, step by step.
We’ll walk you through the entire installation process, making it simple and stress-free. Whether you’re a seasoned DIY enthusiast or a beginner, you’ll find everything you need to successfully install your light bar. So, let’s dive in and transform your vehicle into a beacon of style and safety.

Credit: www.ebay.com
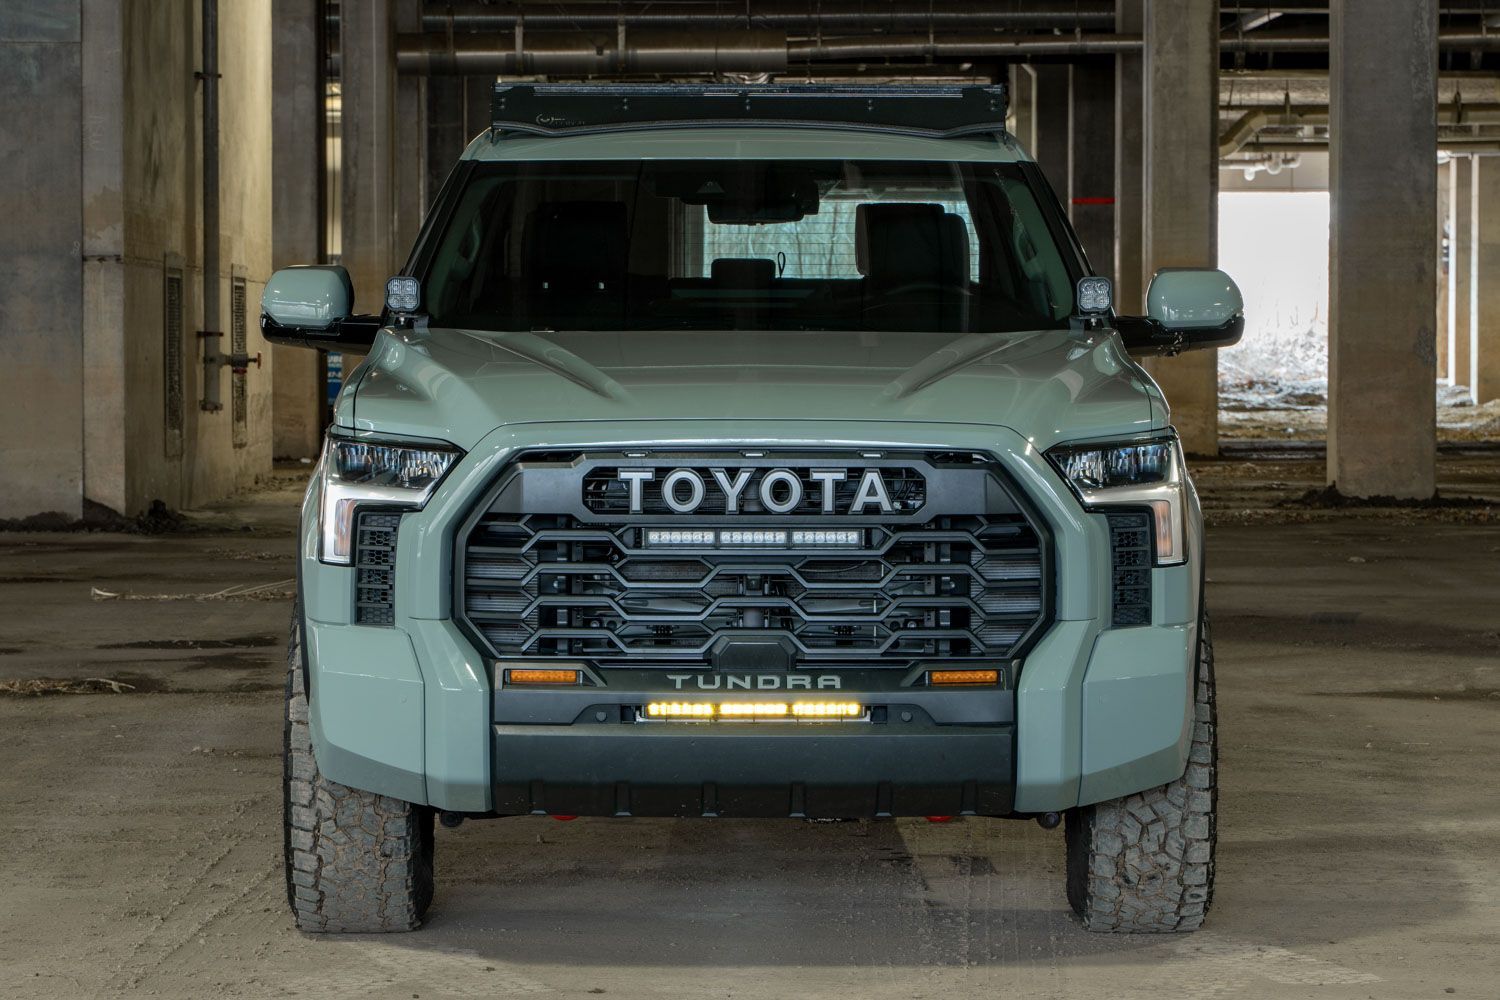
Choosing The Right Light Bar
Light bars come in different types. Single row and double row are common. Single row bars are slim. They fit small spaces. Double row bars are brighter. They suit bigger vehicles. Flood lights spread light wide. Spotlights focus far. Choose based on need. Think about your driving area. Is it open or narrow? Pick the right type for safety.
Size matters for light bars. Measure your bumper first. Ensure the bar fits well. Check compatibility with your vehicle. Some bars need special mounts. Ensure the light bar is not too wide. It should not block airflow to the engine. Look for adjustable brackets. They help fit the bar snugly.
Gathering Necessary Tools
To start, gather basic tools needed for the job. A screwdriver is a must-have. You will also need a wrench and a drill. A measuring tape helps in marking spots. Don’t forget a marker for clear lines. Having these tools ready will make the task easier.
Some tasks require specialized equipment. A wire stripper is important for electrical work. You might need a multimeter to check connections. A bracket set will help in mounting the light bar. Always use safety gear like gloves and goggles. These tools ensure a smooth installation process.
Preparing The Bumper
Start with cleaning the bumper. Use soap and water. Scrub it gently. Remove dirt and grime. Dry with a clean cloth. A clean surface is important for the light bar.
Find the best spot for the light bar. Measure carefully. Use a pencil to mark the spots. Make sure the marks are level. Check twice to avoid mistakes. The marks will guide you when you install the light bar.

Credit: www.youtube.com
Mounting The Light Bar
First, mark the spots to drill on the bumper. Use a marker for accuracy. Ensure the marks are evenly spaced. This helps the light bar sit straight. Use a drill to make the holes. The drill bit should match the bolt size. Take care not to drill too deep. Keep the drill steady for neat holes. Clean up any rough edges. This makes mounting easier.
Place the light bar over the drilled holes. Align it carefully. Insert the bolts through the holes. Use a wrench to tighten the bolts. Ensure the light bar is firm and secure. Check if it wobbles. If it does, tighten it more. Securely mounted light bars last longer. Finally, test the light to ensure it works.
Wiring The Light Bar
Make sure the power is off before starting. Locate the battery under the hood. Find the positive and negative terminals. Use a fuse holder to connect the light bar to the battery. Attach the red wire to the positive terminal. Connect the black wire to the negative terminal. Secure all connections tightly. This prevents loose wires.
Turn on the vehicle’s ignition. Switch on the light bar to check if it works. Look for any flickering lights. This means there is a problem. Ensure all wires are connected properly. Use a multimeter to test the voltage. The reading should match the light bar’s requirement. Fix any issues you find. Make sure the light bar is working correctly.
Credit: www.diodedynamics.com
Final Adjustments
First, make sure the light beam points in the right direction. Use a flat surface to check. It helps in getting a straight line. If the beam is too high or low, adjust it. Turn the screws on the side of the light bar. Proper alignment ensures good visibility on the road.
The light bar should not move or shake. Check all the bolts. Tighten them with a wrench. You might want to use lock washers. They help keep the bolts in place. Make sure every part is secure. Stability prevents damage and keeps the light working well.
Safety Checks
Ensure safe installation by checking the light bar’s wiring and mounting brackets. Securely fasten bolts to avoid loose fittings. Test the light bar to confirm proper functionality and alignment.
Inspecting Installation
Ensure all tools are ready for the installation process. Check the light barfor any damage or defects. Look at the bumper and make sure it’s clean and free of debris. Ensure mounting brackets and screws are in good condition. Verify the alignment of the light bar before securing it. Test the fitand adjust if necessary. Make sure the light bar sits firmly on the bumper.
Verifying Functionality
Turn on the light bar. Check if it lights up evenly. Ensure all bulbs are working. Look for flickering or dim lights. Check the wiringconnections. Ensure wires are properly attached. Test the switch to turn on and off. Confirm lights react to the switch. Double-check all safety measures. Make sure the light bar operates safely.
Conclusion
Installing a light bar on your bumper is straightforward. Follow the steps carefully. Gather your tools and materials first. Ensure you have the right size and type. Secure the light bar firmly to avoid movement. Connect the wiring correctly to prevent issues.
Test the light bar after installation. Make adjustments if needed. Your vehicle will now shine bright at night. This upgrade enhances your driving safety. Enjoy your new setup and drive with confidence. Safe travels ahead!