
Mounting a tire onto a rim is a straightforward DIY job if you follow the right steps. In our research, most failures happen because the bead isn’t seated properly or the rim is damaged. Use the correct pressure and torque values to avoid costly repairs.
This guide walks you through preparation, mounting, balancing, and safety checks.
Clean the rim surface and inspect for cracks before you start. Apply a thin bead sealant to both tire and rim edges. Mount the tire onto the rim and seat the bead using 30‑35 PSI air from an compressor.
After the bead seats, balance the wheel to ≤0.5 oz tolerance and torque lug nuts to the manufacturer’s spec. Doing these steps correctly prevents blowouts and extends tire life.
How to Mount a Tire on a Rim
Clean the rim and apply bead sealant.
Mount the tire and seat the bead with 30‑35 PSI air.
Balance the wheel to ≤0.5 oz tolerance.
Torque lug nuts to manufacturer spec before driving.
Problem / Pain Point
- Bead won’t seat, leaving a gap that leaks air.
- Rim cracks or deforms under pressure, causing wobble.
- Valve stem leaks because it’s not properly seated.
- Over‑torquing lug nuts strips threads or warps the rotor.
- Wheel imbalance after mounting leads to vibration at speed.
These issues often start with skipping cleaning or using too much air. Checking rim run‑out with a dial indicator catches hidden damage early. If you notice any of the above, stop and reassess before proceeding.
Proper prep saves time and money later.
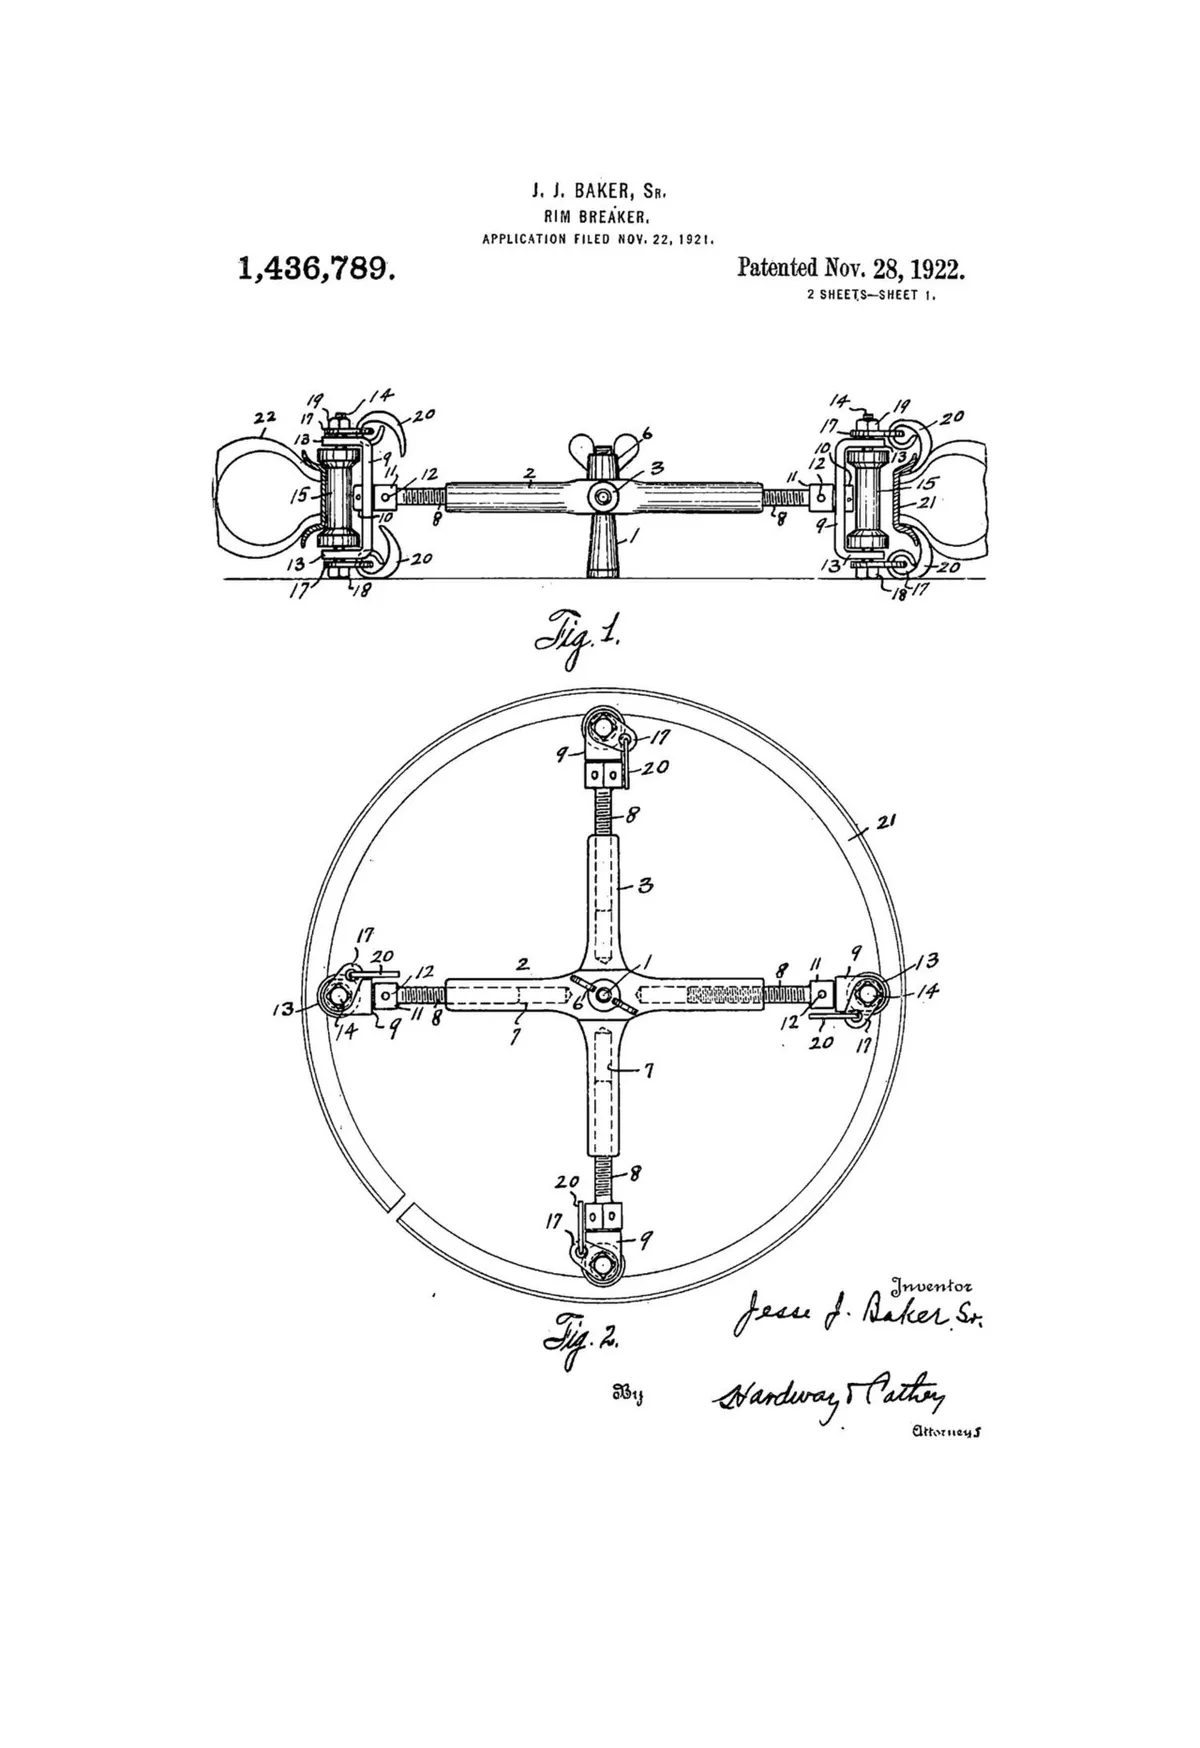
Image source: Wikimedia Commons / Baker, Jesse J., Sr
Core Explanation / How It Works
The tire bead is a reinforced edge that must snap onto the rim’s bead seat.
Bead sealant creates a barrier that helps the bead slide and seal.
Air pressure pushes the bead outward, locking it onto the rim.
Once seated, the valve stem allows you to inflate the tire to the correct pressure.
Understanding this sequence tells you why each step matters. If the bead isn’t seated, the tire can slip off under load. The rim’s material, steel or alloy, affects how much pressure you can safely apply.
For more on wheel components, see recovery point reference.
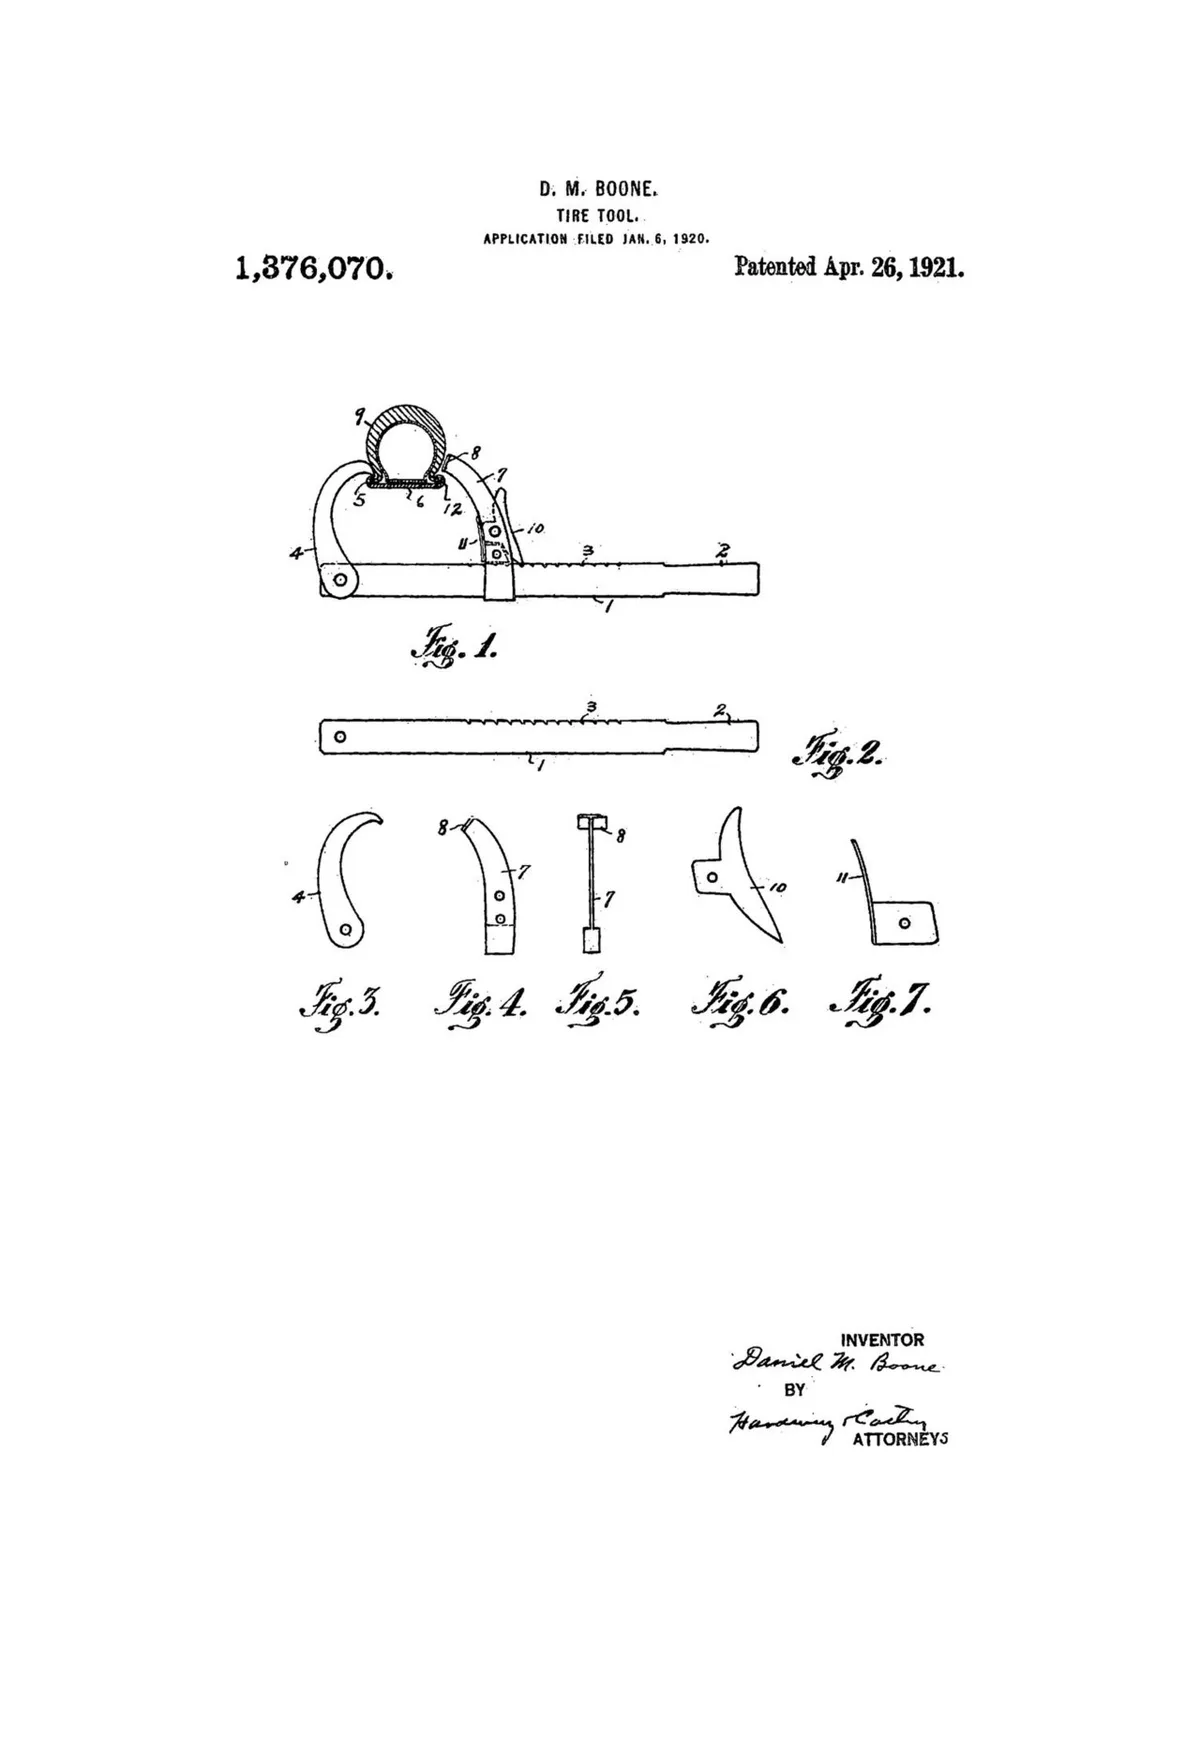
Image source: Wikimedia Commons / Boone, Daniel M
Step-by-Step Process / How to Guide
- Inspect and clean the rim with a wire brush and remove debris.
- Apply bead sealant evenly around the rim flange.
- Mount the tire onto the rim, starting with the first bead.
- Seat the bead using an air compressor set to 30‑35 PSI.
- Install the valve stem and inflate to the tire’s rated pressure.
- Balance the wheel on a balancer; adjust weights until ≤0.5 oz.
- Torque lug nuts in a star pattern to the spec listed in your manual.
| Tool | Purpose | Example |
|---|---|---|
| Bead breaker | Separate tire from rim | Manual lever set |
| Air compressor | Seat bead with pressure | 30‑35 PSI outlet |
| Wheel balancer | Check and correct imbalance | Static balancer |
| Torque wrench | Apply correct lug nut torque | 80 ft‑lb for 5‑lug |
Each step builds on the previous one; skipping any can cause failure. For tightening lug nuts, follow the impact wrench guide to avoid over‑torque.
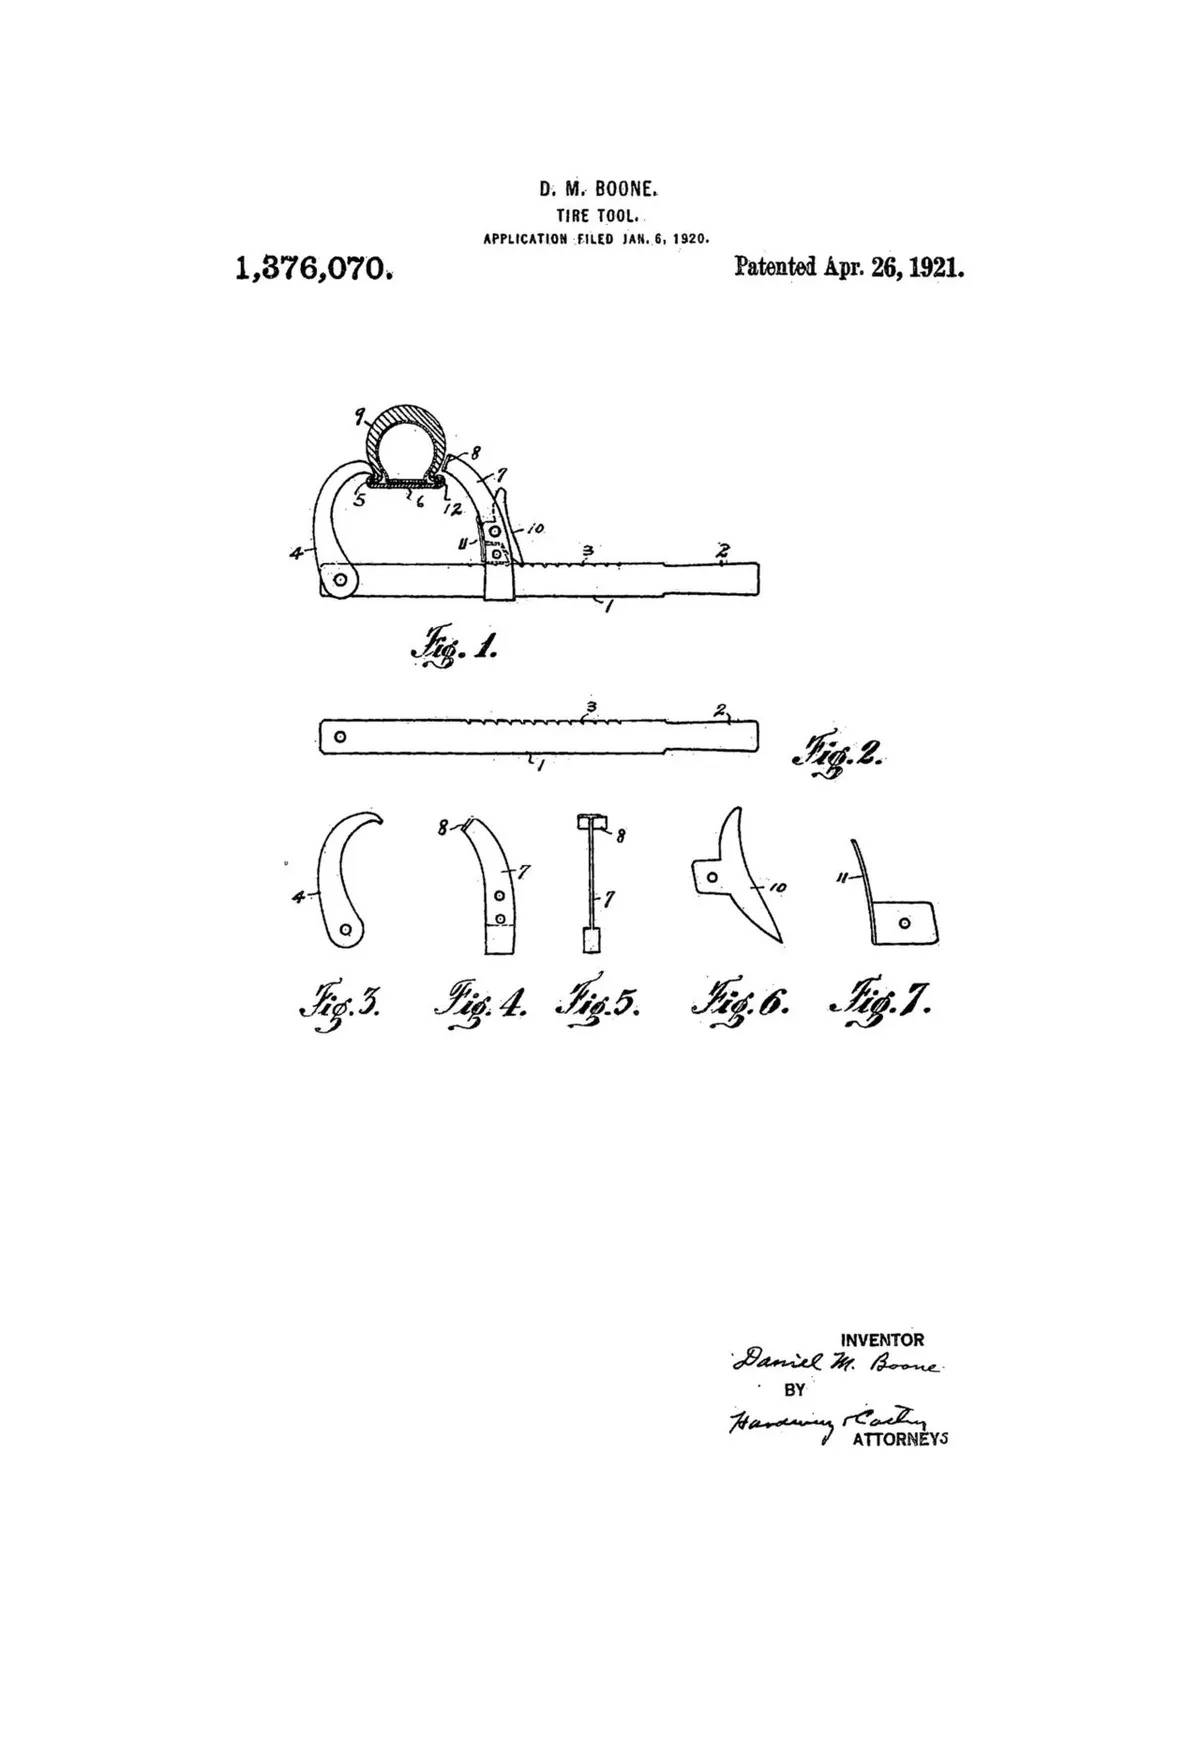
Image source: Wikimedia Commons / Boone, Daniel M
Safety / Legal / Compliance / Warnings
Wear safety glasses, gloves, and hearing protection at all times.
Keep the work area clear of bystanders and pets.
Follow SAE J248 wheel standards for rim torque and run‑out limits.
Check the vehicle’s service manual for exact lug‑nut torque values.
If the rim shows any crack or deformation, replace it before proceeding.
Per SAE J248 wheel standards, rim run‑out must not exceed 0.010 in. Ignoring these limits can lead to steering wobble and premature tire wear. For hand placement while steering, see hand placement tips.
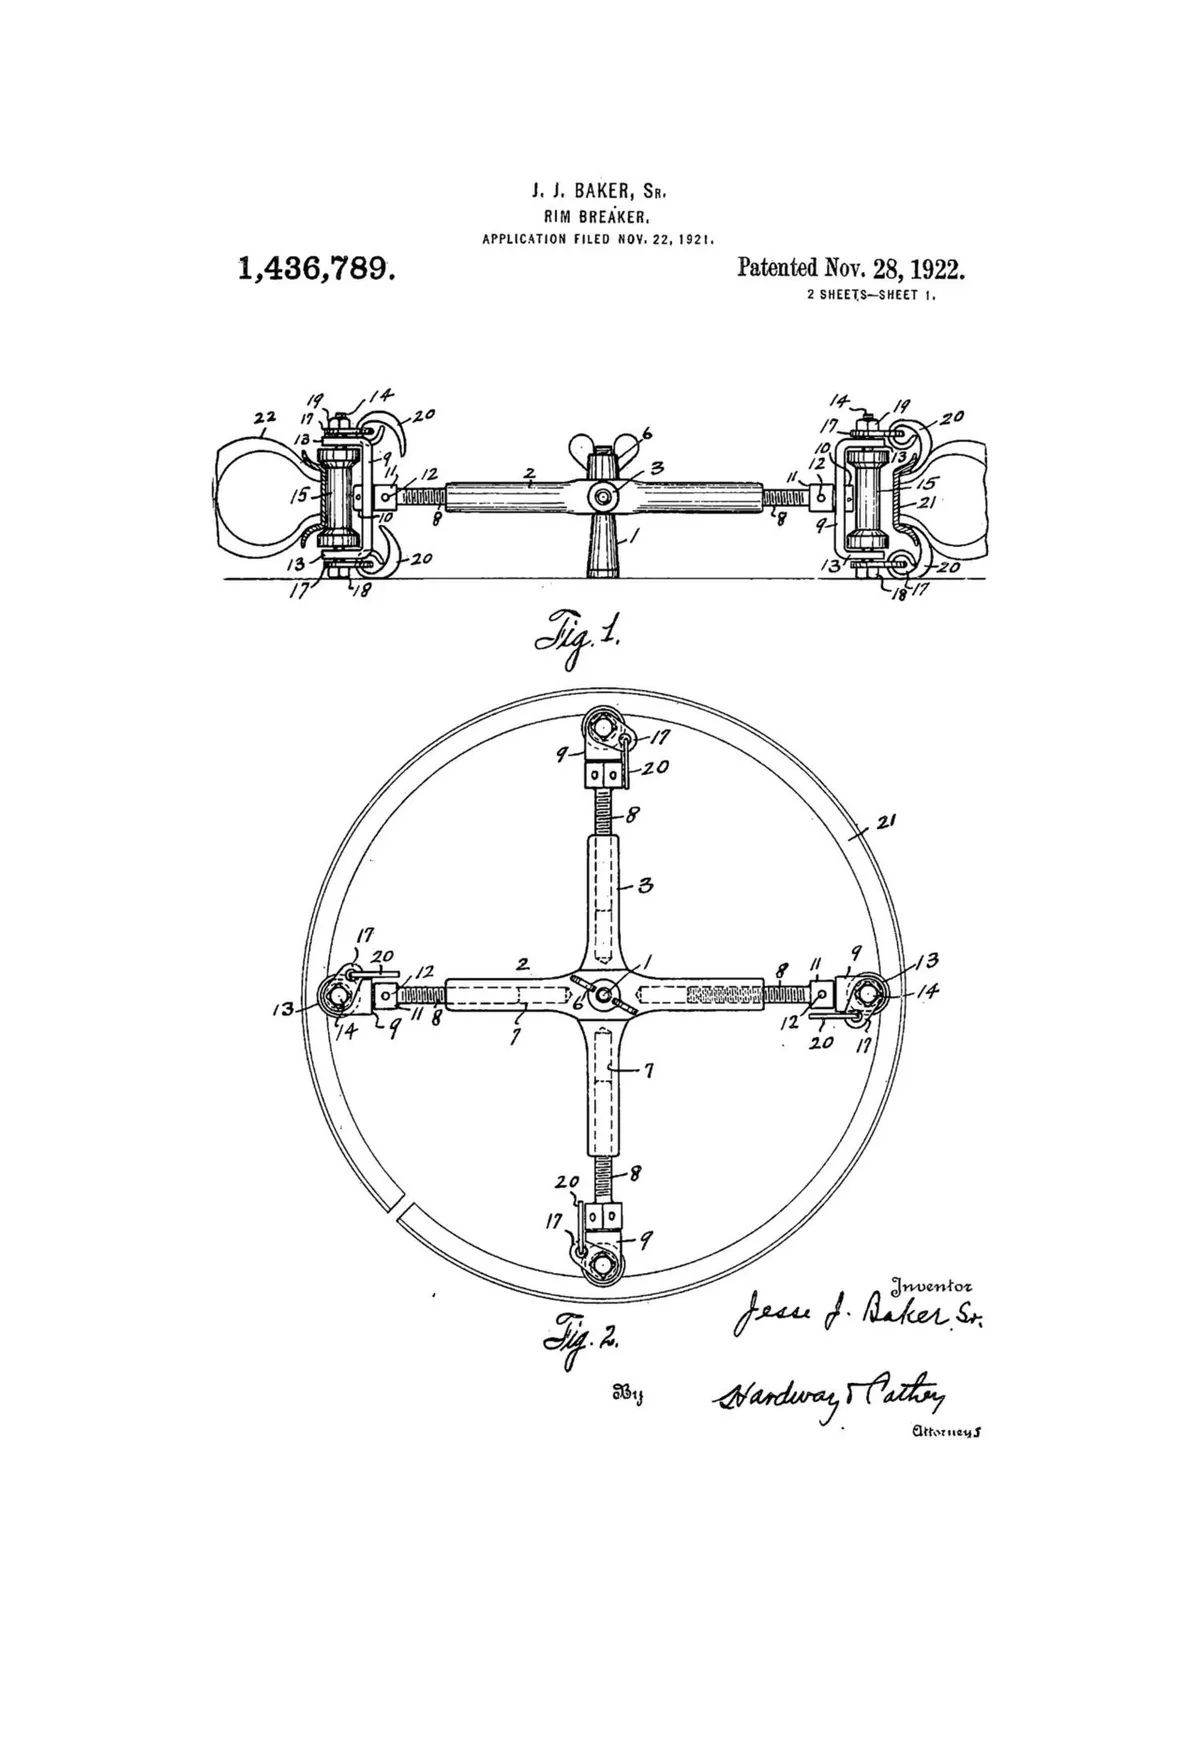
Image source: Wikimedia Commons / Baker, Jesse J., Sr
Frequently Asked Questions
How much air pressure is needed to seat a tire bead?
Use 30‑35 PSI from a compressor; higher pressure can damage the rim.
Can I mount a tire without a bead breaker?
Yes, but a bead breaker makes the job safer and faster.
Why does my wheel vibrate after mounting?
The wheel is out of balance; rebalance to ≤0.5 oz tolerance.
Do I need to replace the valve stem when mounting a new tire?
Replace the valve stem if it’s old or damaged to prevent leaks.
What should I do if the rim cracks during mounting?
Stop immediately and replace the rim; cracked rims are unsafe to use.
