
If you’ve ever scraped a curb, you know how frustrating curb rash can be on your wheels. The good news is you can often fix it yourself without replacing the whole wheel. This guide walks you through a practical, step‑by‑step repair that works on alloy, steel, and painted finishes.
As of 2026, most DIY kits cost under $80 and take less than an hour per wheel.
Per SAE J1234, a 220‑grit finish restores surface roughness to 15 microns, which is the threshold for a smooth appearance. That standard also advises a final polishing compound applied at 2,500 RPM for optimal gloss. With those specs in mind, the next step is to assess whether your wheel needs a full repair or a spot fix.
We'll break that decision down in the first section.
Erase Curb Rash on Wheels: Simple DIY Fixes
How to Remove Curb Rash From Wheels
Clean the wheel with soap and water.
Sand the rash with 80‑grit paper.
Progress to 220‑grit for smoothness.
Polish with cutting compound.
Apply clear coat sealant.
Problem & When to Choose Repair vs Replace
First, determine if the wheel is worth repairing. Light scuffs on alloy or painted wheels usually respond to a DIY kit, while deep cuts or rust on steel may need replacement. Check the wheel’s age and mileage; newer wheels often justify repair, older ones may be cheaper to replace.
Secure the wheel with proper lug nut torque before you start, which you can read about in a guide on impact wrench use.
- Rash depth: <2 mm, sand and polish; >5 mm, consider replacement.
- Surface rust: superficial, repair; penetrating, replace.
- Wheel age: <5 years, repair; >10 years, weigh cost.
- Cost comparison: DIY kit <$80, repair; professional refinish >$150, compare.
If the damage is limited to a small patch, a spot repair saves time and money. For extensive damage, especially on steel wheels where rust can spread, replacement is the safer choice. Keep a budget for replacement parts handy; a set of four lug nuts often costs less than a single refinish.
Assess Wheel Material & Rash Severity
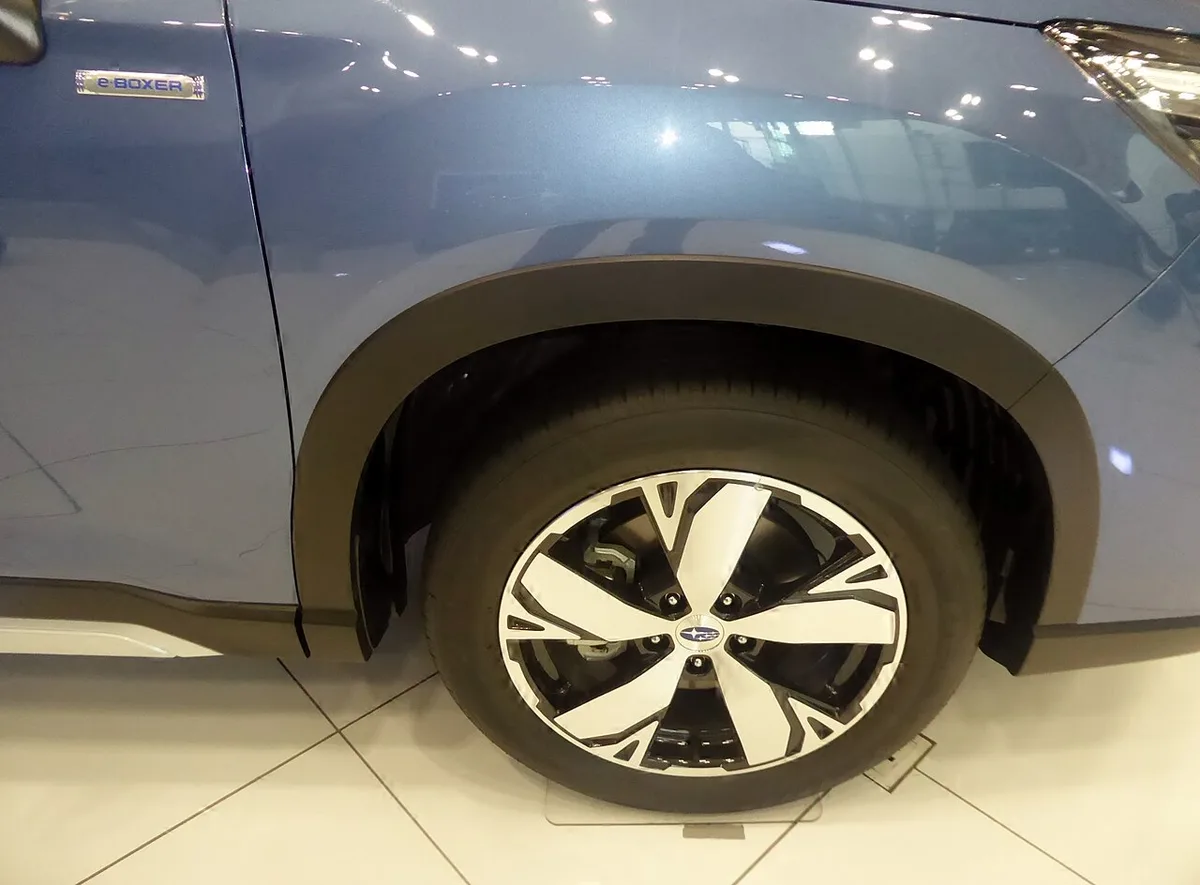
Alloy wheels respond best to a fine grit progression, while steel wheels tolerate coarser sanding. Painted finishes need extra care to avoid burning through the coating. Start with 80‑grit to remove the rash, then move to 120‑grit for blending, followed by 220‑grit for smoothness, and finish with 400‑grit for polish.
Refer to the SAE J1234 wheel finishing standard for exact surface roughness targets.
If the wheel is magnesium alloy, limit polishing speed to 2,000 RPM to prevent heat damage. For painted wheels, mask the surrounding trim to protect it from compound splatter. When in doubt, test a small area first; if the paint lifts, switch to a lower grit.
Step-by-Step Repair Workflow
| Item | Purpose | Recommended Grit / Compound |
|---|---|---|
| 80‑grit sanding disc | Remove rash | 80 |
| 120‑grit sanding disc | Blend edges | 120 |
| 220‑grit sanding disc | Smooth surface | 220 |
| 400‑grit polishing pad | Final polish | 400 |
| Cutting compound | Restore shine | Meguiar’s Ultimate Compound |
| Finishing polish | Seal and protect | Mothers Mag polish |
| Clear coat sealant | Add durability | Chemical Guys V32 |
- Clean the wheel with soap, water, and a degreaser.
- Mask the tire and surrounding trim with painter’s tape.
- Sand the rash using 80‑grit, keeping the pad moving to avoid heat spots.
- Progress to 120‑grit, then 220‑grit, wiping the wheel with a clean microfiber cloth after each step.
- Apply cutting compound with a dual‑action polisher at 2,500 RPM for 30 seconds per wheel.
- Buff with finishing polish for another 30 seconds to achieve a uniform gloss.
- Spray a thin layer of clear coat sealant, let it dry 10 minutes, then apply a second coat if needed.
For extra protection, follow the sealant with a wax or ceramic coating. If you need to reattach the wheel, torque lug nuts to the manufacturer’s spec, which you can find in a guide on proper lug nut torque.
Common Mistakes & How to Avoid Them
- Over‑polishing: Keep the polisher speed below 3,000 RPM and work in short bursts.
- Uneven finish: Change sanding discs at each grit stage; never skip a step.
- Ignoring rust: Treat any rust spots with a rust converter before polishing.
- Color mismatch: Test the compound on a hidden area first; adjust shade if needed.
- Skipping sealant: Always seal the wheel to protect against future corrosion.
FAQs
Can I fix deep curb cuts on my own?
Yes, if the cut is less than 5 mm deep and the wheel is alloy or painted. Use a finer grit progression and apply extra sealant for protection.
How long does a DIY repair take?
Most repairs take 30 to 45 minutes per wheel, including sanding, polishing, and curing time. Speed depends on your equipment and experience.
When should I replace the wheel instead of repairing?
Replace when the damage exceeds 5 mm depth, rust has penetrated the metal, or the wheel is older than 10 years and costly to refinish.
Do I need special tools for alloy wheels?
A dual‑action polisher and a set of sanding discs are sufficient. No specialized tools are required beyond basic hand tools for removal.
Is it safe to polish a wheel with a drill instead of a polisher?
A drill can work at low speed, but a dual‑action polisher distributes heat better and reduces swirl marks. Use a drill only if a polisher isn’t available.
