
If you’ve ever tried to peel a vinyl wrap from a car, you know it can stick like glue. The process often leaves residue, bubbles, or even damaged paint. In our research, a proper heat gun setting of 250 °F makes the difference.
This guide shows you how to remove vinyl wrap without harming the surface.
Per 3M specifications, calendared vinyl should be heated to 200‑300 °F for 30‑45 seconds per spot. As of 2026, most DIY kits include a 250 °F heat gun and a plastic scraper. Wear gloves and eye protection to meet OSHA 29 CFR 1910.1200 requirements.
Let’s get started with the quick answer.
How to Remove Vinyl Wrap
Learn how to remove vinyl wrap safely and quickly. Use a heat gun set to 250 °F and a plastic scraper. Work in 30‑second bursts, peeling from the edge inward.
Clean residue with isopropyl alcohol before reapplying any wrap. Wear gloves and goggles to protect skin and eyes. Follow manufacturer guidelines for your specific vinyl type.
Many users find the adhesive leaves a stubborn film that dulls the paint. If the vinyl is old, the glue can become brittle and crack during removal. Overheating can scorch the paint, creating permanent marks.
Proper temperature control prevents both residue and damage. Before you begin, mask trim and protect surrounding panels with tape. Ensure the work area is well‑ventilated to avoid inhaling solvent fumes.
Keep a fire extinguisher nearby as a precaution. These steps set you up for a clean, safe removal.
Easy Steps to Remove Vinyl Wrap Without Damage Quick Guide
Core Explanation / How It Works
Vinyl wraps come in two main forms: calendared for flat surfaces and cast for contoured panels. Calendared vinyl is thinner, cheaper, and easier to remove, while cast vinyl conforms tightly and can be harder to lift. The adhesive is usually a pressure‑sensitive PSA that softens when heated.
Heat raises the glue’s tack, allowing the scraper to lift the film without tearing.
Per 3M testing, a 250 °F gun applied for 30 seconds will reach this optimal range. Follow OSHA heat safety guidelines to protect yourself from burns and fumes. A plastic scraper with a Shore A 80‑90 hardness glides under the edge without gouging the surface.
After the edge lifts, apply a citrus‑based adhesive remover to dissolve any remaining PSA. Wipe with a microfiber cloth, then polish the paint to restore shine, and a proper fluid level check helps avoid future residue.
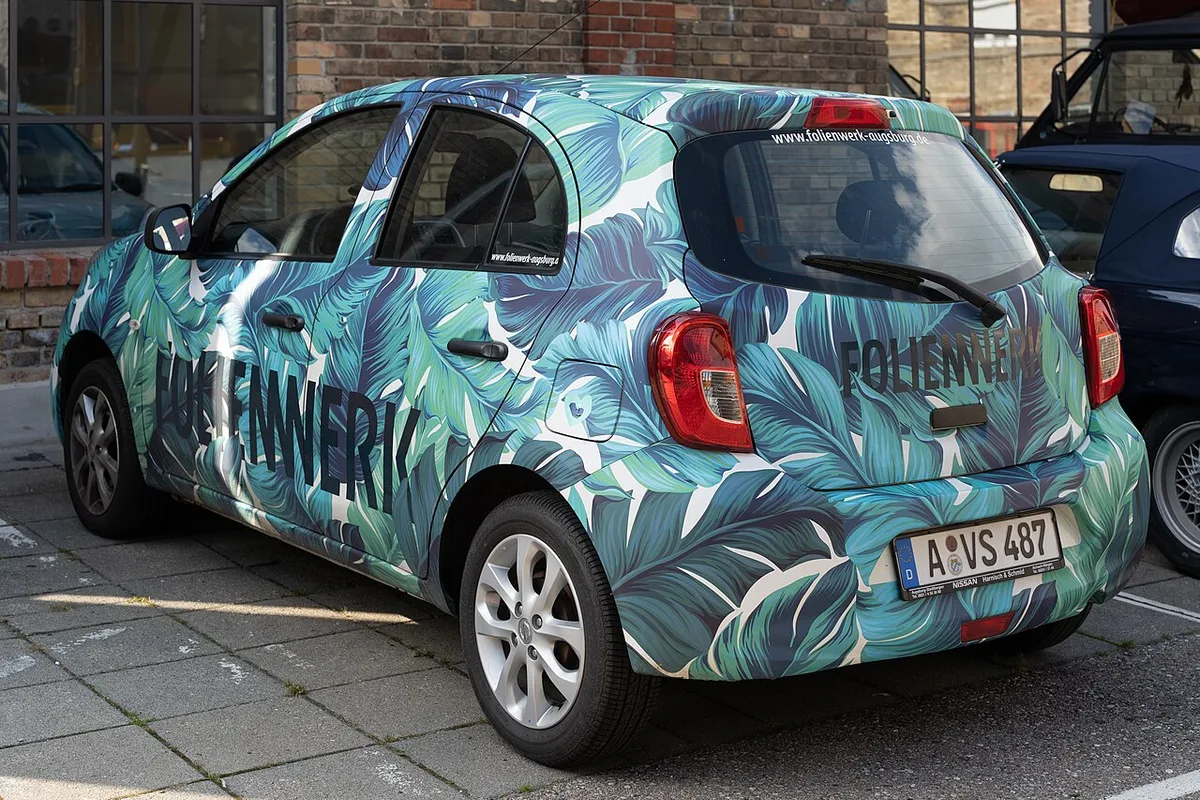
Image source: Wikimedia Commons / Tobias ToMar Maier (CC BY-SA)
- Set heat gun to 250 °F (200‑300 °F range per manufacturer).
- Apply heat for 30‑45 seconds per spot, moving continuously.
- Use a plastic scraper at a 45° angle to lift the edge.
- Remove adhesive with isopropyl alcohol (≥70 %) or citrus solvent.
- Wear gloves, goggles, and a respirator in a ventilated area.
Step-by-Step Process / How to Guide
Follow these steps to remove vinyl wrap safely and efficiently. Gather your tools before you start, and work in a well‑ventilated area; for a full tool list see our guide on securing mounting without drilling. This workflow works for both DIY enthusiasts and professional detailers.
- Mask trim and protect surrounding panels with painter’s tape to prevent accidental marks.
- Set the heat gun to 250 °F and warm the vinyl for 30 seconds, moving the gun 2‑3 inches from the surface.
- Insert a plastic scraper at a 45° angle and gently lift the edge, working slowly around the panel.
- Apply a citrus‑based adhesive remover to any remaining glue and let it sit 1‑2 minutes.
- Wipe the area with a microfiber cloth, inspect for residue, and polish the paint if needed.
After removal, allow the paint to dry for 24‑48 hours before applying new graphics. Detailed instructions are also available in the 3M vinyl removal guide. If you need to tighten lug nuts afterward, check out tightening lug nuts safely.
Mistakes to Avoid / Common Errors
Even experienced users can make mistakes that damage paint or cause injury. Knowing the pitfalls helps you stay safe and keep the surface looking new. Avoid these common errors to ensure a clean removal.
- Overheating: Keep the gun moving; a stationary spot can scorch the paint.
- Using a metal scraper on painted surfaces: It can gouge the clear coat.
- Skipping solvent cleanup: Residual adhesive will attract dirt and may cause staining.
- Working in a confined space without ventilation: Fumes can build up and pose a health risk.
- Forgetting to mask trim: Tape protects molding and reduces the chance of accidental cuts.
If you need a refresher on scraper selection, see our guide on adhesive pad removal.
Frequently Asked Questions
How long does vinyl wrap removal take?
For a typical car door, the process takes 5‑15 minutes per panel when using a heat gun set to 250 °F. Larger surfaces or aged wraps may require up to 30 minutes. Timing varies with temperature and adhesive type.
Can I remove wrap without a heat gun?
Yes, you can use a citrus‑based adhesive remover and a plastic scraper, but it takes longer and may leave residue. The heat gun speeds up adhesive softening and reduces the risk of tearing the vinyl. For best results, use a heat gun when possible.
What if residue won’t come off after scraping?
Apply a second coat of adhesive remover and let it sit 2‑3 minutes before wiping. If the film persists, gently warm the area again with the heat gun and re‑scrape. Persistent residue may require a professional detailer’s solvent blend; see our guide on adhesive pad removal for additional tips.
Is it safe to reuse the same heat gun for other projects?
Yes, as long as you clean the nozzle and store it in a dry place. Different materials like paint or wood may require lower temperatures, so adjust the setting accordingly. Always follow the manufacturer’s safety guidelines for each application.
How much does professional removal cost compared to DIY?
Professional service typically ranges from $150 to $300 for a full vehicle, including labor and materials. DIY costs are lower, around $30‑$80 for tools and solvents, but require time and careful technique; see our article on budget for lug nuts for cost comparisons. Choosing DIY saves money if you have the equipment and patience.
