
When your brake light goes out, you risk a rear‑end collision and a ticket. The good news is that replacing the bulb is a straightforward DIY job. Most drivers can finish it in under 30 minutes with basic tools.
Let's walk through how to replace a brake light bulb safely.
Per DOT FMVSS 108, the brake light must be visible from 300 ft at night, so a dim or dead bulb is a safety issue. As of 2026, the average price of a replacement bulb remains under $20. Manufacturer specs list a 12 V, 21 W halogen or 3 W LED option with a BA15d base.
We'll show you which bulb fits your car and how to swap it without damaging the housing. This guide covers the most common makes, including Honda CR‑V and Ford F‑150.
How to Replace a Brake Light Bulb
Replace the brake light bulb by disconnecting the battery and removing the housing. Install the new bulb, reattach the connector, and torque mounting screws to 5 Nm. Test the brake light; if it stays on, check the fuse and switch.
Use LED for longer life or halogen for original‑equipment compatibility.
Decision Tree: Choose the Right Bulb & Access Method
The first decision is which bulb fits your car and whether you need to remove the lens. Most late‑model cars use a BA15d base; older models may use a round wedge.
| Bulb Type | Base | Wattage | Typical Price | Lifespan |
|---|---|---|---|---|
| LED | BA15d | 3 W | $12–$18 | 8,000 h |
| Halogen | BA15d | 21 W | $6–$10 | 500 h |
If the tail light housing is foggy, replace the lens to restore clarity, similar to seal installation.
- Identify your vehicle’s make and model. For pricing on common replacements, see headlight bulb pricing.
- Choose LED for longer life or halogen for original‑equipment compatibility.
- Verify the bulb base matches the housing; most use BA15d.
- Disconnect the negative battery terminal before removal.
- Remove the housing bolts with a 10 mm socket, then detach the electrical connector.
Don’t force the bulb retainer; forcing can crack the housing, as shown in avoiding damage.
Torque the mounting screws to 5 Nm, the same as tightening lug nuts.
Per the DOT lighting standard, the brake light must be visible from 300 ft at night.
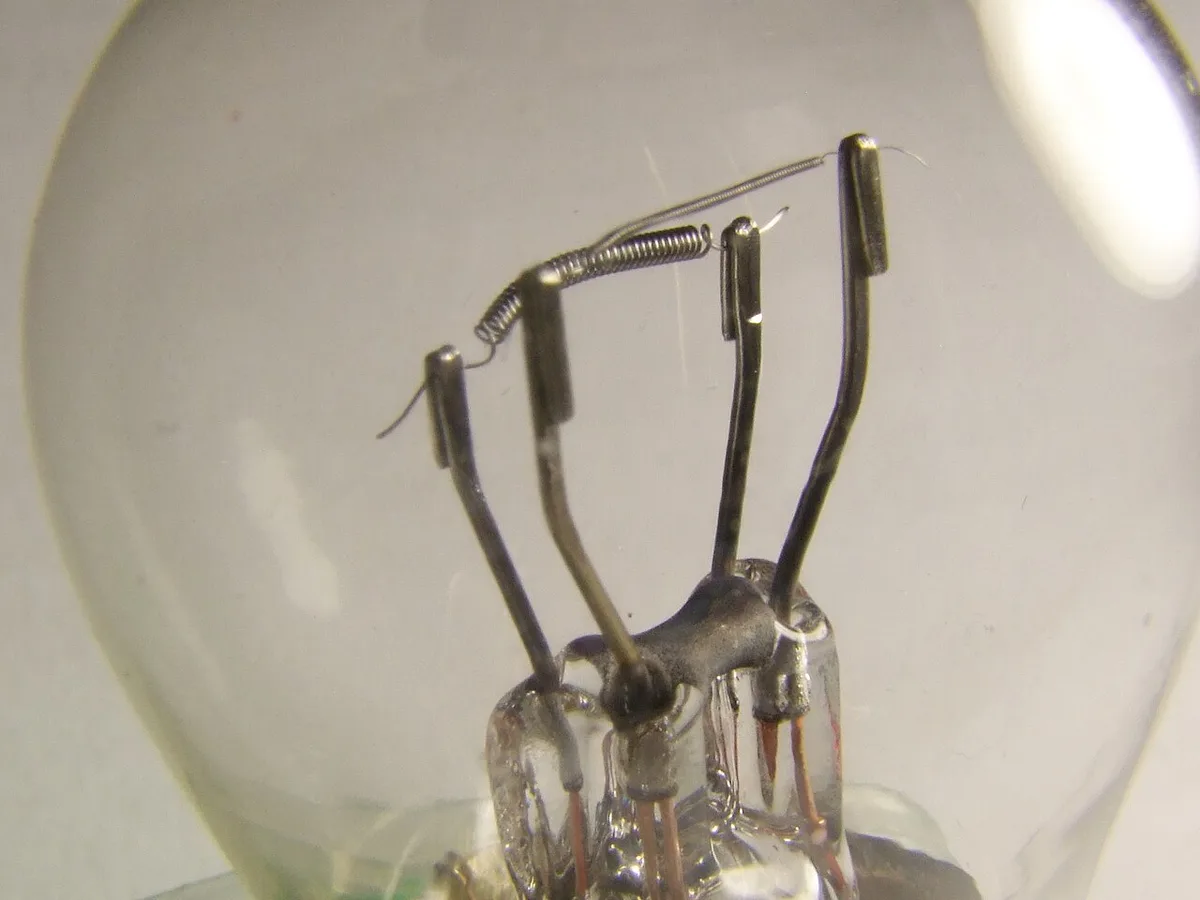
Step‑by‑Step Replacement Workflow
Follow these steps to swap the bulb safely and quickly. Gather a 10 mm socket, flat‑head screwdriver, insulated gloves, and the new bulb.
| Tool | Reason |
|---|---|
| 10 mm socket | Removes housing bolts |
| Flat‑head screwdriver | Releases retainer clip |
| Insulated gloves | Prevents short circuits |
| New bulb (LED or halogen) | Replacement part |
Start by disconnecting the negative battery terminal to prevent any short circuits.
- Remove the two mounting bolts with the 10 mm socket.
- Pull the tail light housing away from the vehicle.
- Press the release tab on the electrical connector and disconnect it.
- Release the bulb retainer clip and remove the old bulb.
- Insert the new bulb, align the base, and press it into the socket.
- Reattach the connector, just like reattaching glass.
- Mount the housing back, torque the bolts to 5 Nm, and reconnect the battery.
Test the brake light by pressing the pedal; the bulb should illuminate instantly.
Mistakes, Costs & Safety Checklist
Common mistakes increase cost and can damage the wiring.
- Forcing the bulb retainer
- Using the wrong base type
- Skipping the battery disconnect
- Ignoring a blown fuse
- Installing a higher‑wattage bulb
| Item | Typical Cost |
|---|---|
| LED bulb | $12–$18 |
| Halogen bulb | $6–$10 |
| Shop labor | $50–$80 |
| Fuse replacement | $5–$10 |
- Wear insulated gloves and eye protection.
- Work in a well‑lit area.
- Verify the battery is disconnected before touching connectors.
- Check the brake light fuse if the new bulb won’t light.
If the brake light stays on after replacement, the issue may be a faulty switch, not the bulb.
Frequently Asked Questions
How do I know if the fuse is blown?
A blown 10 A fuse will cause the brake light to stay off. Use a multimeter to test continuity across the fuse terminals. If there is no continuity, replace the fuse with the same rating.
You can buy a pack of fuses for under $10 at most auto parts stores.
What if the new bulb still doesn’t light after replacement?
First, ensure the battery is reconnected and the brake light switch is engaged. Check the 10 A brake light fuse; replace it if it’s blown. Verify the bulb is seated correctly and the retainer clip is locked.
If the light still fails, the switch or wiring may need professional inspection.
Can I use a higher‑wattage bulb in my brake light?
Using a higher‑wattage bulb can overload the circuit and cause the fuse to blow. It may also produce excess heat that can melt the housing or damage the wiring. Stick to the OEM‑specified wattage, 21 W for halogen or 3 W for LED, to stay safe and compliant.
Do I need to disconnect the battery on every car?
Disconnecting the battery is the safest practice for any vehicle because it eliminates the risk of a short circuit while you work on the wiring. On some newer cars with advanced driver‑assist systems, the battery disconnect can reset calibrations, so consult the owner’s manual first. If you’re unsure, you can skip this step but work carefully.
When should I call a professional instead of DIY?
Call a professional if you encounter a cracked tail light housing, a corroded connector, or if the brake light stays on after replacement. These issues may require specialized tools or wiring repairs that exceed DIY scope. A shop can also verify compliance with the DOT lighting standard and complete the job in under an hour.
