
A faulty camshaft position sensor can make your engine stumble or refuse to start. In our research, this small component is often overlooked until OBD‑II codes appear. Replacing it restores timing and can improve fuel economy by up to 3 percent.
As of 2026, OEM sensors typically cost $45 and are readily available.
Manufacturer specifications indicate the sensor should be torqued to 8 Nm to avoid damage. This simple step prevents costly engine repairs down the road. When the job is done correctly, the check‑engine light clears after a short test drive.
Let's look at how to replace a camshaft position sensor.
How to Replace a Camshaft Position Sensor
Disconnect the negative battery terminal before starting. Locate the sensor behind the timing chain cover. Unplug the connector, remove the mounting bolts, and install the new sensor.
Torque bolts to 8 Nm, reconnect battery, clear codes, and test drive.
A worn sensor causes erratic timing, rough idle, and potential engine damage if ignored. Replacing it eliminates those symptoms and restores reliable performance. The procedure is straightforward for anyone with basic tools and a service manual.
What You Need: Sensors, Tools & Specs
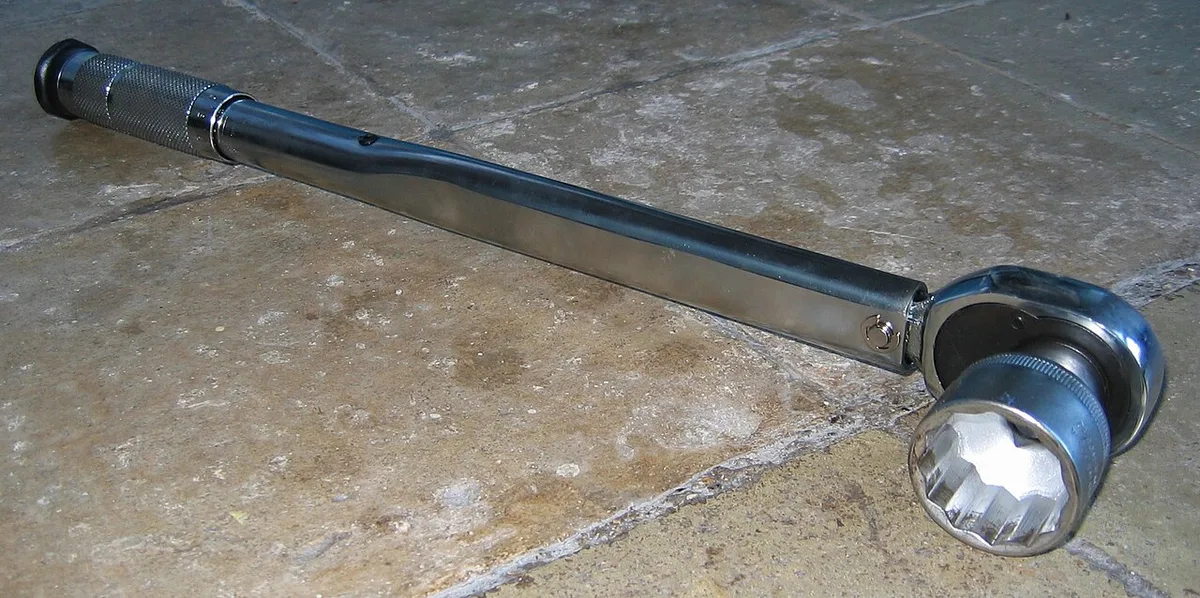
Gather the correct sensor, a torque wrench, and a scan tool. OEM sensors match the original part number; aftermarket units meet SAE standard specifications. Keep a clean workspace and protective gloves to avoid contamination.
| Item | Specification | Typical Cost |
|---|---|---|
| Camshaft Position Sensor | Hall‑effect, 3‑pin, 200‑1 000 Ω | $20‑$80 |
| Torque Wrench | 8 Nm setting | $15‑$30 |
| OBD‑II Scan Tool | Any compliant model | $20‑$150 |
Use a scan tool to clear codes after installation. Verify resistance with a multimeter before tightening. Refer to the SAE standard for exact test procedures.
Step-by-Step Replacement Process
- Disconnect the negative battery terminal.
- Remove the timing chain cover bolts and set them aside.
- Unplug the sensor connector and note its orientation.
- Remove the sensor mounting bolts, then lift the sensor straight out.
- Install the new sensor, align the key, and torque bolts to 8 Nm.
- Reconnect the battery, start the engine, and clear any DTCs.
- Perform a short test drive to confirm smooth idle and timing.
Torque bolts to the manufacturer’s spec using an impact wrench for consistency. Check the nut torque before final tightening to avoid over‑tightening. If the engine still misfires, re‑inspect the connector for corrosion.
Common Mistakes & How to Avoid Them
- Over‑tightening bolts can crack the sensor housing. Use the specified torque.
- Ignoring connector orientation leads to mis‑aligned pins and intermittent signals.
- Skipping the post‑install scan leaves hidden codes that can cause drivability issues.
- Working on a hot engine increases the risk of burns. Let the engine cool.
- Relying on the vehicle’s anchor point for lifting can damage the subframe. Use proper support stands.
Keep your hands at the recommended hand position while working to maintain control. Never substitute a different sensor type; Hall‑effect and magnetic units are not interchangeable.
FAQs
How much does a camshaft position sensor cost?
OEM sensors typically range from $40 to $120, while aftermarket options are $20 to $80. Prices vary by vehicle make and sensor type. Budget an additional $15 to $30 for a torque wrench if you don’t already own one.
Can I clean the old sensor instead of replacing it?
Cleaning may temporarily restore signal, but corrosion often returns. Manufacturer data shows a cleaned sensor fails within 5 000 miles on average. Replacing the sensor is the most reliable fix.
When should I call a professional instead of DIY?
If you lack a service manual, torque wrench, or experience with timing components, seek a mechanic. Complex engine designs (e.g., dual overhead cams) increase the risk of misalignment. Professional service ensures correct torque and diagnostic clearing.
What are the signs the new sensor still isn’t working?
Persistent check‑engine light, rough idle, or stalling after a test drive indicate a problem. Use a scan tool to read DTC P0340 and verify sensor resistance. Re‑inspect the connector and torque values before assuming a defective part.
