
If your steering feels loose or you see uneven tire wear, the control arm may be the culprit. A cracked arm or worn bushing can let the suspension move where it shouldn’t. Replacing it restores precise handling and prevents further damage.
In this guide, you'll learn how to replace a control arm safely. Manufacturer specs call for torque of 70 to 90 ft‑lb on the mounting bolts. Gather a torque wrench, jack stands, and a ball‑joint separator before you start, and we’ll walk through each step then move to the quick answer.
How to Replace a Control Arm
Remove the wheel and secure the vehicle on stands.
Disconnect the ball joint and unbolt the mounting bolts.
Install the new arm and torque bolts to 70‑90 ft‑lb.
Check camber alignment and adjust if needed.
Test drive to confirm steering is firm and straight.
Problem & When to Replace a Control Arm
A failing control arm shows up as loose steering and uneven tire wear. Cracks in the arm or worn bushings are clear visual cues.
- Cracked or bent arm, visual damage
- Ball joint with visible play, movement when pulled
- Excessive camber wear (>0.5°), uneven tire wear pattern
If any of these appear, replace the arm before a failure occurs. Manufacturer manuals recommend replacement at 60,000 to 100,000 miles or when damage is seen, per SAE J740 suspension standards.
Check the ball joint by pulling it sideways; any movement means it’s loose, so keep a steady steering grip. A loose joint forces the arm to be removed and replaced.
Inspect mounting bolts for rust or stripped threads, then apply proper bolt torque. Seized bolts can bind the arm during removal and cause damage.
Replace the arm if camber is off by more than 0.5 degrees. After installation, an alignment shop can set the final geometry.
Labor typically takes 1.5 to 2 hours for a DIYer. Parts range from $120 to $350 depending on brand and material, and lug nut pricing can add $20 to $50.
Choose the Right Replacement Arm
Selecting the correct control arm starts with matching the vehicle’s make, model, and year. OEM arms meet factory specifications, while aftermarket units often offer upgraded materials.
Steel arms are durable and cost‑effective; aluminum arms are lighter and resist corrosion. If you drive in salty climates, aluminum may be worth the extra $30 to $50.
Check the bolt pattern and whether the ball joint is integrated or separate. An integrated joint saves a separate part but may cost more to replace.
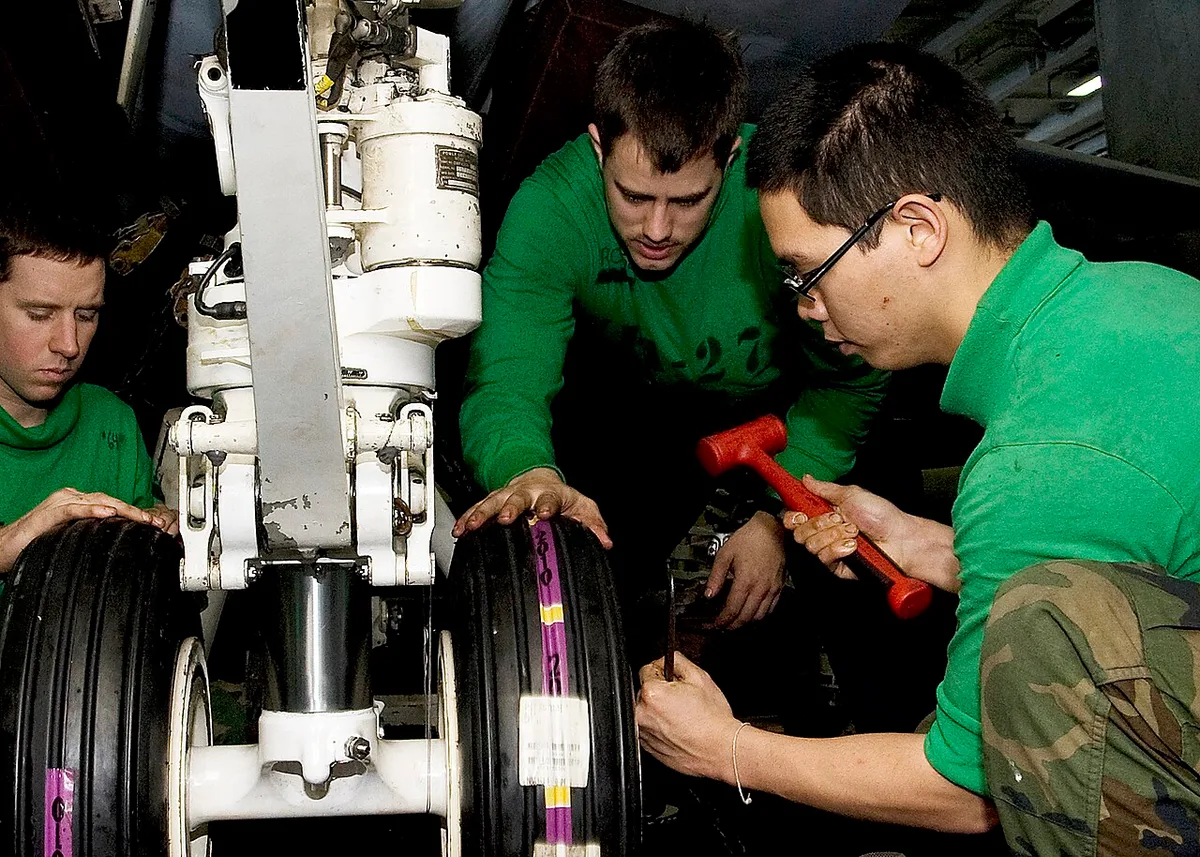
Image source: Wikimedia Commons / U.S. Navy photo by Mass Communication Specialist Seaman Cheng S. Yang
| Feature | OEM Arm | Aftermarket Arm |
|---|---|---|
| Material | High‑strength steel | Steel or aluminum |
| Ball joint | Integrated | Integrated or separate |
| Torque spec | 70‑90 ft‑lb | 70‑90 ft‑lb |
| Warranty | 1‑year | Lifetime (some brands) |
| Typical price | $180‑$250 | $120‑$350 |
Use a torque wrench to meet the manufacturer’s specification, typically 70 to 90 ft‑lb. Over‑tightening can crack the arm; under‑tightening leads to loose mounting.
If you’re unsure, consult the service manual or a dealer for the exact part number, and review the NHTSA suspension safety guide for additional checks.
Step‑by‑Step Replacement Workflow
Follow a clear workflow to replace a control arm safely and efficiently. Park on a flat surface, engage the parking brake, and chock the opposite wheels before lifting.
| Item | Specification |
|---|---|
| Floor jack | Rated for vehicle weight |
| Jack stands | Minimum 2, placed under frame |
| Torque wrench | 70‑90 ft‑lb range |
| Ball‑joint separator | If joint is stuck |
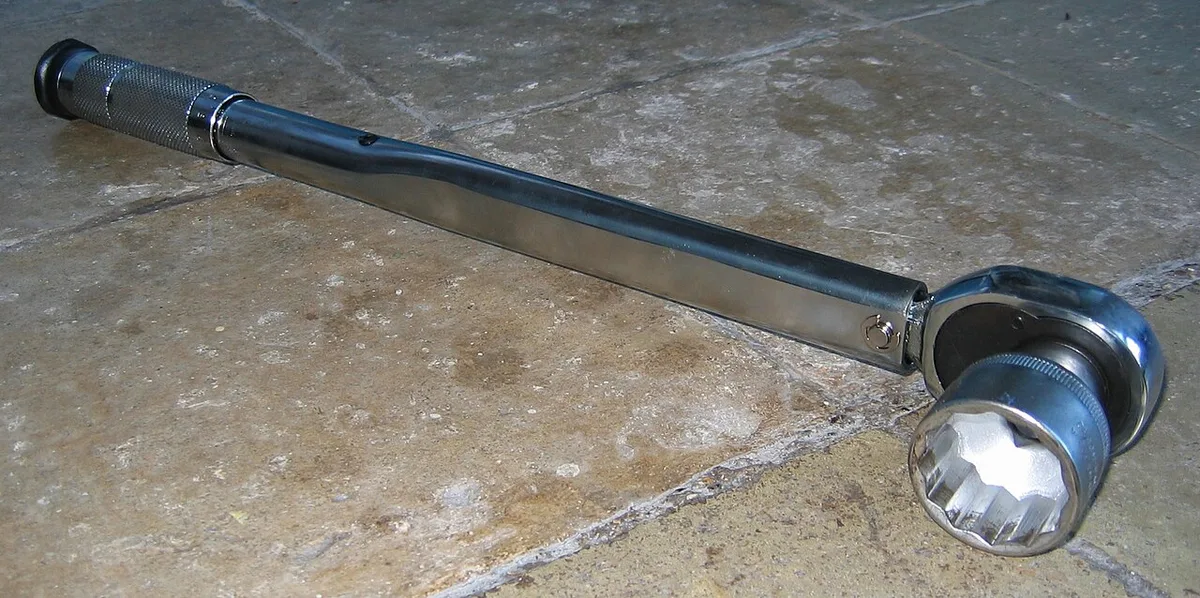
Image source: Wikimedia Commons / No machine-readable author provided. Heron2 assumed (based on copyright claims). (CC BY-SA)
- Lift the car until the wheel clears the ground and place jack stands under the frame rails.
- Remove the wheel and disconnect the ball joint using a pry bar or press.
- Unscrew the two mounting bolts, noting any washers or spacers.
- Slide the old arm off the knuckle and compare it to the new arm.
- Install the new arm, insert bolts, and torque to 70‑90 ft‑lb in the correct sequence.
- Re‑install the ball joint, mount the wheel, lower the car, and perform a final torque check.
If the ball joint resists removal, a hydraulic press can help, but avoid excessive force. Always verify torque with a calibrated wrench before driving to ensure the arm stays secure.
Common Mistakes & Safety Checklist
Image source: Wikimedia Commons / Ansel Adams
Even experienced mechanics can make mistakes when replacing a control arm, so a checklist helps avoid costly errors. Skipping safety steps or using the wrong torque can damage the arm, knuckle, or even the steering rack.
Ignoring the specified torque and using a guess‑work value
Forgetting to disconnect the ball joint before removing bolts
Reusing old washers or spacers that may be deformed
Skipping the alignment after installation
Wear safety glasses, gloves, and hearing protection
Use jack stands rated for the vehicle’s weight
Place wheel chocks behind the opposite wheels to prevent roll‑away.
Wear safety glasses, gloves, and hearing protection before lifting.
Use jack stands rated for the vehicle’s weight and position them under the frame rails.
Following these safety steps reduces the risk of injury and keeps the workspace organized.
How long does a control arm replacement take?
A DIYer typically spends 1.5 to 2 hours on the job. Professional shops may need additional time for alignment and final torque checks. Plan for a full morning if you’re new to suspension work.
Can I replace just the ball joint instead of the whole arm?
Only replace the ball joint if the control arm is undamaged and the joint is the only worn component. Replacing the entire arm ensures proper camber geometry and steering precision.
What torque should I use for my specific vehicle?
Always follow the manufacturer’s specification, usually 70‑90 ft‑lb. Use a calibrated torque wrench and verify after installation; over‑tightening can crack the arm. For detailed torque procedures, see the impact wrench guide.
Do I need a professional alignment after replacement?
Yes, an alignment ensures camber and toe are set correctly, preventing uneven tire wear. Skipping alignment can negate the benefits of a new arm. For safety verification, consult the NHTSA suspension safety guide.
