
If you're wondering how to replace a radiator, you're in the right place. Over time, radiators can leak, lose efficiency, or simply look outdated. Ignoring these signs can raise heating bills and cause cold spots in your home.
We'll walk you through the decision-making and the hands‑on steps.
Most radiators last 15 to 20 years before efficiency drops, according to CIBSE heating guidelines. A cold patch on the wall often signals a failing unit. When the boiler pressure gauge reads low after a bleed, it usually means the radiator is no longer doing its job.
Let's start by confirming when a replacement is truly needed.
How to Replace a Radiator
Turn off the boiler and isolate the radiator. Open the bleed valve to release pressure. Remove the old unit, fit the new one, and reconnect valves.
Refill the system and check for leaks. Ensure the new radiator matches the room’s BTU requirement.
When to Replace a Radiator
Signs of Failure
- Persistent leaks at the valve or body.
- Cold spots on the wall despite the boiler running.
- Rust stains or corrosion on the radiator surface.
- Noise such as rattling or hissing when the system is on.
Regular maintenance helps catch these early; keeping the system clean can extend life. If you notice any of the above, replacement is usually the most cost‑effective fix.
Sizing Considerations
Calculate the BTU requirement based on room dimensions, insulation, and window area. A simple rule is 10 BTU per square foot for a well‑insulated room. For a 200 sq ft bedroom with standard insulation, aim for roughly 2,000 BTU.
Use a sizing calculator or consult a professional to avoid under‑ or over‑heating.
Choosing the correct size prevents wasted energy and uneven warmth.
Choosing the Right Radiator
Material & Heat Output
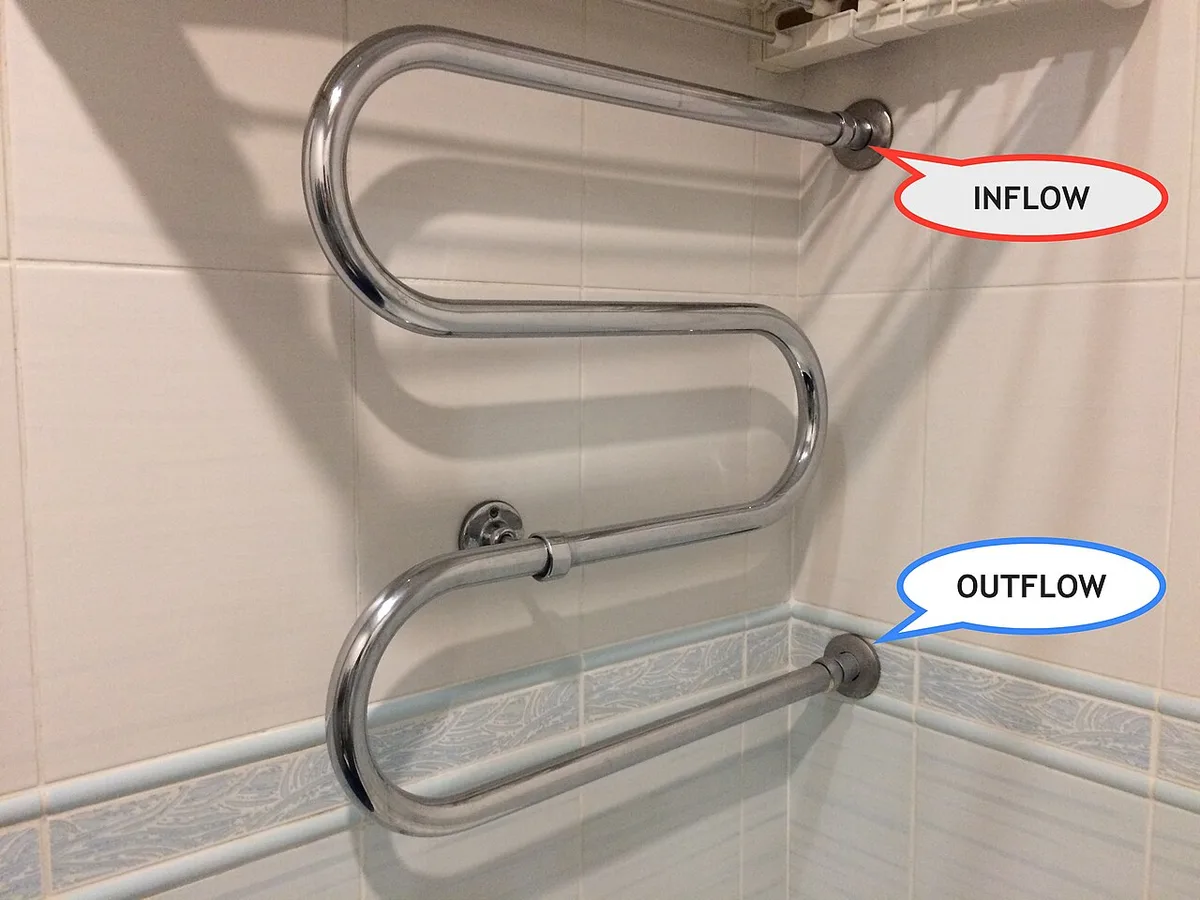
Steel radiators offer fast heat response and are common in modern homes. Aluminium radiators are lightweight and provide excellent convection. Cast iron retains heat longer but is heavier and often used in period properties.
Review the energy label; higher ratings mean better efficiency.
When selecting, match the BTU rating to the room’s calculated need. Checking specifications can prevent buying a unit that’s too small or too large.
Valve Compatibility
Most new radiators use thermostatic radiator valves (TRVs) for precise control. Ensure the valve threads match the boiler’s standard, typically clockwise or anticlockwise. If your system uses a lockshield valve, confirm it’s compatible with the new radiator.
Proper valve fit eliminates leaks and ensures balanced heating across the house.
Secure mounting is essential; use brackets rated for the radiator’s weight.
Step-by-Step Replacement Workflow
Preparation & Safety
- Turn off the boiler and isolate the circuit.
- Open the radiator bleed valve to release pressure.
- Place a bucket beneath the valve to catch water.
Tools and Materials
| Item | Typical Quantity |
|---|---|
| Adjustable wrench | 1 |
| Pipe cutter (copper/PEX) | 1 |
| PTFE tape | 1 roll |
| New radiator | 1 |
| TRV and lockshield | 1 set |
| Bucket and towels | As needed |
Removal & Installation
- Unscrew the old radiator from the brackets and set it aside.
- Remove the old valves, clean the pipe ends, and apply PTFE tape.
- Position the new radiator on the brackets, level it, and secure it.
- Connect the new valves, tighten to the manufacturer’s torque spec, and replace any decorative covers.
System Refill & Bleed
- Turn the boiler back on and check the pressure gauge.
- Open the new radiator’s bleed valve to release air until water flows.
- Close the bleed valve and monitor for leaks over the next hour.
Fluid level check is crucial; keep the system at the recommended pressure. Secure mounting tips ensure the radiator stays stable during use.
Mistakes to Avoid & Safety Checks
Common Errors
- Skipping the pressure release step, which can cause water to spray.
- Using the wrong valve type, leading to leaks or poor temperature control.
- Installing a radiator that’s too large, which forces the boiler to work harder and raises bills.
Cost versus reliability matters; cheap valves often fail within a year.
Legal & Compliance
In the UK, all gas‑fired boilers must be serviced by a Gas Safe Register engineer. Electrical safety for electric radiators follows BSI wiring standards. Always keep the installation manual for future reference and warranty claims.
Safety analogy: treating a radiator like a car component without proper checks can lead to costly repairs.
Frequently Asked Questions
How long does a radiator replacement take?
Most DIY jobs finish within 2 to 4 hours, including cleanup. Professional installations may take 4 to 6 hours due to additional testing.
Do I need to drain the entire heating system?
No. Isolating the radiator and opening the bleed valve releases enough pressure for safe removal. Full system drain is only required for major renovations.
Can I install a radiator without a plumber?
Yes, if you’re comfortable with basic pipework and have the right tools. However, a professional ensures compliance with building regulations.
What size radiator do I need for a 12 ft × 10 ft room?
Roughly 1,200 BTU for a well‑insulated space. Adjust upward for poor insulation or large windows.
When should I call a professional?
Call a plumber if you encounter corroded pipework, incompatible valve threads, or if the boiler pressure won’t stabilize after refilling.
