
Most drivers notice a squealing noise or loss of power steering and wonder how to replace a serpentine belt. In our research, the fix is straightforward if you follow the correct steps and safety checks. Manufacturer specifications indicate the belt should be replaced every 60,000 to 100,000 mi, and the tensioner bolt must be torqued to 10, 12 Nm.
Knowing the process saves time and prevents engine damage.
How to Replace a Serpentine Belt
Find the belt routing diagram in the vehicle manual.
Remove the old belt by loosening the tensioner bolt.
Install the new belt following the exact routing.
Torque the tensioner bolt to the manufacturer spec.
Problem / Pain Point
A worn or mis‑routed belt can cause alternator failure, power‑steering loss, and overheating.
Common signs include a high‑pitched squeal on startup and a loose feeling in the steering.
If the tensioner spring is broken, the belt may slip off entirely.
Checking the belt tension with a gauge ensures proper installation.
Many owners overlook the need to verify proper lug nut torque before working under the hood, which can affect wheel alignment after the repair.
Core Explanation: How a Serpentine Belt Works
The serpentine belt drives the alternator, water pump, and power‑steering pump using a single continuous loop.
It runs over an automatic tensioner that maintains consistent pressure, preventing belt slack.
Each accessory pulley spins at a different speed, and the belt’s ribs grip the pulleys to transfer power.
Per the SAE J1349 belt tension standard, the belt must be tensioned between 80 and 120 Nm for optimal performance.
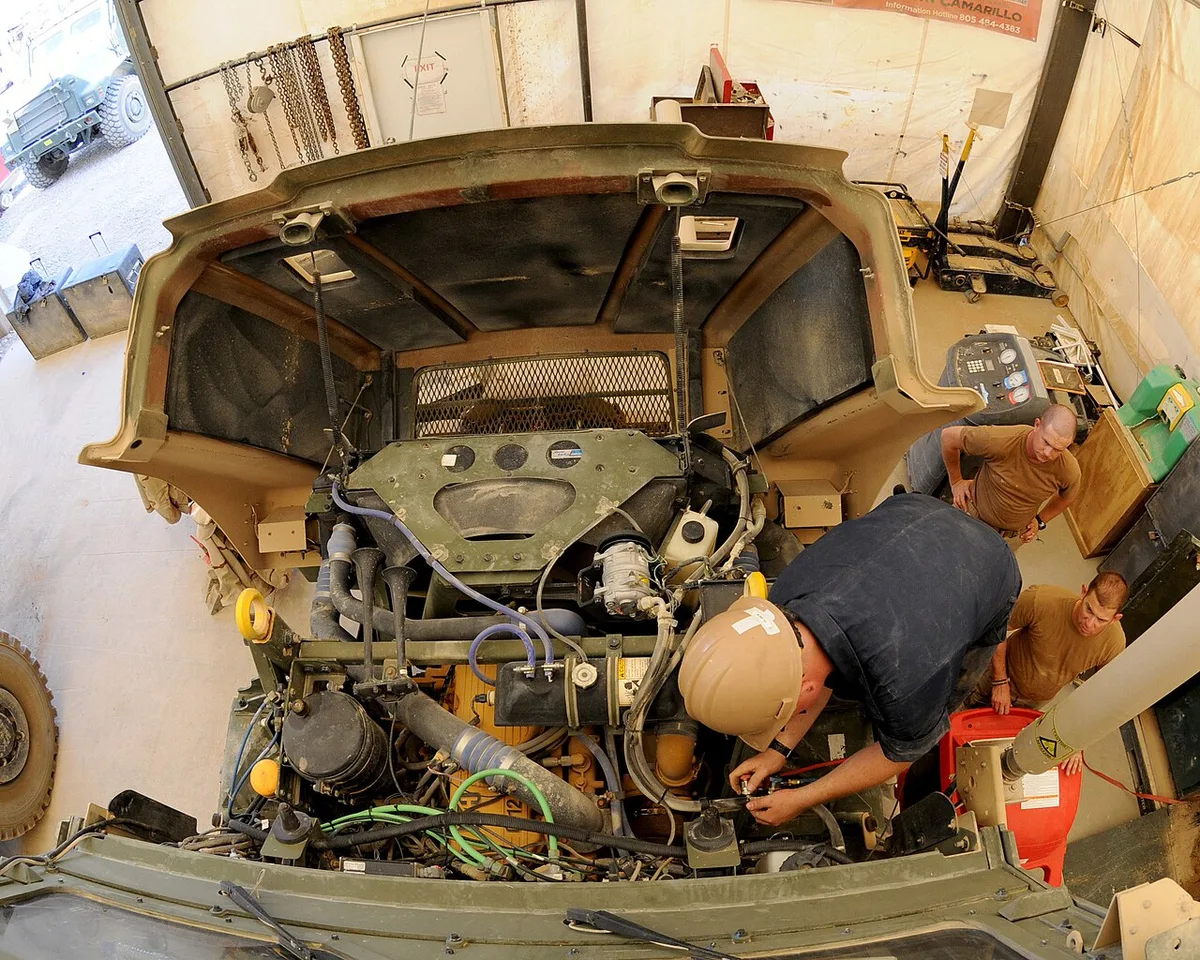
Image source: Wikimedia Commons / U.S. Navy photo by Mass Communication Specialist 1st Class Russell Stewart
The belt’s rubber compound includes fiberglass reinforcement for strength and heat resistance.
When the belt ages, cracks or glazing appear, indicating the need for replacement.
Inspecting pulleys for wear before installing the new belt prevents premature failure.

Image source: Wikimedia Commons / Nate Wessel (CC BY-SA)
Step-by-Step Replacement Process
1. Preparation & Safety Checks
Park on a flat surface, engage the parking brake, and disconnect the battery.
Wear safety glasses and gloves, and place wheel chocks behind the wheels.
Gather tools: a socket set, ratchet, torque wrench, and a belt removal tool if needed.
2. Remove the Old Belt
Locate the tensioner and insert a breaker bar into its square opening.
Rotate the tensioner clockwise to release belt tension, then slide the belt off the pulleys.
Inspect each pulley for cracks, scoring, or loose bearings; replace any damaged component.
3. Install the New Belt
Route the new belt over the crankshaft pulley first, then follow the diagram around each accessory pulley.
Ensure the belt sits squarely on each pulley groove; avoid twisting or misalignment.
Apply the specified torque to the tensioner bolt using a torque wrench.
4. Final Verification
Start the engine and listen for abnormal noises; the belt should spin smoothly.
Check alternator output with a multimeter and verify power‑steering operation.
Re‑connect the battery and take the vehicle for a short test drive.
| Item | Typical Spec |
|---|---|
| Belt length | 1,200–1,400 mm |
| Tensioner torque | 10–12 Nm |
| Replacement interval | 60,000–100,000 mi |
When working under the vehicle, consider using ramps for access for better visibility.
If you need to adjust fluid levels afterward, refer to the guide on checking fluid levels.
For tightening lug nuts after the repair, use using an impact wrench to achieve the proper torque.
Safety, Legal, and Compliance Warnings
Always wear safety glasses and gloves; debris can fly off the belt during removal.
Secure the vehicle with wheel chocks and a jack stand to prevent rolling.
Per OSHA lifting safety guidelines, never work under a vehicle supported only by a jack.
Dispose of the old belt according to local waste regulations; many auto parts stores accept used belts for recycling.
Maintain a clear workspace and keep children and pets away from the work area.
For proper hand placement while working near moving components, see the guide on hand placement while working.
Image source: Wikimedia Commons / Ansel Adams
Frequently Asked Questions
How often should I replace a serpentine belt?
Replace it every 60,000 to 100,000 mi per manufacturer guidelines, and also when cracks or glazing appear. SAE J1349 confirms these intervals keep belt tension optimal. Checking the belt during routine oil changes helps catch wear early and prevents alternator failure.
Can I replace the belt without a torque wrench?
A torque wrench is recommended for the tensioner bolt to meet the 10, 12 Nm spec. If unavailable, use a calibrated socket and apply firm, even pressure; avoid overtightening which can damage the tensioner spring. Always verify tension with a gauge after installation to ensure proper operation.
What happens if I install the belt backwards?
Installing the belt backwards will cause it to ride off the pulleys, leading to rapid wear and possible engine damage. Always follow the routing diagram and ensure the ribbed side contacts the pulleys correctly. Check the belt orientation before tightening the tensioner.
Do I need to replace the tensioner when changing the belt?
Inspect the tensioner for wear or broken spring; replace it only if damaged. A functioning tensioner will maintain proper belt tension with the new belt and prevent premature failure. Refer to the vehicle service manual for the exact tensioner part number and torque specification.
Can I reuse the old belt after cleaning?
No, cleaning does not restore the rubber’s elasticity or remove internal cracks. Reuse risks belt failure and should be avoided; install a new belt for safety. Even a visually clean belt may have hidden damage that can cause sudden loss of power steering.
