Imagine you’re driving down a dark road. The illumination from your light bar is crucial for safety and visibility.
But what if your light bar isn’t working as well as it should? That’s where a multimeter comes in handy. By learning how to test your light bar with a multimeter, you can ensure that it’s functioning correctly and avoid potential hazards.
This guide will empower you to confidently troubleshoot and maintain your light bar. You don’t need to be a tech wizard to follow these steps—just a willingness to learn and a desire for safety. Keep reading, and you’ll discover how simple it is to ensure your light bar is always ready to light your way.

Credit: www.nilight.com
Tools Required
Testing a light bar needs a few simple tools. A multimeter is key. It helps measure voltage and current. A screwdriver can open the light bar case. Sometimes, you might need pliers to handle small wires. Keep these tools handy for easy testing.
Safety is important. Gloves protect your hands from electric shocks. Safety glasses keep your eyes safe. Always wear them when working. Rubber-soled shoes prevent slipping and protect against electric shock. Stay safe while testing.

Credit: www.wikihow.com
Preparing The Light Bar
First, check for any visible damage on the light bar. Look for cracks or broken pieces. These can stop the light from working well. Examine wires carefully. Ensure they are not cut or frayed. Damaged wires may cause the light to fail. Replace damaged parts if needed.
Clean the contacts to ensure good power flow. Use a soft cloth to wipe the contacts gently. Dirt or rust can block electricity. If there is rust, use a little vinegar to clean it. Dry the contacts well after cleaning. This helps the light work better.
Setting Up The Multimeter
First, find the right mode on your multimeter. Check the dial for DC voltage. This is the mode you need. Light bars use DC power. Be sure to select the right range. Most light bars work under 12 volts. So, choose a low voltage setting.
Now, set the multimeter settings. Turn the dial to the chosen mode. Make sure the probes are in the right ports. The black probe goes in the COM port. The red probe goes in the VΩ port. Ensure the multimeter is ready to measure voltage. Double-check all connections before testing.
Testing The Voltage
Begin by turning the multimeter to the voltage setting. Make sure it is set to measure DC voltage. Find the two probes on your multimeter. The red probe is positive, and the black probe is negative. Connect the red probe to the positive wire of the light bar. Then, connect the black probe to the negative wire. Ensure all connections are firm and secure. This step is crucial for accurate readings.
Look at the multimeter display. It will show a number with a unit. This number is the voltage of the light bar. If the reading is zero, there might be a problem. Check your connections again. If the voltage is too low, the light bar may not work well. A good reading means the light bar is fine. Keep the voltage within the safe range for best results.
Testing The Continuity
Continuitychecks if electricity can flow in a circuit. It helps find broken wires. A multimeter is the tool used for this test. Set the multimeter to the continuity setting. It often looks like a sound wave symbol. When the probes are connected, the multimeter should beep. If there is no sound, there is a break.
First, turn off the light bar. Safety is important. Next, connect the multimeter probes to the light bar wires. One probe goes to the positive wire. The other probe goes to the negative wire. Listen for a beep from the multimeter. A beep means the circuit is good. No beep means the circuit is bad. Check all wires and connections if needed.

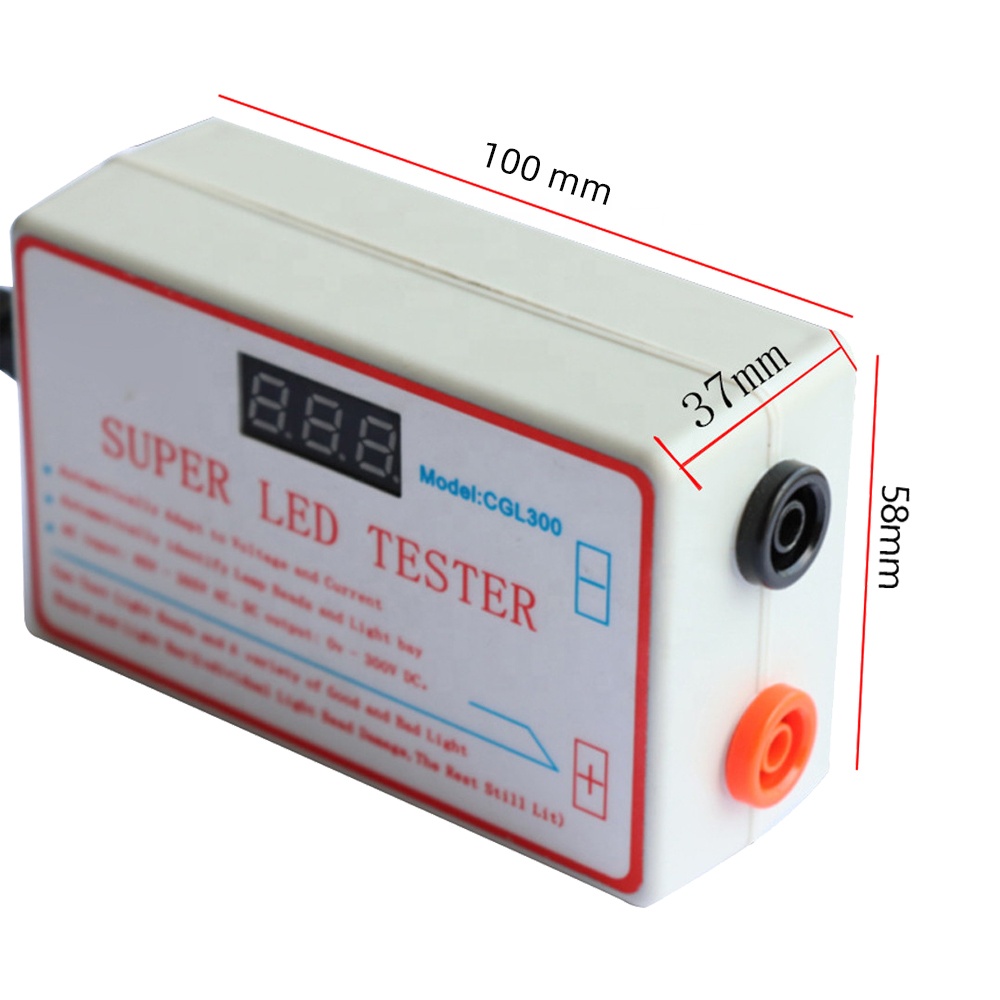
Credit: www.alibaba.com
Troubleshooting Common Issues
Light bars can stop working for many reasons. Check the wires first. See if they are broken or loose. Look at the connectors too. A dirty connector can cause problems. Inspect the bulbs as well. A burnt-out bulb needs replacing. Use a multimeter to test these parts. Make sure the multimeter is set to the right mode. This will help find the problem.
Once you find the fault, fix it quickly. Replace any broken wires. Clean dirty connectors for a better connection. Change bulbs if they are burnt out. Use a screwdriver to tighten loose parts. After fixing, test the light bar again. Make sure it works well. If it still doesn’t work, ask a professional for help.
Tips For Accurate Testing
Ensure your multimeteris set to the correct mode. Use the DC voltagesetting for light bars. Check connectionsproperly. Loose wires can lead to errors. Test in a safe environment. Avoid wet areas to prevent damage. Keep probes steady when measuring. Moving them can give wrong numbers.
Verify your multimeter is calibratedbefore testing. Calibrated tools give better readings. Double-check your measurements. Compare them with expected values. If unsure, test again. Consistent results mean reliable readings. Use a reference lightfor comparison. It helps confirm accuracy. Record your findings. Written notes help track progress.
Conclusion
Testing a light bar with a multimeter is simple. Follow the steps carefully. First, ensure safety by turning off the power. Use the multimeter to check voltage and continuity. This helps identify any issues. A working multimeter is crucial for accurate readings.
Spot problems early to avoid bigger issues later. Practice makes you better and more confident. With these tips, testing becomes a straightforward task. Remember to handle tools with care. Safety should always be your priority. Keep practicing, and you’ll master it soon.
