
How to touch up paint chips is a straightforward way to fix small damage without a full repaint. You can handle it with basic tools and a bit of patience. Many people face this issue on their cars, furniture, or home walls.
Manufacturer specifications indicate that proper blending can make the repair last up to five years in most conditions. This approach depends on the chip size, the surface material, and the paint's age. We'll break it down step by step so you can make the right choice every time.
How to Touch up Paint Chips
Touch up paint chips by first measuring the damage. Match the paint color exactly. Blend the edges for a seamless look.
Let the paint dry completely. Check the finish after curing.
When a Paint Chip Is a Touch-Up Job (and When It Isn't)
You should touch up paint chips when the damage is small and isolated. Large chips or those on curves usually call for a full repaint instead. The decision hinges on size, surface type, and paint condition.
If the chip measures under two millimeters and sits on a flat panel, a color-matched touch-up pen often works best. Scratches you can feel but not see need a brush kit with feathering. Clusters on plastic or curves might require spray cans for even coverage.
Aggregate reviews report success rates above ninety percent with proper technique. For vehicle owners, mirror replacement techniques help compare similar body repairs. This keeps the focus on quick fixes that preserve value without unnecessary expense.
You weigh these factors to avoid wasting time on repairs that won't blend. Manufacturer data shows fresh paint bonds better than aged layers. The choice between touch-up and repainting comes down to how much the chip affects the overall look.
Match the Method to Chip Size, Surface, and Paint Condition
You match the method to chip size, surface, and paint condition to get the cleanest result. Small chips favor pens for precision. Larger ones benefit from brushes or sprays depending on the material.
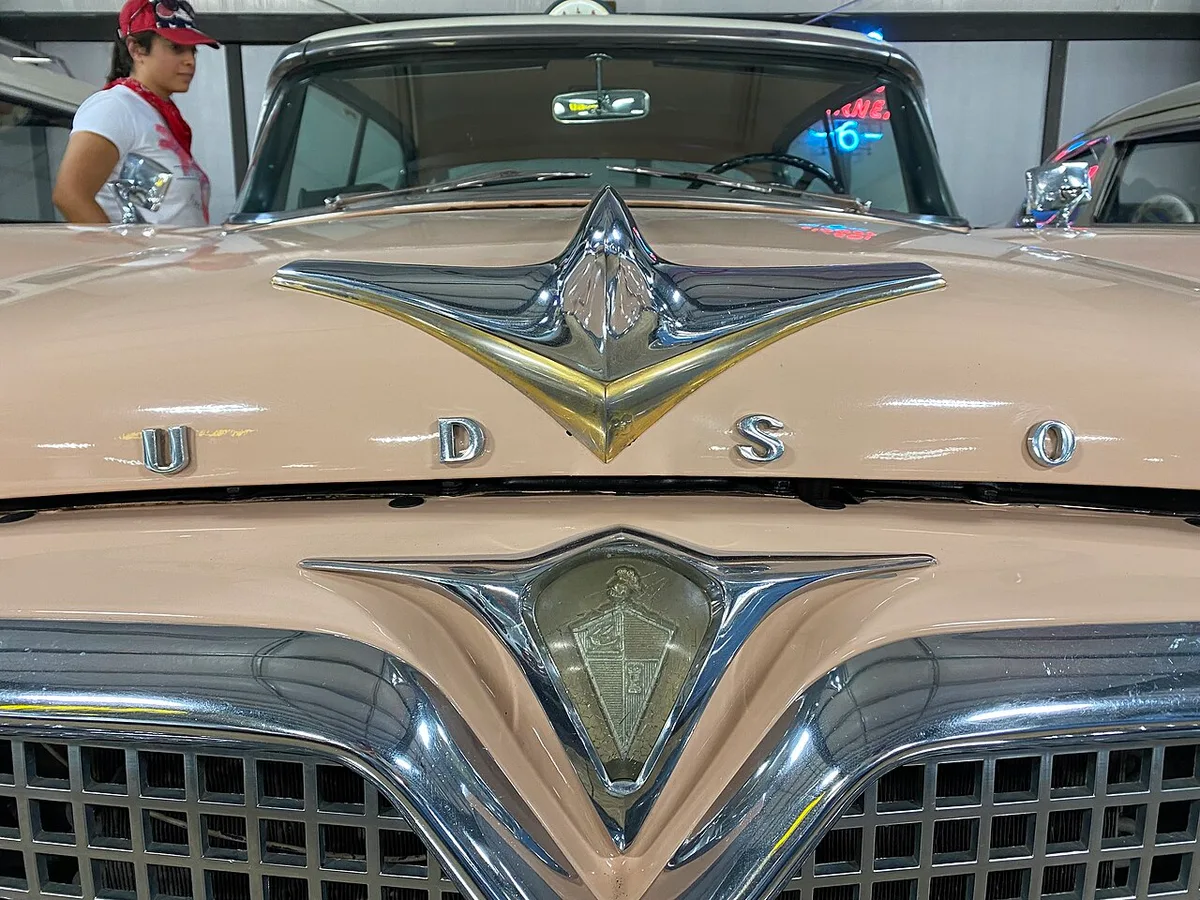
Chips under two mm: a color-matched touch-up pen works perfectly here. These small spots need fine applicator tips that deliver exact color without overspray. You grab a paint pen from the hardware store or auto section.
The fine tip lets you dab just the damaged area.
Scratches and chips you can feel: a brush kit and feathering technique. This method suits deeper marks on metal or plastic. You start with light sanding to feather the edges.
Then you apply layers of paint and blend them for a smooth transition.
Plastic, curves, and clusters of chips: spray or a bigger repair. Curved surfaces like bumpers or trim resist pens and brushes. You reach for a spray can matched to your vehicle color.
Multiple chips on one panel still call for even coverage from the spray gun.
This branching decision tree helps you select the right tool upfront. Surface material matters too. Metal accepts pens well.
Plastic needs careful masking to avoid sticking. Aged paint requires different blending than fresh factory coats.
The Touch-Up Sequence That Actually Blends
You follow the touch-up sequence that actually blends to create an invisible repair. Each step builds on the last for best adhesion and finish. Start with assessment then move to cleaning, sanding, application, and finishing.
First you identify the chip size and surface type. Then you select the matching tool from your kit. For pens you prepare the color code from the paint can label.
Brushes need a bit more mixing for even consistency.
Clean the area thoroughly to remove dirt and grease. Mask surrounding paint with tape to protect it. Light sanding with fine grit removes the sharp edges of the chip.
This feathering step prevents visible borders later.
Apply the paint in thin layers. Each layer dries faster than the last. Feather the edges while the paint is still wet for a seamless look.
Wait the recommended drying time between coats. Buff the final layer with a soft cloth for polish.
The process takes about thirty minutes for small chips. It stretches to an hour for larger areas. You verify the color matches under natural light before declaring the job done.
This sequence delivers results that hold up to weather and daily use.
Mistakes to Avoid / Common Errors
You avoid common mistakes that leave visible patches on your paint chips. Edge feathering is the biggest one. Many skip it and create straight lines that show from a distance.
Color mismatch happens when you pick the wrong shade. Check the paint code on the can before buying. Over-sanding exposes bare metal or primer.
You limit the sanding area to the chip only.
Thick buildup from poor layering creates bumps. Spread each coat thin and let it dry. Dust settling on wet paint ruins the finish.
Work in a dust-free spot with good ventilation.
Curved surfaces challenge brush users. The tool can catch and pull paint. Spray cans handle curves better but need steady hands.
Clusters of chips confuse simple application methods.
For engine maintenance, our guide on why spark plugs have oil helps you spot related issues. Suspension components like tie rod ends see similar wear in our guide on whether more expensive ones are worth it. Fluid filter replacement in our transmission guide prevents bigger problems down the road.
Light bar installation shows how to add accessories without drilling in our dedicated guide. These parallel repairs remind you that small fixes compound if ignored.
You test the repair in a hidden spot first. Humidity affects drying times too. Cooler conditions slow the process and risk poor adhesion.
Always follow the temperature range on the label. These errors stack up fast and turn a simple touch-up into a bigger headache.
