
What causes a car to leak coolant often goes unnoticed until the temperature gauge climbs. A small drip can turn into a big problem if the engine runs hot. Our research shows most leaks start in the radiator, hoses, or water pump.
Knowing the exact source saves you time and money.
Per SAE J1349, typical system pressure is 13 psi and a leak as small as 0.5 mm can drop coolant levels quickly. If you spot a puddle under the car after it’s been parked, check the radiator cap and hoses first. This quick check often reveals the culprit before you need a pressure test.
Let’s move on to why the leak happens and how to spot it.
Car Leaking Coolant? Discover the Main Causes and Solutions
Coolant leaks stem from cracked radiators, worn hoses, or failed water pump seals. A loose radiator cap can vent pressure and cause loss. Cracked hoses often result from age, heat, or abrasive debris.
Water pump failures usually involve a leaking seal or gasket. Engine block cracks are rare but happen under extreme freeze conditions.
Problem & Why It Matters
A coolant leak appears as a sweet‑smelling puddle and a rising temperature gauge. If left unchecked, the engine can overheat and seize, leading to costly repairs. Early detection saves thousands and keeps you safe on the road.
Use a pressure test to confirm the source, and refer to diagnosing cooling issues for guidance.
How Coolant Systems Work & Where Leaks Occur
The cooling system circulates coolant between the engine, radiator, and heater core. Pressure stays around 13 psi, forcing fluid through narrow passages. Common leak points include the following components.
- Radiator tank cracks from freeze/thaw cycles.
- Upper or lower hoses develop cracks after 60,000 mi.
- Water pump seal fails under high‑rpm load.
- Thermostat housing gasket leaks when the engine overheats.
- Cylinder head gasket blowout causes coolant mixing with oil.
Refer to the vehicle recovery reference for proper towing if a leak is severe.
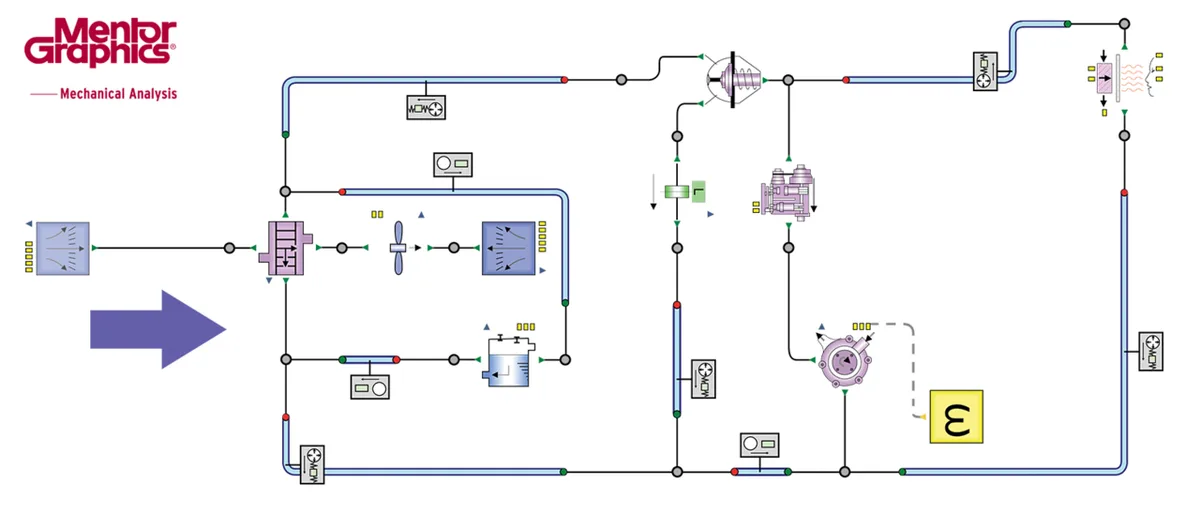
Image source: Wikimedia Commons / MentorMAD (CC BY-SA)
Step-by-Step Leak Diagnosis & Fix
Start with a pressure test to pinpoint the leak under controlled conditions. Inflate the system to 15 psi and watch for bubbles or drops. You’ll need the items in the table below to complete the job safely.
| Item | Purpose | Typical Cost |
|---|---|---|
| Pressure tester | Detect leaks | $30‑$60 |
| Radiator cap | Seal system | $10‑$20 |
| Coolant mix | Refill fluid | $15‑$30 |
| Hose clamps | Secure connections | $5‑$10 |
| Sealant (optional) | Temporary fix | $8‑$15 |
Follow these steps to diagnose and repair the leak.
- Connect the pressure tester to the radiator cap and inflate to 15 psi.
- Observe the gauge for pressure loss and note any bubbles at hose connections.
- If pressure drops, isolate the area and inspect for cracks or loose clamps.
- Replace damaged hoses, tighten clamps, or install a new radiator cap as needed.
- After repair, refill with the correct coolant mix and run the engine to verify normal temperature.
After repair, refill with the correct coolant mix and run the engine to verify normal temperature. For ongoing maintenance, repeat the pressure test every 12 months or 30,000 mi. See fluid maintenance steps for detailed refill guidance.
Safety, Legal & Compliance
Wear insulated gloves, safety glasses, and a long‑sleeve shirt before opening the cooling system. Work in a well‑ventilated area and keep children and pets away. Coolant is hazardous.
Never pour it down the drain or into soil. EPA motor vehicle fluids guide requires collection in a sealed container and recycling at a local facility. Check your state’s DOT rules for any additional disposal restrictions as of 2026.
If you’re unsure about any step, consult a certified technician. Following these guidelines protects you, the environment, and keeps your vehicle legal. Refer to safe installation practices for other DIY repairs.

Image source: Wikimedia Commons / USAID Vietnam
FAQs & Final Verdict
What are the first signs of a coolant leak?
Look for a sweet‑smelling puddle under the car and a temperature gauge that rises slowly. If the coolant level drops between checks, the leak is active and needs immediate attention. Addressing it early prevents engine overheating and costly repairs, and extends the vehicle’s lifespan.
Can a small leak fix itself?
A small leak will not seal on its own; coolant continuously circulates under pressure. Temporary sealants may slow the drip but are not a permanent solution. Replace the damaged component to restore system integrity and safety, and avoid future overheating episodes.
How often should I pressure‑test the cooling system?
Perform a pressure test at least once a year or after any overheating event. If you notice a temperature spike, test immediately to locate the leak before damage occurs. Regular testing catches small leaks early and saves on repair costs.
Do I need special coolant for older cars?
Older vehicles often require the original manufacturer’s coolant formula to protect gaskets and seals. Using the wrong type can cause corrosion, leak points, or reduced freezing protection. Check the owner’s manual or consult a shop for the correct specification as recommended by the manufacturer.
When should I call a professional?
Call a professional if you cannot locate the leak after a thorough pressure test. Complex repairs such as radiator replacement or engine block sealing require specialized tools and expertise. Also seek help if you lack the proper protective gear or disposal facilities.
For guidance on when to invest in higher‑quality components, see component investment decisions.
In most cases, a coolant leak is fixable with basic tools and a few parts. If the leak source is unclear or the repair exceeds your comfort level, a certified technician can resolve it safely.
What Causes a Car to Leak Coolant
