
How does a car amplifier work? It takes a low‑voltage audio signal and boosts it to drive speakers. In our research, amplifiers range from 50 W to 5,000 W RMS per channel.
Understanding the components and wiring prevents overheating and distortion.
SAE J1284 specifies that a typical 12 V car amplifier may draw up to 30 A at full power. Manufacturer datasheets confirm that MOSFET‑based units achieve efficiencies of 80 % or higher. Next, we’ll explore the core components and how they fit together.
How Does a Car Amplifier Work
A car amplifier receives line‑level audio and increases voltage to drive speakers. It uses MOSFETs or transistors to switch current rapidly in the power stage section. Heat sinks and fans keep the devices from overheating during continuous high‑volume operation periods.
Bridging two channels creates a mono output for subwoofers with increased power and control. Proper wiring, fuses, and ground connections ensure safe, reliable performance throughout the vehicle system.
Core Components and What to Look For
The amplifier’s performance hinges on four main groups of parts. Understanding each group helps you choose the right unit and avoid costly mistakes.
Power Supply (Transformer vs Switching)
The power supply converts 12 V DC from the battery into higher voltages needed for the output stage. As of 2026, toroidal transformers still dominate high‑end units, while switching supplies offer lighter weight and higher efficiency.
| Supply Type | Typical Efficiency | Weight | Example Use |
|---|---|---|---|
| Toroidal Transformer | 85 % | Heavy | High‑power subwoofers |
| Switching Supply | 90 % | Light | Compact amplifiers |
| Hybrid | 88 % | Medium | Mid‑range models |
For detailed power matching guidelines, see SAE J1284 standard.
Active Devices (MOSFETs, Transistors)
MOSFETs or bipolar transistors act as the switches that pulse the audio signal. MOSFETs provide faster switching and lower distortion, which is why they appear in most modern designs.
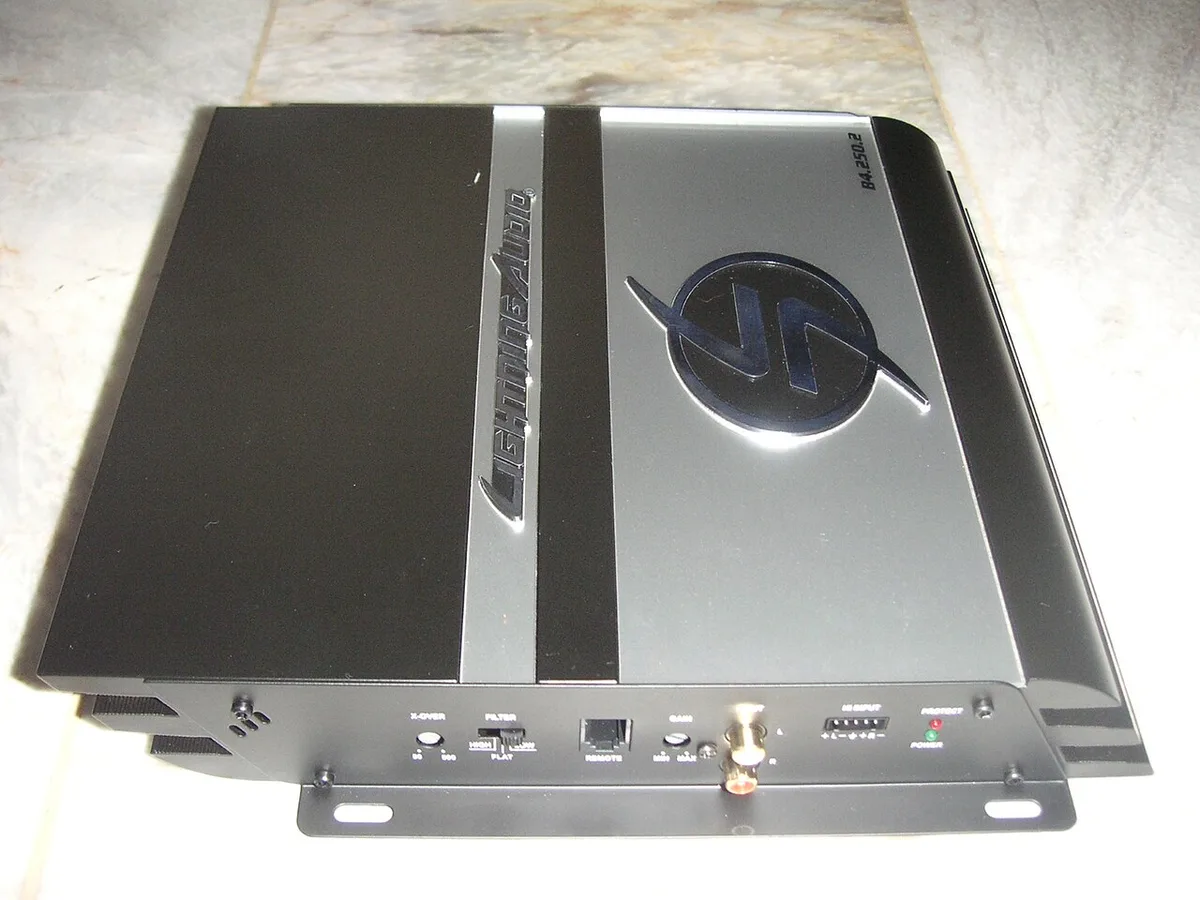
Image source: Wikimedia Commons / Jpogi at Wikipedia
Heat Management (Heat Sink, Fan)
During operation, MOSFETs and transformers generate heat that can cause thermal shutdown if not managed. A well‑designed heat sink, sometimes paired with a low‑speed fan, maintains safe temperatures even at sustained high volume.
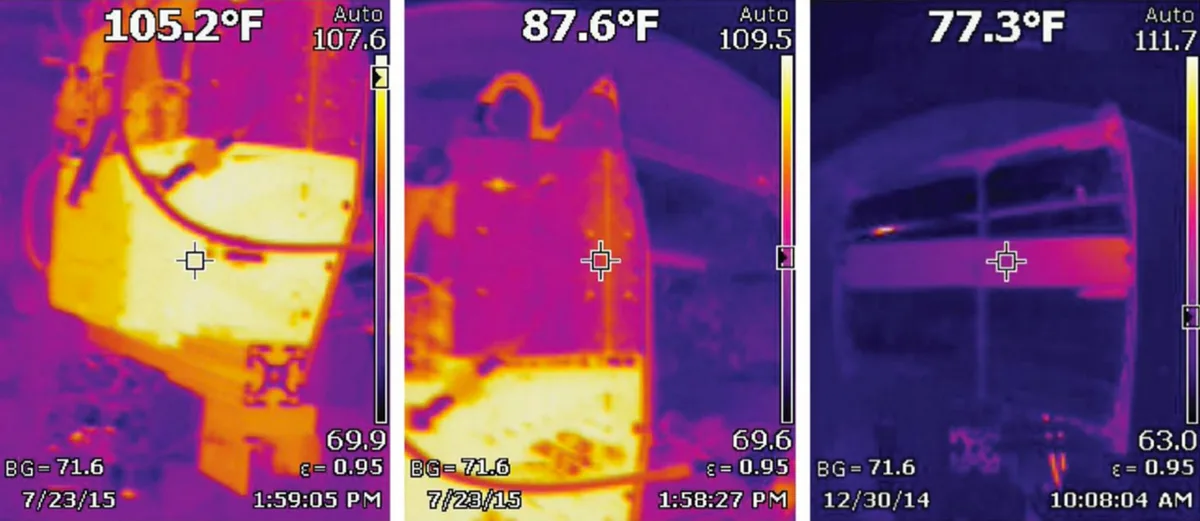
Image source: Wikimedia Commons / Harold White, Paul March, James Lawrence, Jerry Vera, Andre Sylvester, David Brady, and Paul Bailey
Connectivity (RCA, Speaker Terminals, Bridging)
RCA inputs accept line‑level signals, while speaker terminals handle the amplified output. Bridging two channels combines their power for a mono subwoofer, and many amps include built‑in low‑pass crossovers to simplify installation.
Wiring and Installation Workflow
Correct wiring is as crucial as the amplifier itself; mistakes can cause humming, insufficient power, or even fire hazards. Follow the steps below to ensure a safe, reliable connection, and refer to the vehicle’s manual for any model‑specific notes. All connections should be secured with proper gauge wire and fused at the battery.
Power & Ground Routing (Fuse, Wire Gauge)
Run a fused power cable from the battery to the amplifier’s +12 V terminal; the fuse should be rated 30 A to 150 A depending on the amp’s current draw. Use 4 AWG copper for high‑power amps (over 500 W) and 8 AWG for lower‑power units to keep voltage drop minimal. Ground the amp directly to the chassis or battery negative using a short, clean strap.
For guidance on selecting the correct fuse, see proper fuse selection.
Remote Turn‑On and Signal Wiring
Connect the remote turn‑on lead to the head unit’s remote output; this tells the amp to power up with the stereo. Run RCA cables in a twisted pair to reduce interference, and keep them away from power wires. If you’re unsure about the head unit’s remote output, consult the manufacturer’s diagram.
Mounting and Cooling Considerations
Mount the amplifier in a ventilated area, leaving at least 2 in. clearance around the heat sink. Avoid installing it near the exhaust or under carpet where heat can build up. Secure the unit with vibration‑isolating brackets to prevent rattling at high volume.
Refer to NEC Article 690 for safe automotive electrical practices. If you need a stable platform, consider DIY car ramps for a level surface. For tightening mounting bolts efficiently, see impact wrench use.
- Power cable from battery to amp (+)
- Ground strap to chassis
- Remote turn‑on lead to head unit
- RCA cables for audio signal
- Secure mounting with brackets
Picking the Right Amplifier for Your Car Audio
Choosing an amplifier involves matching power, class, and features to your speakers and listening goals. Consider the following factors to avoid under‑ or over‑powering your system. As of 2026, most aftermarket amps support both 12 V and 24 V for trucks.
Matching RMS Power to Speakers/Subwoofers
Match the amplifier’s RMS rating to the speaker’s power handling; a 100 W RMS amp pairs well with 100 W speakers. For subwoofers, a 2 channel amp can be bridged to deliver a single 200 W channel, ideal for a 200 W sub. Avoid exceeding the speaker’s rating, which can cause voice coil burnout.
Balancing Class, Efficiency, and Budget
Class AB amps offer low distortion and are affordable, but they run hotter and are less efficient than Class D. Class D amplifiers achieve 90 % efficiency, making them ideal for high‑power, compact installations. If budget is tight, a quality Class AB unit with proper cooling can still deliver clean sound.
Think of choosing an amp like selecting a turbo kit cost; higher efficiency saves power and heat.
Use‑Case Recommendations (Daily Driver vs Performance)
Daily drivers benefit from low‑profile, quiet Class D amps that fit under seats or in trunks. Performance enthusiasts often prefer Class AB for its warm sound and headroom, even if it requires larger heat sinks. If you plan to compete in SPL contests, look for amps with high damping factor and variable bass boost.
Just as you check transmission fluid before a long trip, verify amp cooling before extended play.
FAQs
Why does my amp overheat and how can I prevent it?
Overheating usually stems from poor ventilation, incorrect fuse rating, or a short circuit. Ensure at least 2 in. clearance around the heat sink, use the proper fuse, and check for loose connections. Keep the amp away from heat sources and verify the ground is clean and tight.
What’s the difference between peak and RMS power?
RMS power represents the continuous power an amplifier can deliver safely, while peak power is the instantaneous maximum it can produce for short bursts. Matching RMS to speaker ratings ensures reliable performance; peak ratings are less useful for everyday use.
Should I bridge my amp for a mono subwoofer?
Yes, if your subwoofer is designed for mono operation and the amp supports bridging. Connect the two speaker terminals together and set the amp to bridge mode. Adjust gain low to avoid clipping and use a low‑pass crossover if available.
How do I set gain and crossover correctly?
Set gain using a test tone at about 80 % of the amp’s maximum output, then turn it down slightly. For crossover, choose a low‑pass frequency that matches the subwoofer’s range, typically 80 Hz to 120 Hz. This ensures clean bass without interfering with midrange speakers.
