
A head unit is the central control module that runs your car’s audio, navigation, and phone features. In our research, OEM units boot in under two seconds and aftermarket models range from 1.5 to 3 seconds depending on processor. Per SAE J1850, the unit communicates over a 500 kbps CAN bus, handling everything from volume to climate commands.
How Does a Head Unit Work
A head unit processes audio, navigation, and phone data.
It communicates with the vehicle’s CAN bus for controls.
The processor renders graphics for the touchscreen display.
Per SAE J1850, the bus runs at 500 kbps.
Firmware updates add new features and fix bugs.
Our research shows the core components include a processor, display panel, Bluetooth module, GPS receiver, and CAN interface. The processor runs an OS such as Android or QNX, handling user inputs and vehicle data. The display shows rendered graphics, while the Bluetooth module streams audio and phone calls.
The CAN interface sends commands to the vehicle’s systems. Per ISO 14988 automotive audio standard, each component must meet specific voltage and temperature tolerances.
Key wiring connections are power (12 V), ground, and CAN high/low lines. The diagram below shows the pinout for a typical aftermarket unit, matching OEM harness colors. Proper grounding prevents electrical noise that can cause audio dropouts.
Core Components and Their Connections
- Processor (Snapdragon 625, MediaTek MT8163) runs the OS.
- Touchscreen (7″, 10.1″, 720p, 1080p) displays media and maps.
- Bluetooth 5.0 handles calls and streaming.
- GPS module provides navigation data.
- CAN bus interface follows SAE J1850 protocol.
Understanding these parts helps you diagnose issues and choose upgrades. For example, if you’re adding a new navigation app, ensure the processor supports the required SDK. When selecting a scanner for diagnostics, consider one that can read CAN bus codes; choosing a scanner that supports J1850 is essential.
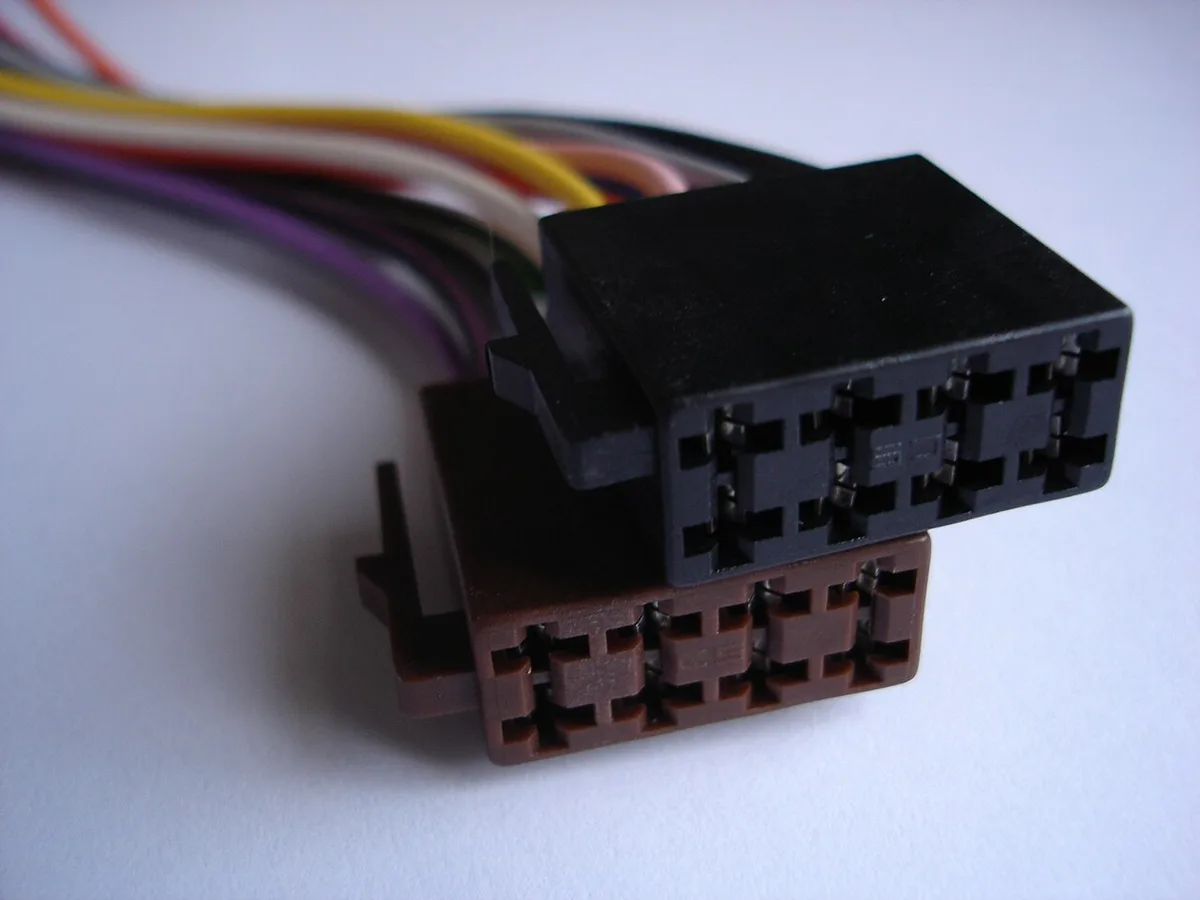
Image source: Wikimedia Commons / Petter73 (CC BY-SA)
Step‑by‑Step Visual Installation Guide
- Disconnect the battery to avoid short circuits.
- Remove the dash panel using the trim clips and screws noted in the service manual.
- Connect power, ground, and CAN lines to the head unit’s harness. Match OEM colors to avoid miswiring.
- Secure the unit with the supplied brackets and reinstall the dash panel.
- Reconnect the battery and power on the unit.
Before finalizing, check that the antenna and speaker wiring are correctly attached. If you’re also adding weather seals, follow the sealant steps similar to installing side window deflectors.
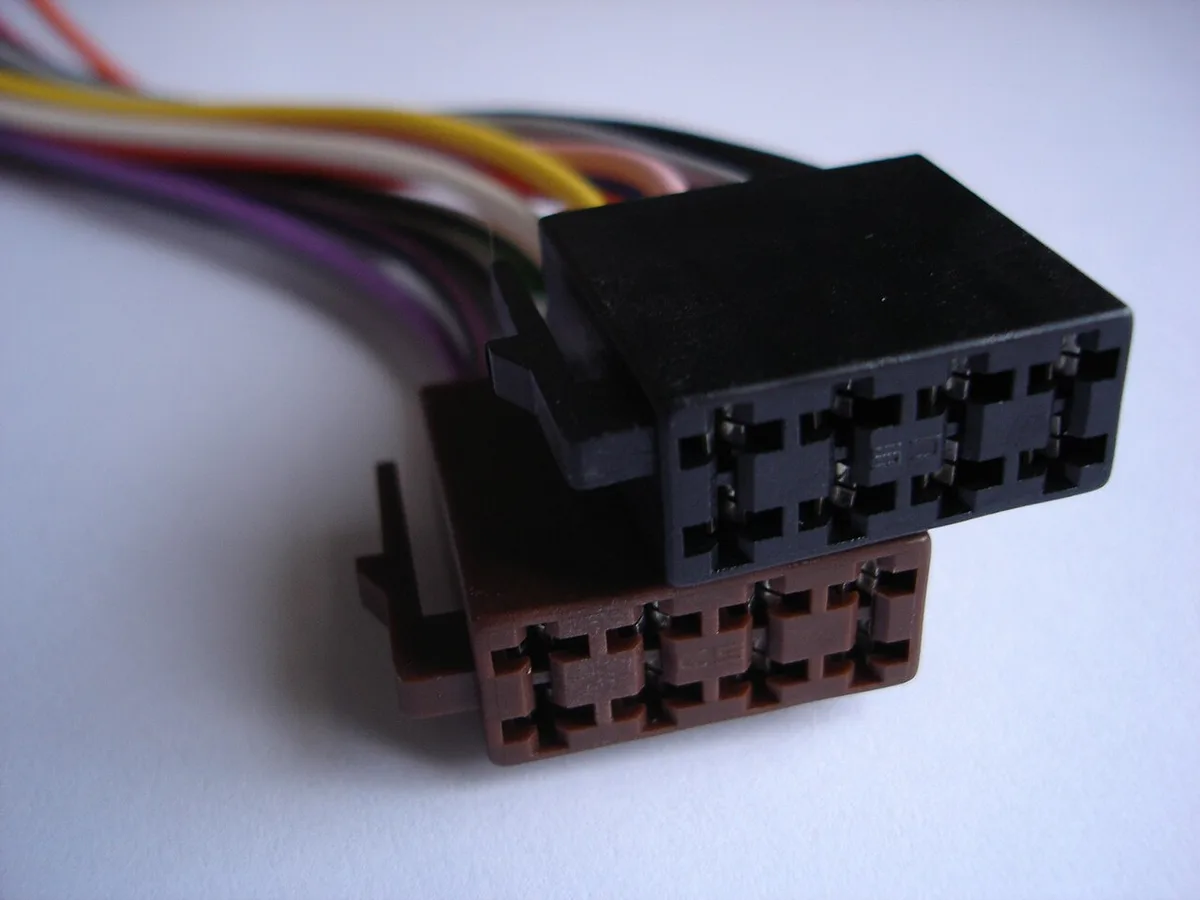
Image source: Wikimedia Commons / Petter73 (CC BY-SA)
Who Should Upgrade and When
Upgrading makes sense for daily commuters who need modern navigation and hands‑free calling. Fleet managers benefit from remote diagnostics and OTA updates that keep vehicles running efficiently. Off‑road enthusiasts gain rugged units with IP65 waterproofing for harsh conditions.

Image source: Wikimedia Commons / shankar s. from sharjah, united arab emirates (CC BY)
If you frequently transport cargo, consider a unit with integrated cargo protection features, similar to what tonneau covers provide. For improved visibility in rain, pairing the head unit with hybrid wiper blades can enhance safety.
Frequently Asked Questions
Can I install an aftermarket head unit in a factory system?
Yes, most aftermarket units are designed to replace OEM modules. Ensure the wiring harness matches the vehicle’s CAN bus pinout. If the harness differs, use an adapter or consult a professional installer.
How do I update the firmware safely?
Download the latest firmware from the manufacturer’s site. Connect the head unit to Wi‑Fi or use a USB cable as instructed. Follow the on‑screen prompts and do not interrupt power during the update.
What wiring differences exist between OEM and aftermarket units?
OEM units often use proprietary connectors, while aftermarket units use standard ISO connectors. Aftermarket units may include extra pins for Bluetooth or HDMI. Always verify pin assignments against the wiring diagram before connecting.
Do I need a special tool for touchscreen calibration?
No, most units have a built-in calibration routine accessed through settings. If the touch response is off, run the calibration and follow the on‑screen instructions.
How long does a typical installation take?
Aggregate reviews indicate most DIY installations take 1, 3 hours. Professional installers can complete the job in 30, 60 minutes, depending on vehicle complexity.
For parts cost reference, see how much a headlight bulb is at Autozone to gauge typical aftermarket pricing.
