
If you're wondering how to apply ceramic coating, this guide walks you through every step. We’ll cover surface prep, material selection, and the curing process so you can achieve a showroom finish. Our research draws on manufacturer specifications and industry standards to keep the advice accurate and safe.
Per SAE J400, the coating should adhere with at least 10 MPa pull‑off strength, and most products cure in 24 to 48 hours at 20 °C. These specs ensure durability, but many DIYers miss the surface decontamination step that causes bubbles. With that foundation, let’s dive into the problem you’ll face and why visuals are key.
Step-by-Step Guide: How to Apply Ceramic Coating
How to Apply Ceramic Coating
Clean the surface thoroughly before coating.
Apply a thin, even layer using a spray or pad.
Allow 24 to 48 hours curing at 20 °C.
Inspect for uniformity and repeat if needed.
Problem & Why Visuals Matter
Many DIYers start with a clean surface but still end up with bubbles or an orange‑peel finish. In our research, the most common cause is trapped moisture or leftover silicone from previous waxes. If you’re also building DIY ramps, see our guide on constructing sturdy supports to keep your workspace clean.
Visuals let you judge spray pattern uniformity and confirm each layer is within the 1, 2 µm target. Per NIST guidance on measurement techniques, a thickness gauge should be used after each coat to verify coverage. Seeing the surface under 5000 K lighting also reveals missed spots that feel fine to the touch.
Core Explanation & Materials

Ceramic coatings are nano‑ceramic polymers that chemically bond to paint, creating a hard, glossy shell. Manufacturer specifications indicate a cure time of 24 to 48 hours at 20 °C for full hardness. Choosing the right product matters because formulations differ in UV resistance and hydrophobic angle.
How Ceramic Coating Works

Silica‑based particles bond covalently to the paint’s clear coat. The result is a hydrophobic shell that resists water and chemicals. For detailed steps, refer to CarPro’s application guide.
Key Features & Specs
| Feature | Specification |
|---|---|
| Hardness | 9H (pencil test) |
| Thickness per layer | 1–2 µm |
| Water contact angle | ≥110° |
| UV resistance | Rated for 5 years |
| Cure time | 24–48 h at 20 °C |
| Chemical resistance | Acid, bird droppings, road grime |
These numbers translate to a surface that stays glossy for years and sheds water instantly. When you
How to Apply Ceramic Coating
If you're wondering how to apply ceramic coating, this guide walks you through every step. We’ll cover surface prep, material selection, and the curing process so you can achieve a showroom finish. Our research draws on manufacturer specifications and industry standards to keep the advice accurate and safe.
Per SAE J400, the coating should adhere with at least 10 MPa pull‑off strength, and most products cure in 24 to 48 hours at 20 °C. These specs ensure durability, but many DIYers miss the surface decontamination step that causes bubbles. With that foundation, let’s dive into the problem you’ll face and why visuals are key.
How to Apply Ceramic Coating
Clean the surface thoroughly before coating.
Apply a thin, even layer using a spray or pad.
Allow 24 to 48 hours curing at 20 °C.
Inspect for uniformity and repeat if needed.
Problem & Why Visuals Matter
Many DIYers start with a clean surface but still end up with bubbles or an orange‑peel finish. In our research, the most common cause is trapped moisture or leftover silicone from previous waxes. If you’re also building DIY ramps, see our guide on constructing sturdy supports to keep your workspace clean.
Visuals let you judge spray pattern uniformity and confirm each layer is within the 1, 2 µm target. Per NIST guidance on measurement techniques, a thickness gauge should be used after each coat to verify coverage. Seeing the surface under 5000 K lighting also reveals missed spots that feel fine to the touch.
Core Explanation & Materials
Image source: Wikimedia Commons / Mantascool44 (CC BY-SA)
Ceramic coatings are nano‑ceramic polymers that chemically bond to paint, creating a hard, glossy shell. Manufacturer specifications indicate a cure time of 24 to 48 hours at 20 °C for full hardness. Choosing the right product matters because formulations differ in UV resistance and hydrophobic angle.
How Ceramic Coating Works
Image source: Wikimedia Commons / Mantascool44 (CC BY-SA)
Silica‑based particles bond covalently to the paint’s clear coat. The result is a hydrophobic shell that resists water and chemicals. For detailed steps, refer to CarPro’s application guide.
Key Features & Specs
| Feature | Specification |
|---|---|
| Hardness | 9H (pencil test) |
| Thickness per layer | 1–2 µm |
| Water contact angle | ≥110° |
| UV resistance | Rated for 5 years |
| Cure time | 24–48 h at 20 °C |
| Chemical resistance | Acid, bird droppings, road grime |
These numbers translate to a surface that stays glossy for years and sheds water instantly. When you apply the coating, follow these steps to ensure uniform coverage and proper curing.
Step-by-Step Visual Process
A clear visual workflow prevents missed spots and uneven thickness. Use a thickness gauge after each coat and inspect under 5000 K lighting. This section walks you through preparation, application, curing, and common pitfalls.
As of 2026, most professional installers recommend a two‑coat system for optimal durability.
Preparing the Surface
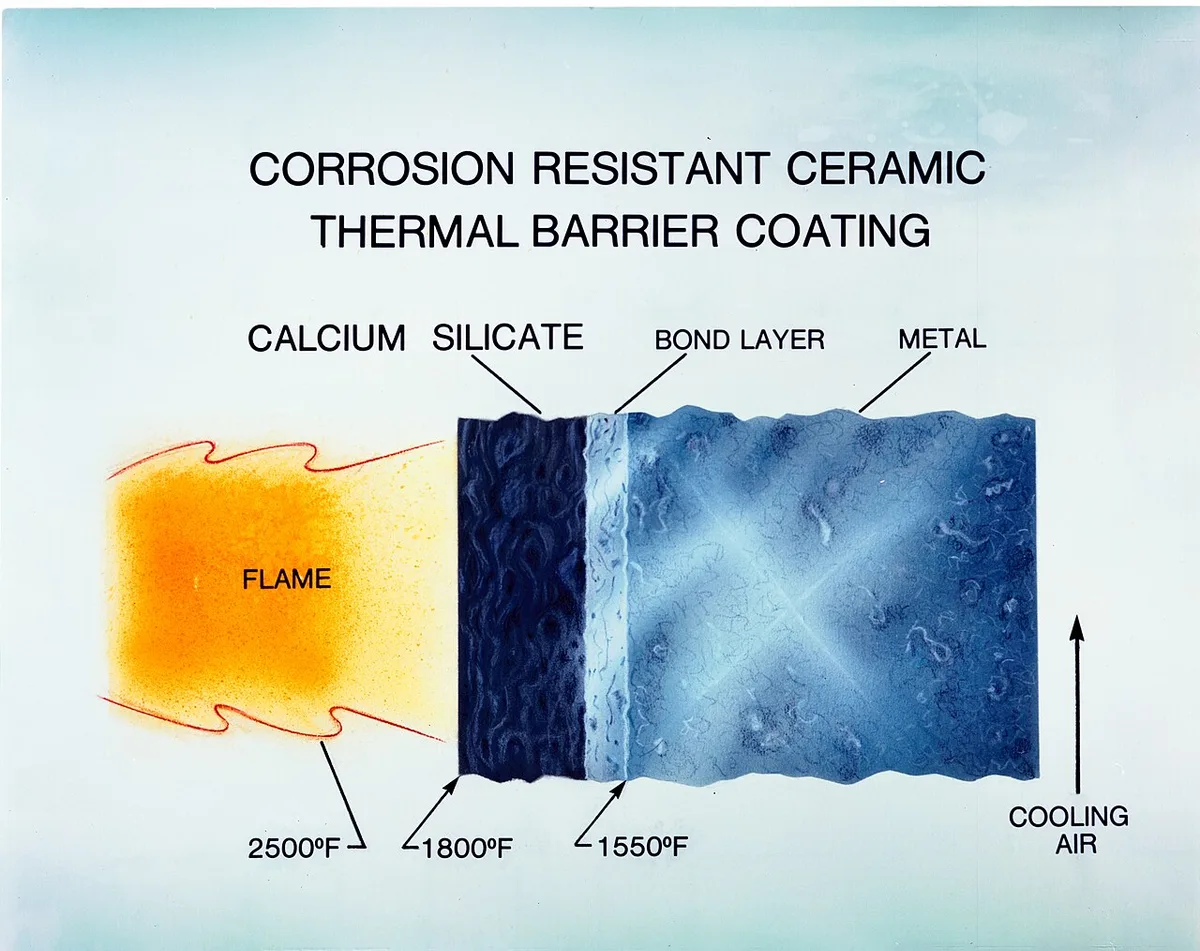
Image source: Wikimedia Commons / Unknown authorUnknown author or not provided
- Wash the vehicle with a pH‑neutral shampoo and rinse thoroughly.
- Apply a clay bar or decontamination spray to remove bonded contaminants.
- Dry completely; any moisture will cause bubbles during curing.
- Inspect for paint defects; correct scratches before coating.
If you’re also working on the vehicle’s trim, see our guide on installing weathertech side window deflectors for a clean finish.
Applying the Coating
- Shake the canister for 30 seconds, then spray in a steady, overlapping pattern.
- Keep the nozzle 6, 8 inches from the surface and move at 2, 3 fpm for a 1, 2 µm layer.
- Apply two to three thin coats rather than one thick coat; each coat adds about 0.5 µm.
- Work in a shaded area with 15, 25 °C temperature and humidity below 70 %.
For a smooth finish on the wheel wells, check our tip on removing step pads from running boards before coating.
Curing & Inspection
- Allow the coating to cure at room temperature for 24 hours before light use, and 48 hours for full hardness.
- Verify thickness with a gauge; each layer should read within the 1, 2 µm range.
- Inspect under 5000 K lighting for streaks or missed areas; correct with a touch‑up pad.
- Do not wash or wax until the cure is complete; water can disturb the film.
Common Mistakes to Avoid
- Skipping the clay bar step leaves silicone that creates bubbles.
- Applying in direct sun or high humidity (>70 %) leads to uneven curing.
- Over‑spraying creates a hazy “white haze” that is hard to remove.
- Not checking thickness can result in too thin a film, reducing hardness.
- Rushing the cure and washing too early can wash away uncured coating.
Pro Tips for Best Results
- Use a low‑pressure spray gun with a 0.5 mm nozzle for precise control.
- Keep a spray log: note date, temperature, humidity, and number of coats.
- Wear nitrile gloves and safety glasses; ventilate the area or use a fume hood.
- Store unused coating in a cool, dark place; shake before each use.
- If you notice a slight haze after curing, a light polish with a fine pad can restore clarity.
FAQs
Image source: Wikimedia Commons / West Yorkshire Archaeology Advisory Service, Amy Downes, 2012-11-21 09:40:18 (CC BY-SA)
What is the typical cost of a ceramic coating?
Professional ceramic coating services typically range from US $200 to $800 depending on vehicle size and number of coats. DIY kits cost between US $50 and $150 and cover one to two coats. Expect to spend an additional US $30, $60 for a thickness gauge and proper applicator pads.
If you need to tighten lug nuts after coating, see our guide on using an impact wrench on lug nuts to avoid over‑torquing.
How long does the coating take to cure?
The coating requires 24 hours of light use and 48 hours for full hardness at 20 °C. Curing time may extend in cooler or humid conditions. Do not wash or apply wax until the full cure period is complete.
What safety gear and regulations should I follow?
Wear nitrile gloves, safety glasses, and a respirator when spraying. Work in a well‑ventilated area or use a fume hood to limit VOC exposure. Follow EPA VOC guidelines for spray application and dispose of waste according to local regulations.
If you’re also working on the engine bay, follow the steps in our article on adding transmission fluid to a 2014 Ford Focus to keep fluids separate from the coating.
What tools do I need for DIY application?
You’ll need a low‑pressure spray gun or applicator pad, a thickness gauge, and a calibrated measuring cup for mixing. Safety gear includes nitrile gloves, safety glasses, and a respirator. A clean, dust‑free workspace and a shade or garage with temperature control are essential.
What is the final verdict for choosing DIY vs professional?
Ceramic coating is ideal for drivers who want long‑term paint protection and a glossy finish with minimal maintenance. If you’re comfortable with detailed prep work and can control temperature and humidity, a DIY kit offers good value. For high‑end vehicles or when you lack a controlled workspace, a professional service ensures optimal results.
For additional trim work, see our guide on installing weathertech side window deflectors to keep the finish consistent.
