
If you’re wondering how to change ac refrigerant, you’re in the right place. A proper change restores cooling capacity and prevents compressor damage. Ignoring a refrigerant leak can raise utility bills and strain the system.
It also keeps you compliant with federal refrigerant regulations as of 2026.
Per EPA Section 608, you must recover at least 95% of the original charge before adding new refrigerant. The process typically takes 2 to 4 hours for a residential split system. Always wear gloves and eye protection when handling refrigerant.
Below is the concise answer you’re looking for.
How to Change Ac Refrigerant
Recover 95% of the old refrigerant using an EPA‑approved machine.
Evacuate the system to 500 µm absolute pressure before adding new charge.
Replace the oil and verify pressures with a manifold gauge.
Use only manufacturer‑specified refrigerant to avoid compressor failure.
Problem & Why It Matters
Low refrigerant causes the unit to run longer and cool less effectively. The extra run time raises electricity use and can overheat the compressor. A leak also releases greenhouse gases, harming the environment.
Just like fluid maintenance steps, refrigerant must be checked regularly. If you notice ice on the evaporator coil, the charge is likely too low. Address the issue promptly to avoid costly repairs later.
- Ice forms on the evaporator coil.
- The unit runs continuously without reaching set temperature.
- High electricity bills appear after a sudden drop in cooling.
- You hear hissing near the service valves.
Core Safety & Legal Requirements
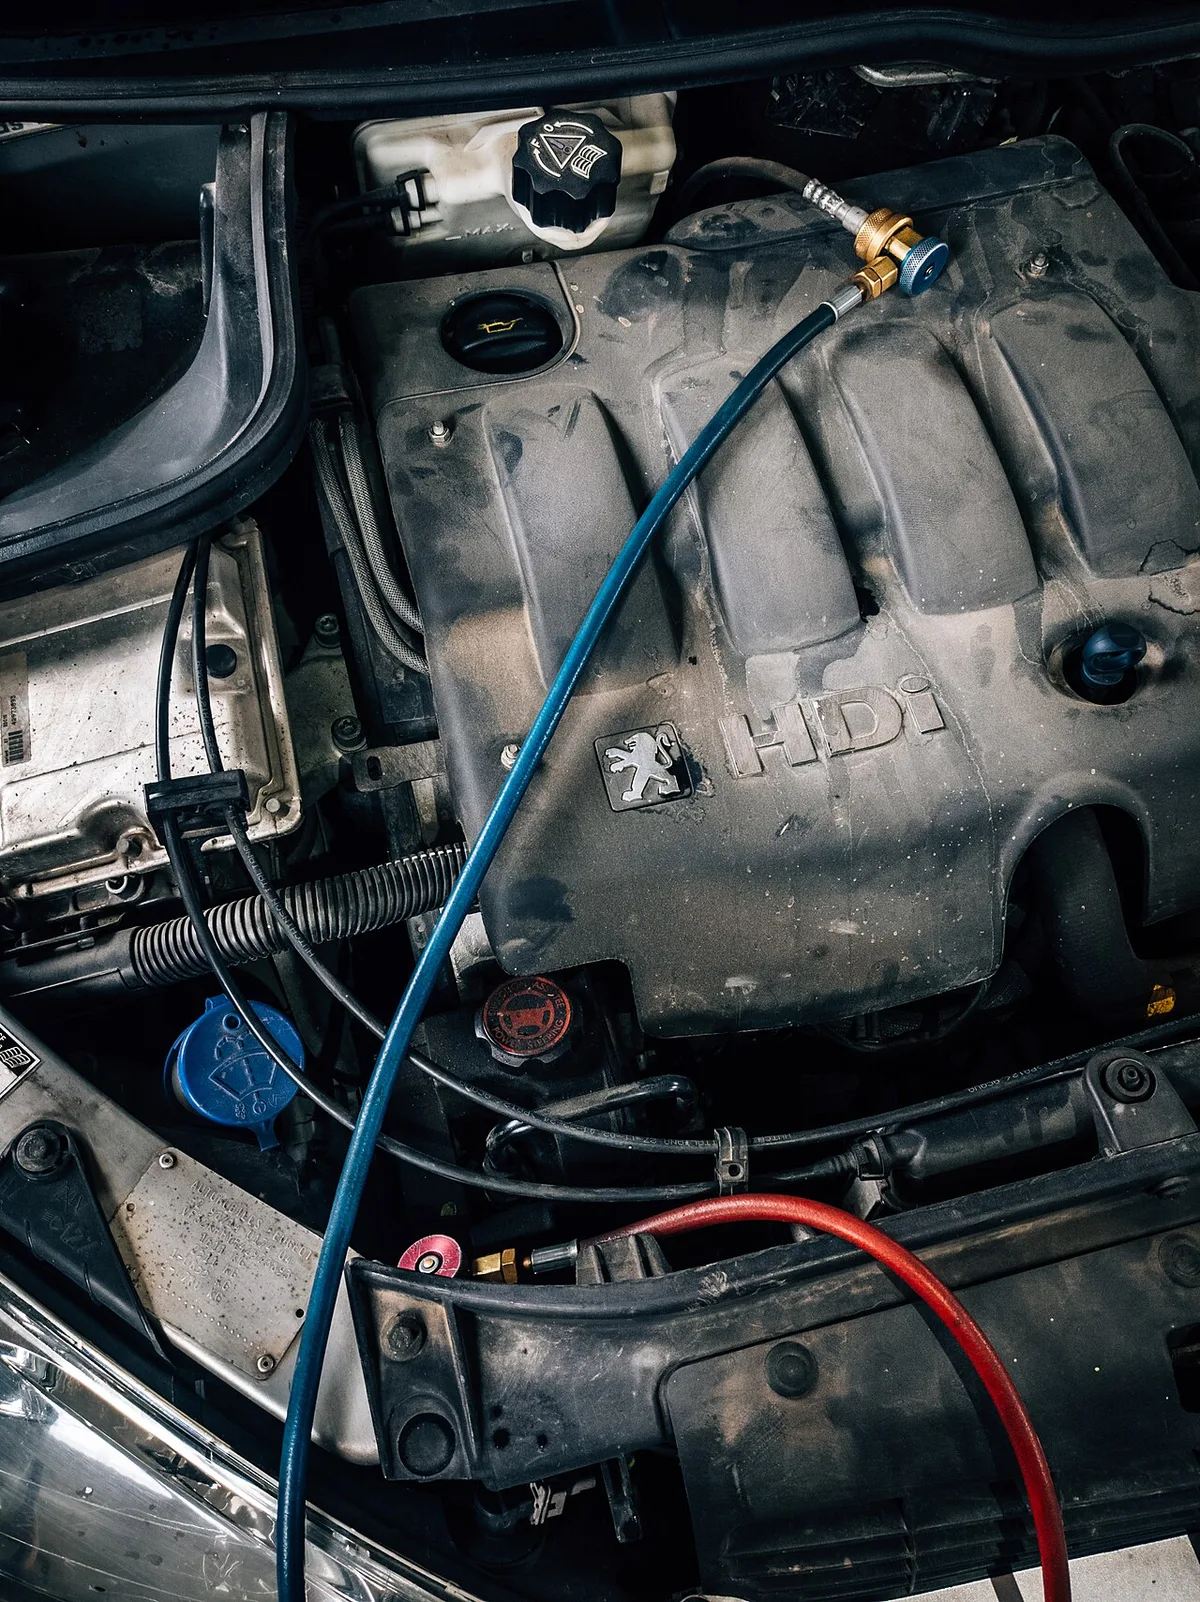
Image source: Wikimedia Commons / Ivan Radic (CC BY)
Only EPA‑certified technicians may handle refrigerant in most states. The agency requires a Section 608 certification and proper recovery equipment. Check local regulations; some jurisdictions add extra reporting steps.
For the full rule set, see the official EPA Section 608 page. It lists approved recovery machines, required recovery percentages, and record‑keeping. Keep all receipts and recovery logs for at least three years.
Safe work practices mirror other DIY tasks, such as tool safety tips. Wear safety glasses, nitrile gloves, and a respirator when opening the system. Work in a well‑ventilated area to avoid inhaling refrigerant vapors.
- EPA‑approved recovery machine
- Dual‑port manifold gauge set
- Vacuum pump capable of 30 µm absolute
- Safety glasses, nitrile gloves, and a respirator
- Clean work area with proper ventilation
Step-by-Step Refrigerant Change Process
A calibrated recovery machine ensures you capture the correct amount of refrigerant. Use a manifold gauge to monitor pressure throughout the job. Just as a filter change guide ensures clean fluid, fresh refrigerant keeps the system efficient.
| Tool / Material | Purpose | Typical Spec |
|---|---|---|
| Refrigerant recovery machine | Recover 95% of charge | EPA‑approved |
| Manifold gauge set | Measure high/low pressures | Dual‑port |
| Vacuum pump | Achieve ≤500 µm | 30 µm capability |
| New refrigerant (R‑410A or R‑454B) | Match system spec | Manufacturer‑specified |
| POE oil | Replace old oil | 0.5 lb per ton |
- Recover the old refrigerant using the recovery machine until the gauge reads zero.
- Connect the vacuum pump and evacuate the system to ≤500 µm absolute pressure.
- Add the correct amount of POE oil for the system size.
- Attach the manifold gauge and slowly introduce the new refrigerant, watching pressure rise.
- Stop when the manufacturer‑specified charge weight is reached and the low‑side pressure stabilizes.
- Verify cooling performance by checking temperature drop at the supply vent.
- After charging, let the system run for 10 minutes and recheck pressures. If the low‑side pressure is too high, slowly remove a small amount of refrigerant. Record the final charge weight and date for future reference.
Common Mistakes & How to Avoid Them
Overcharging the system leads to high head pressure and compressor wear. Skipping the oil change leaves contaminants that can damage valves. Using the wrong refrigerant causes pressure spikes and permanent damage.
Not evacuating enough leaves moisture that freezes and blocks flow. Ignoring safety gear exposes you to harmful vapors and legal penalties. A proper installation of components prevents future leaks.
- Overcharge: Use a calibrated scale and follow the manufacturer’s charge chart.
- Skip oil change: Replace POE oil to prevent compressor wear.
- Wrong refrigerant: Verify the exact type on the unit’s label.
- Poor evacuation: Run vacuum until the micron gauge reads ≤500 µm.
- No PPE: Wear gloves, goggles, and a respirator at all times.
Ignoring these warnings can void manufacturer warranties and trigger EPA fines. Always follow the manufacturer’s service manual for your specific model.
Frequently Asked Questions
Can I change refrigerant myself?
No, you need EPA Section 608 certification; handling refrigerant without it is illegal and unsafe. Use a certified technician for the recovery and charge steps.
How much refrigerant does a typical residential unit need?
Most 1‑ton split systems need 0.5 to 0.75 lb of R‑410A; check the manufacturer’s label for the exact charge weight.
What happens if I add the wrong refrigerant?
Mixing refrigerants can cause pressure spikes, oil breakdown, and permanent compressor damage. The system must be fully recovered and flushed before using the correct type.
Do I need to replace the oil every time I change refrigerant?
Yes, the oil absorbs moisture and contaminants; replace it with the correct POE oil for the new refrigerant. Skipping oil replacement shortens compressor life.
How often should I have a refrigerant check?
Annual inspections by a certified technician catch leaks early. If you notice any cooling loss between visits, schedule a check immediately.
