
A clunk over the speed bumps in your neighborhood is rarely a mystery for long. If you want to know how to check for a bad bushing, start with load. You have to load the suspension the way the road does, then pry and watch for movement.
A car hanging in the air on a lift tells you almost nothing.
Manufacturer service information from Toyota, Ford, and GM pushes the same method. Load the arm to ride height, pry, and treat roughly 1/8 inch of play (about 3 mm) as worn. Rubber ages too, and SAE J200 grades compounds precisely because an eight-year-old bushing behaves nothing like a new one.
Here's how the diagnosis branches.
How to Check for a Bad Bushing
The reliable way to check for a bad bushing is load at ride height. Slip a pry bar between the arm and the frame. Watch for movement past roughly 1/8 inch.
Torn, separated, or leaking rubber is finished. Replace it before it eats a set of tires.
Start With the Symptom, Not the Parts Cannon
Firing the parts cannon gets expensive fast. Write down what you hear, which corner it comes from, and when it happens. Driveways only, or the highway at 60 mph?
Then go drive it. Keep a light grip on the wheel on a quiet road and count how often you correct the car. Constant small corrections mean something in the front end is moving that shouldn't.
| Symptom | First suspect | Confirming test |
|---|---|---|
| Rattle over small bumps | Sway bar end links | Disconnect one link, retest |
| Dull thud over speed bumps | Lower control arm bushing | Loaded pry test |
| Wander and vague steering | Tension strut or lower arm | Pry test at ride height |
| Shimmy at 45 to 65 mph | Wheel balance, then bushings | Balance check, then pry test |
| Cupped or feathered tires | Alignment that won't hold | Alignment spec after repair |
If the noise is a sharp metallic clunk, look at end links and joints first. If it's a dull thud over slow bumps, control arm bushings jump to the top of the list. Cheap joints are a false economy here, so a known-brand tie rod end is worth the extra few dollars.
The One Test That Actually Works (And Why Hanging Suspension Lies to You)
Image source: Wikimedia Commons / National Museum of Health and Medicine (CC BY)
Drop the suspension to full droop and a worn bushing can look brand new. The arm hangs at an angle it never sees on the road. The rubber twists, and any crack closes up.
Worse, nothing is pressing on the joint. Wiggle it by hand and it feels tight, because a bushing only shows play when it's carrying the car's weight.
Load is the whole trick. Drive the front wheels onto a set of timber ramps you can build yourself, or jack the car and lower it onto stands placed under the control arm. Now the suspension sits at ride height, and the pry test means something.
Rubber grade changes how much deflection you should expect. SAE J200 classifies rubber compounds by hardness and heat aging, and a stock 60 Shore A bushing flexes far more than an 85A poly replacement. Judge a factory part by factory standards, not by how stiff your buddy's track car feels.
What a Failing Bushing Really Looks Like: Torn, Separated, Cracked, or Collapsed
Cracks alone don't condemn a bushing. The outer skin checks and crazes as it ages, and fine surface lines on a ten-year-old part are normal. What matters is what the damage does to movement.
- Surface checking. Thin hairline cracks on the outer rubber. Cosmetic unless the rubber feels brittle or crumbles.
- Torn rubber. A split running through the bushing body. Replace it.
- Separation. The rubber has let go of the steel inner sleeve or outer shell. It looks whole but slides under load. This is the failure most people miss.
- Collapse or sag. The arm sits off center and the rubber looks squashed to one side.
- Fluid leaks. Hydraulic bushings weep a dark oil when the bladder fails. There's no crack to inspect, only a stain.
- Heat damage. Crisp, shiny, or crumbling rubber near the exhaust or a brake corner.
As of 2026, most OEM lower control arm bushings are still bonded rubber, and bonding separation is the dominant failure mode, not cracking. A bushing that passes the visual test can still fail the pry test. The pry test wins every time.
The Loaded Pry Test, Step by Step
Loading the Suspension Safely Before You Pry
Get the car's weight onto the suspension before you touch a bar. Ramps are easiest for the front. For the rear, put stands under the axle or trailing arm, never under the body.
Chock the wheels that stay on the ground. A jack alone is not support.
Where to Put the Bar, and How Much Play Is Too Much
- Slide a 12 to 18 inch pry bar between the control arm and the subframe. Never lever against a brake hose, an ABS wire, or a fuel line.
- Watch the inner sleeve, not the rubber. Movement between sleeve and arm is the wear you care about.
- Push down, then sideways. A healthy bushing moves a couple of millimeters and springs back.
- Call it worn at roughly 3 mm, about 1/8 inch, of free play. Poly should feel close to solid.
- Mark the bolt head with chalk before you loosen anything, so you can see how far it moved.
Torque the pivot bolts with the car at ride height, and resist the urge to spin them on with an impact gun. One-time-use bolts get replaced, not reused. Snug the wheels back by hand first, since replacement lug hardware is cheap and cross-threading is not.
Which Bushing Is It? Branching by Location and Noise
Same symptom, different part. Where the noise comes from tells you where to point the bar.
Control Arms, Tension Struts, and Caster Arms
A dull thud over slow bumps, vague steering, and inside-edge tire wear point here. The lower arm carries the most load, so it fails first. If the car wanders and the tie rods are tight, this is your stop.
Sway Bar Bushings vs. End Links
A light rattle over washboard pavement usually comes from the end links, not the frame bushings. Disconnect one link and drive slowly. If the noise stops, you found it.
If it stays, check the bar bushings and their brackets.
Strut Mounts, Subframe Bushings, and Rear Trailing Arms
A creak when you turn the wheel at a standstill is often the strut bearing. A single clunk under hard acceleration can be a subframe bolt or a trailing arm bushing. Worn control arm bushings can cost you steering control, which is why NHTSA logs suspension defects as safety recalls, and why we weigh whether pricier tie rod ends are worth the money.
When It's Not the Bushing: Ruling Out Ball Joints, Tie Rods, Wheel Bearings, and Shocks
Half the bushings replaced every year didn't need replacing. The clunk came from a joint a few inches away.
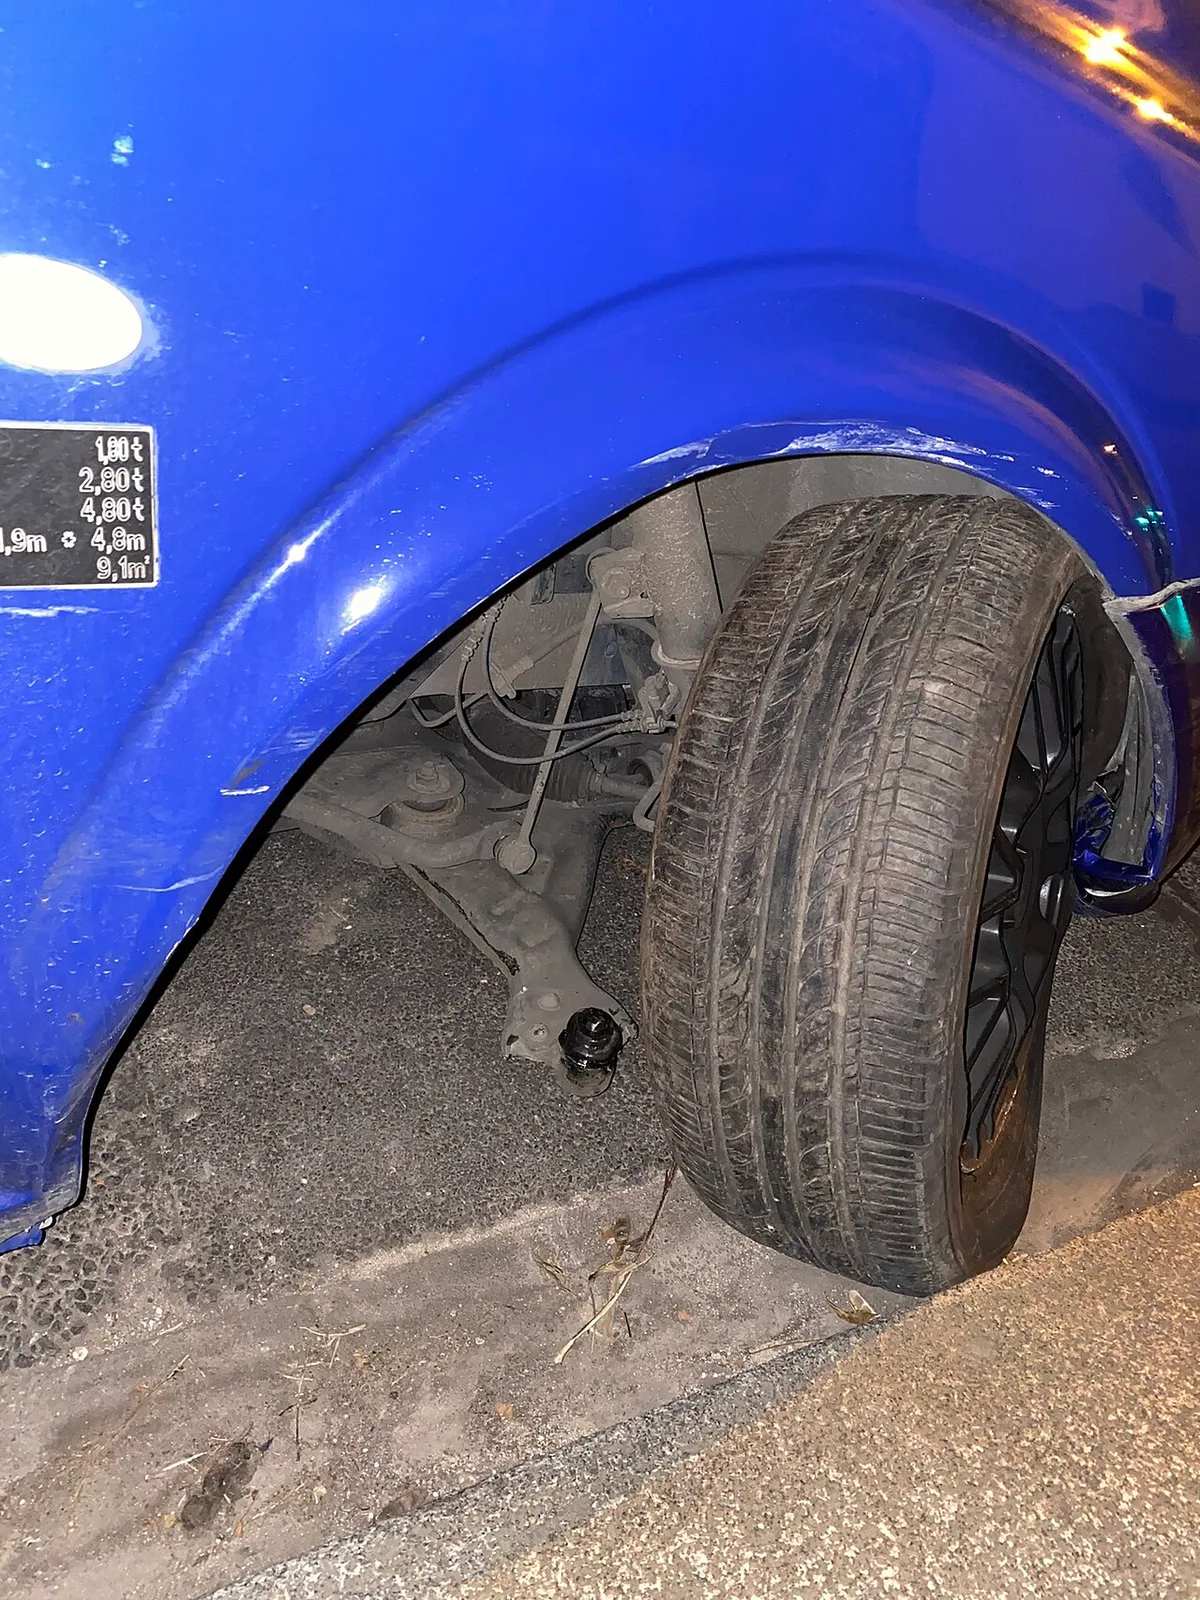
Image source: Wikimedia Commons / Elfix
The diagram above shows why the mix-up happens. A ball joint and a tie rod end sit in the same neighborhood, wear at similar mileage, and knock in the same dull way.
- Ball joint. Jack one corner and grab the tire at 12 and 6 o'clock. Rock it. Play there is a joint or a wheel bearing, not a bushing. Many trucks hide it, since a load-bearing lower joint only shows slop with weight on it.
- Tie rod end. Have a helper rock the tire at 3 and 9 o'clock while you watch the steering arm. Any movement between stud and socket means the end is finished. Inner ends hide behind the boot, so squeeze it while someone saws the wheel.
- Wheel bearing. A hum that changes pitch when you load one side in a turn is a bearing. Bushings don't hum.
- Shock or strut. Push a corner down hard and let go. More than one rebound means the damper is tired. Oil mist on the body confirms it.
- Loose hardware. Subframe bolts, sway bar brackets, splash shields, and exhaust hangers all imitate a bushing knock.
Road test first, with a light grip on the wheel. Wander that needs constant correction points at the front end, not at one specific part.
When the joints themselves are worn, it's worth asking whether better steering joints actually outlast the cheap box. Aggregate buyer feedback on house-brand joints is mixed at best.
Mistakes That Cost People Money
Checking bushings with the suspension hanging is the expensive one. Everything feels tight, so you move on and replace something else.
Tightening pivot bolts at full droop runs a close second. The rubber gets locked into a twisted position and tears within a few thousand miles. Torque them with weight on the suspension.
- Prying against brake hoses, ABS leads, or fuel lines instead of the arm.
- Swapping a control arm when a $25 end link was rattling the whole time.
- Reusing torque-to-yield bolts because they "looked fine."
- Skipping the alignment after the repair, then blaming the new parts for uneven wear.
- Sliding under a car held only by a jack. Stands and chocks, every time.
Loose or wrong lug hardware causes its own shimmy, so it pays to know the cost of fresh lug hardware before you guess at a suspension fault. And nothing good comes from hammering fasteners back on with a gun.
A separated bushing is a safety issue, not a comfort one. The National Highway Traffic Safety Administration tracks suspension faults among reported vehicle defects, and a control arm that shifts under braking is exactly that kind of fault.
Bushing-Only Repair vs. Loaded Control Arm vs. Poly Upgrade: Cost and Decision Guide
Three routes, three different buyers. The right one depends on how rusty your arm is and how long you plan to keep the car.
| Option | Parts cost per side | Labor reality | Best for |
|---|---|---|---|
| Bushing only (press-in) | $20 to $60 | Arm off, old shell pressed or burned out, 2 to 4 hours | Clean arms, tight budget, keeping it stock |
| Loaded control arm | $80 to $250 | Bolt-on swap, 1 to 2 hours | Rust-belt cars, seized sleeves, fast turnaround |
| Polyurethane kit | $150 to $500 for a full kit | Same as bushing only, plus greasing | Enthusiasts, lifted trucks, track use |
If the shell is rust-welded into an aluminum arm, buy the loaded arm and save yourself a fight. If the arm is clean and the budget is tight, press in a new bushing. If you want sharper steering and don't mind a little road noise, go poly.
Poly runs 70A to 95A on the Shore scale, the same hardness scale SAE International uses to grade rubber compounds. Grease it properly and it outlasts stock rubber.
Doing the labor yourself changes the math fast. Loading the car on ramps you built yourself makes the pry test and the torque-at-ride-height step far easier.
Frequently Asked Questions
Can you drive with a bad bushing?
Short distances, maybe. Long term, no. A torn control arm bushing lets the arm shift under braking and cornering, so your alignment changes mid-corner.
Tire wear accelerates quickly and steering feel goes vague. If you can see separation or measure more than 1/8 inch of play, book the repair before a highway trip.
What does a shop charge to replace one?
Expect 1.5 to 4 hours of book time per arm, plus $20 to $60 for the bushing and $100 to $250 for the alignment afterward. A loaded arm cuts labor but raises the parts bill. Most jobs land somewhere between $250 and $600 per side, depending on the platform.
How long should bushings last?
OEM rubber typically goes 60,000 to 120,000 miles. Climate matters more than mileage. Salt-belt cars and pothole-heavy cities chew through them sooner, while a garaged car in a dry region can pass 150,000 miles on factory bushings.
What does a bad bushing sound like?
A dull thud over slow bumps, a creak when you turn the wheel at a standstill, or a light rattle over washboard pavement. Sharp metallic clunks usually mean a joint, a link, or loose hardware. Noise alone won't name the part, so confirm with the loaded pry test.
Can a bad bushing cause vibration?
Yes, though usually at low frequency. A collapsed bushing lets the arm move under load, which can show up as a shimmy between 45 and 65 mph or a shiver under braking. Rule out wheel balance and tire damage first, since those cause most highway vibration.
