
Four‑wheel drive engagement can feel confusing when you’re stuck in mud or snow.
The process is straightforward once you know the levers, locks, and safety rules.
In our research, most drivers engage low‑range too late, causing unnecessary wear.
Understanding the system starts with the transfer case, which shifts power between axles.
Manufacturer specs indicate a low‑range torque multiplier of 2.5:1 on many modern SUVs.
Let’s walk through the key components and then show you exactly how to engage four wheel drive.
How to Engage Four Wheel Drive
Engage low‑range while stationary by moving the selector to “4WD‑Low.”
Activate locking differentials if equipped for maximum traction on slippery terrain.
Keep speed under 5 mph when shifting to avoid drivetrain damage.
Problem / Pain Point
Drivers often engage 4WD too late, leading to axle wind‑up and reduced control.
In snow, mud, or steep grades, waiting until the vehicle is already moving can cause loss of traction.
Knowing when to pull the lever prevents unnecessary strain and keeps you safe.
Common scenarios include deep ruts, icy hills, and off‑road rock crawling where low‑range torque is essential.
If you’re unsure, check the recovery point info for guidance on proper engagement timing.
Core Explanation / How It Works
Four‑wheel drive (4WD) routes engine power to all wheels through a transfer case.
Low‑range provides a higher gear reduction for slow, high‑torque movement.
Locking differentials lock the wheels together, eliminating slip when one wheel loses grip.
Part‑time systems engage only when you select 4WD; full‑time systems always share power.
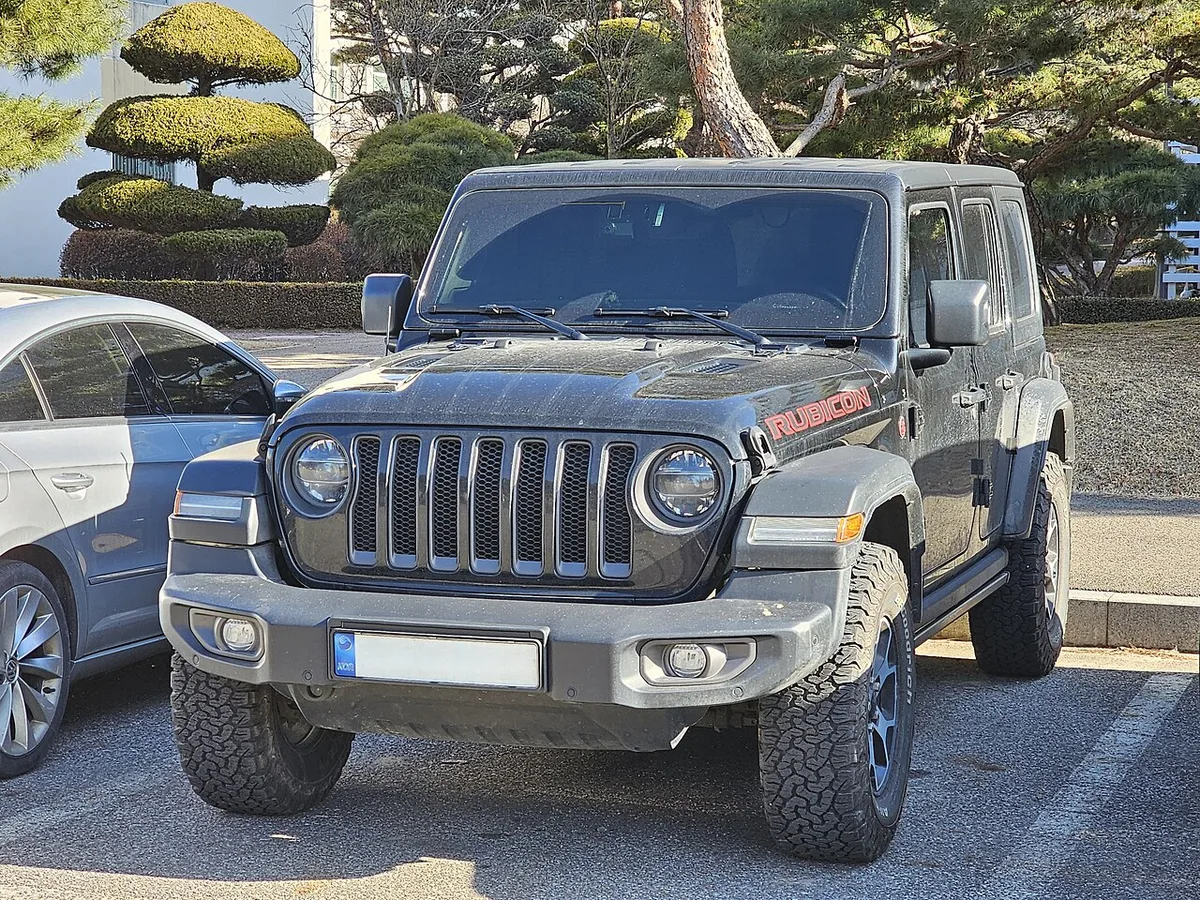
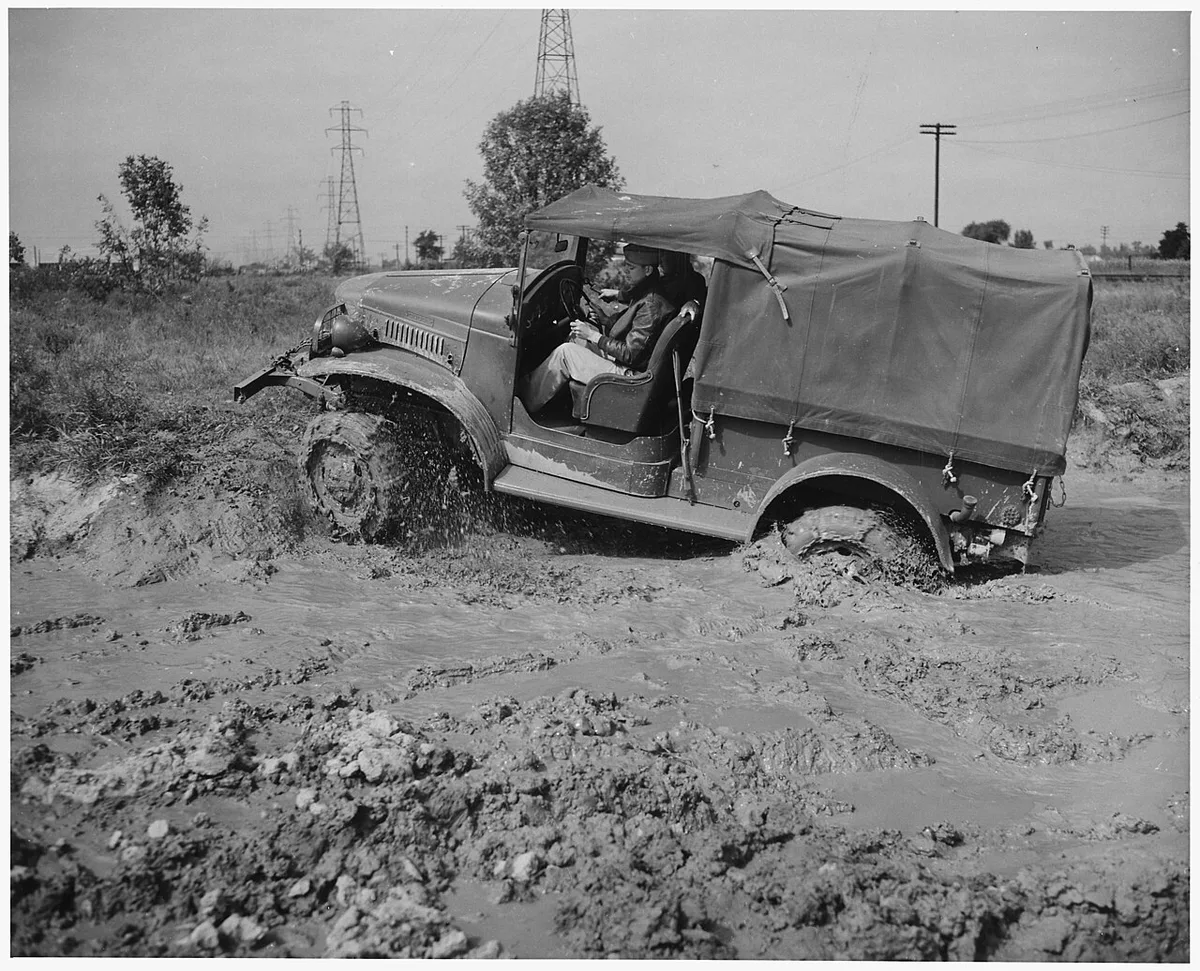
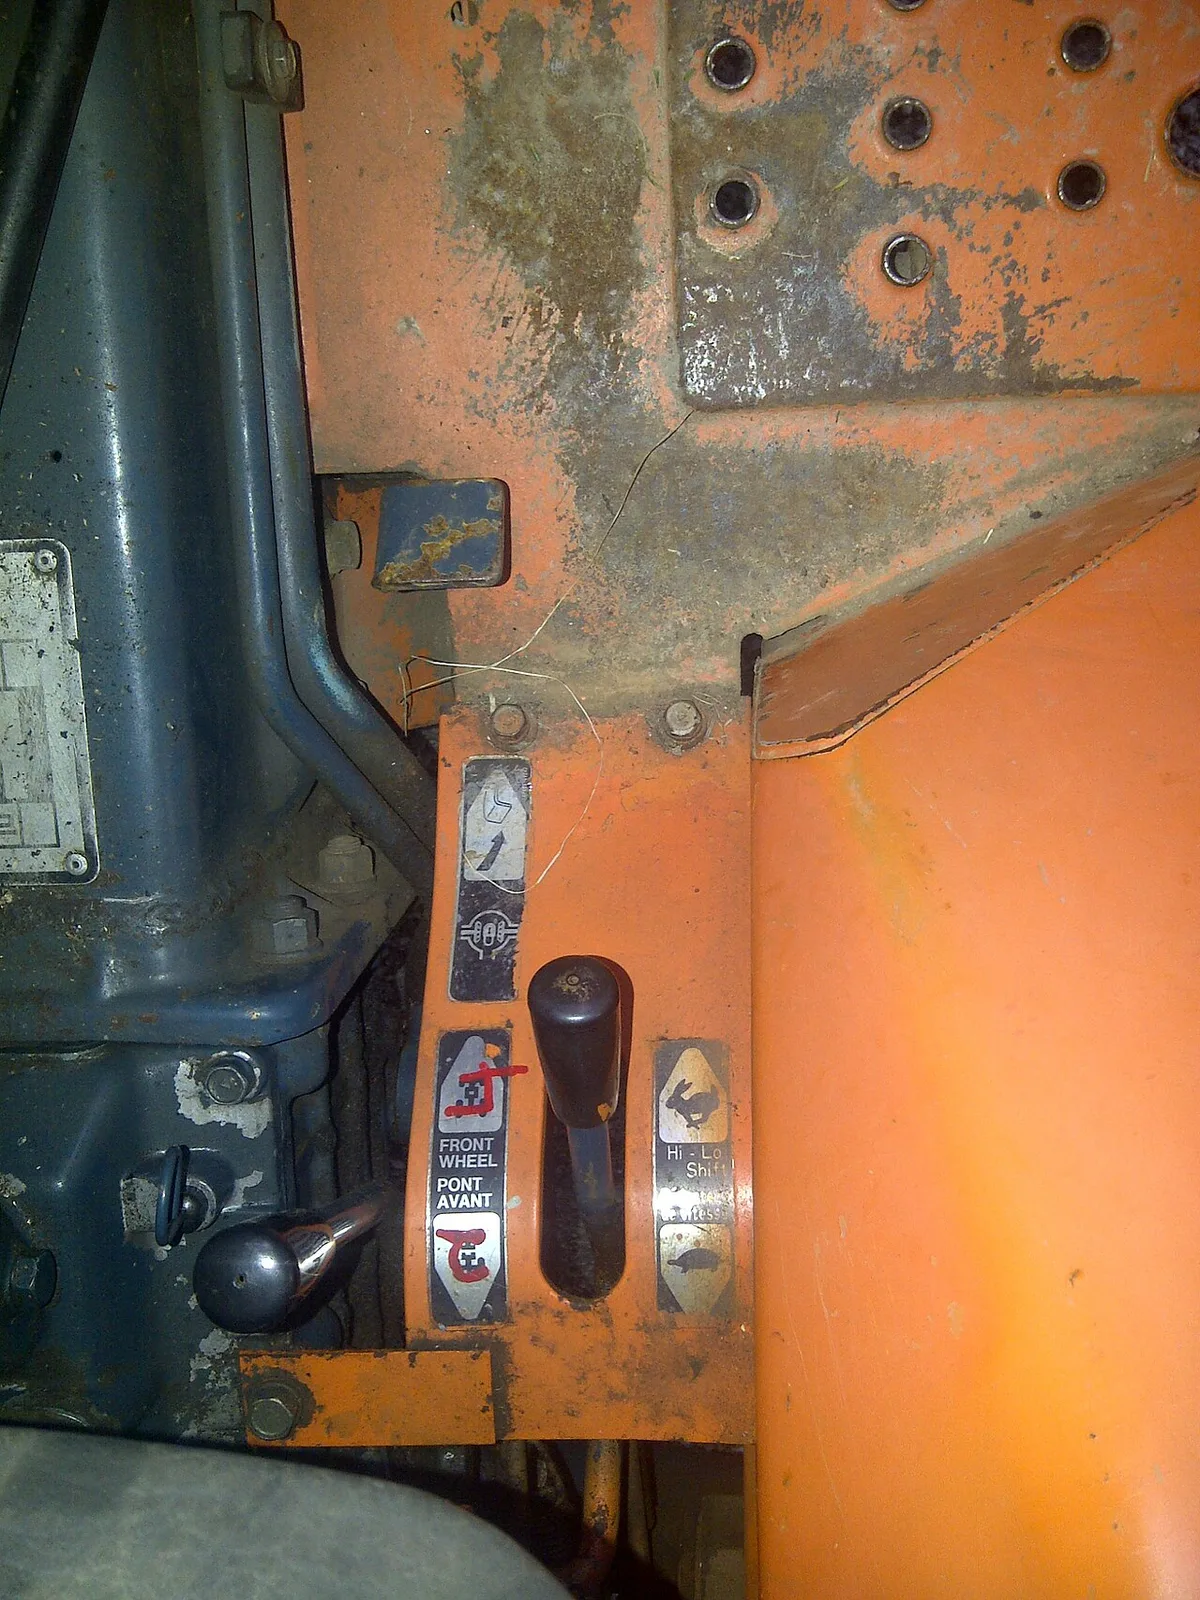
| Component | Function | Typical Engagement |
|---|---|---|
| Transfer case lever | Switches high/low range | Manual or electronic |
| Locking differential | Locks axle wheels | Button or dial |
| Selectable 4WD | On‑demand power | Driver‑initiated |
Understanding these parts helps you decide whether to use low‑range or just lock the diffs.
For routine highway driving, keep 4WD disengaged to save fuel and reduce wear.
When you need extra grip, engage low‑range first, then lock diffs if the terrain is very slippery.
Fluid level guide can help you check the transfer case before any heavy use.
Step-by-Step Process / How to Guide
- Stop completely, Park on level ground, set the brake.
- Select low‑range, Move the lever or press the button to “4WD‑Low.”
- Lock differentials, If equipped, engage the front and rear locks.
- Test traction, Gently press the accelerator; wheels should move slowly.
- Drive cautiously, Keep speed under 5 mph until you feel stable traction.
| Step | Action | Timing |
|---|---|---|
| 1 | Stop, brake set | Immediate |
| 2 | Shift to low‑range | While stopped |
| 3 | Lock diffs | After low‑range engaged |
| 4 | Verify movement | 1–2 seconds |
| 5 | Begin slow crawl | ≤5 mph |
Tightening lug nuts with an impact wrench ensures the wheels stay secure under load.
Hand position tips remind you to keep both hands on the wheel for control.
After completing the task, reverse the steps to return to normal driving mode.
Mistakes to Avoid & Safety
Never engage low‑range on dry pavement; it forces the drivetrain to fight itself.
Do not shift while moving, the transfer case can be damaged.
Avoid using 4WD on city streets above 25 mph; it raises wear and reduces fuel economy.
Always disengage before highway speeds to prevent excessive strain.
For detailed safety guidance, see NHTSA 4‑wheel‑drive safety guidance.
If you’re adding accessories, modifications guide can help you avoid interfering with the system.
Check the owner’s manual for any model‑specific warnings before each trip.
