Discovering a broken brake line can be a daunting experience, but fear not! In this comprehensive guide, we will provide you with step-by-step instructions on how to fix a broken brake line yourself.
By following these instructions, you can save yourself time and money by avoiding a trip to the mechanic.
Table of Contents
- Diagnosing the Issue
- Gathering the Necessary Tools
- Preparation
- Repairing the Broken Brake Line
- Bleeding the Brake System
- Testing the Brake System
- Conclusion
Credit: m.youtube.com
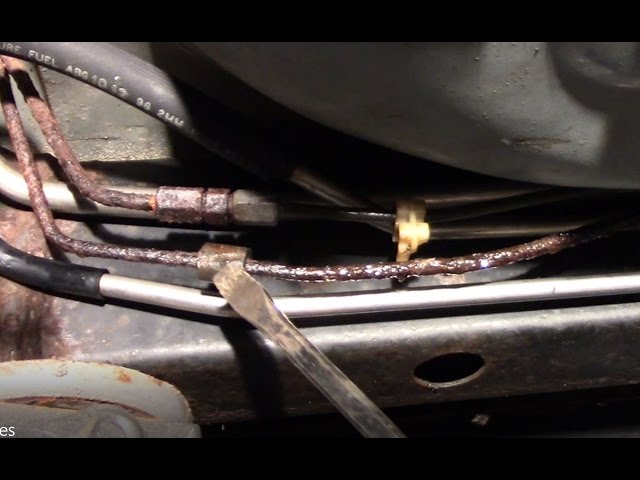
Diagnosing the Issue
The first step in fixing a broken brake line is to identify the problem. Signs of a broken brake line include decreased braking power, leaking brake fluid, or an illuminated brake warning light on your dashboard. Once you’ve confirmed that you have a broken brake line, it’s time to gather the necessary tools.
Gathering the Necessary Tools
Before you begin the repair process, ensure that you have the following tools handy:
| Wrench set | Flare nut wrench | Tubing cutter |
| Brake line tubing | Flaring tool kit | Brake fluid |
| Vice grip pliers | Brake line union | Shop rag |
Preparation
Prior to starting the repair, ensure your vehicle is on a flat surface, the engine is off, and the emergency brake is engaged. Moreover, make sure you have the appropriate safety gear, including gloves and safety glasses, to protect yourself throughout the repair process.
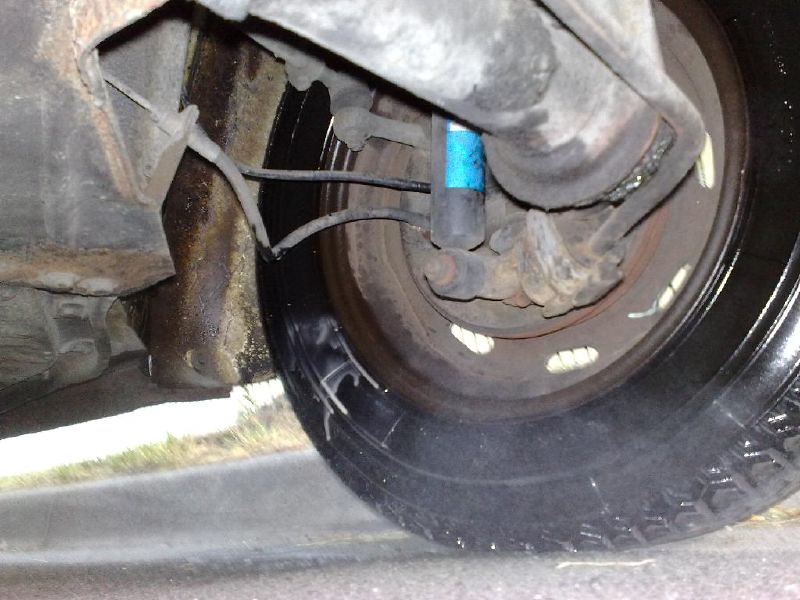
Repairing the Broken Brake Line
Follow these steps to repair a broken brake line:
- Locate the broken section of the brake line.
- Use a tubing cutter to remove the damaged section of the brake line.
- Measure and cut a new piece of brake line tubing to match the length of the removed section.
- Use a flaring tool kit to create a double flare on both ends of the new tubing.
- Attach one end of the new tubing to the existing brake line using a brake line union.
- Tighten the brake line union using a flare nut wrench.
- Secure the brake line with vice grip pliers to prevent it from moving.
- Repeat the process for the other end of the new tubing.
Credit: www.copilotsearch.com
Bleeding the Brake System
After repairing the brake line, it’s crucial to bleed the brake system to remove any air bubbles. Follow these steps to bleed the system:
- Open the brake fluid reservoir cap and fill it with new brake fluid.
- Locate the brake bleeder valve on each wheel and start with the farthest one from the master cylinder.
- Attach a clear vinyl hose to the bleeder valve and immerse the other end in a container partially filled with brake fluid.
- With the help of a partner, slowly pump the brake pedal three to four times and hold it down.
- Open the bleeder valve to allow the air and fluid to escape.
- Close the bleeder valve and repeat the process until all air bubbles are eliminated.
Testing the Brake System
After bleeding the brake system, it’s essential to test the brakes before driving your vehicle. Start by slowly applying pressure to the brake pedal while observing its responsiveness. If the brakes feel firm and responsive, you have successfully repaired the broken brake line.
Conclusion
Fixing a broken brake line is a task that can be accomplished with the right tools, knowledge, and patience. By following our step-by-step guide, you can save money and become more self-sufficient when it comes to your vehicle maintenance. However, if you are uncertain or uncomfortable with the repair process, it’s always best to seek professional assistance to ensure your safety on the road.