
A leaking AC condenser can shut down cooling in minutes. You’ll hear a hiss, see ice on the coil, and notice the thermostat never reaching the set temperature. The fix starts with locating the leak and deciding whether to patch or replace the coil.
In this guide we walk you through the steps, tools, and safety rules.
Most residential units use R‑22 or R‑410A, and high‑side pressure should read between 150 and 250 psi for R‑22 as per ASHRAE Standard 15. If pressure drops below 120 psi, the compressor may overheat and fail. That’s a clear sign the condenser is leaking and needs immediate attention.
Next, we’ll show you how to isolate the leak and choose the right repair method.
How to Fix a Leaking AC Condenser
Locate the leak with dye or a detector. Recover refrigerant using an EPA‑approved machine. Evacuate the system to 500 micron or lower.
Repair the coil by brazing or installing a flare fitting. Recharge refrigerant, pressure test, and verify subcooling.
Problem & Quick Insight
You’ll notice the AC runs constantly without reaching the set temperature. The high‑side pressure gauge will read low, often under 120 psi. A hissing sound near the coil and ice forming on the fins are typical clues.
These signs point directly to a refrigerant leak in the condenser.
First, turn off power and disconnect the refrigerant lines. Use leak detection dye to pinpoint the exact spot on the coil. If the leak is small, a brazed patch may suffice; larger leaks need a flare fitting.
Always verify the repair with a pressure test before recharging.
- Hissing sound near the coil
- Ice buildup on condenser fins
- Low high‑side pressure (<120 psi)
- Loss of cooling capacity
- Increased electricity bills
For precise torque on flare nuts, see the guide on tightening bolts.
Core Explanation & Components
A visual of a typical copper‑fin condenser helps identify wear and leak locations.
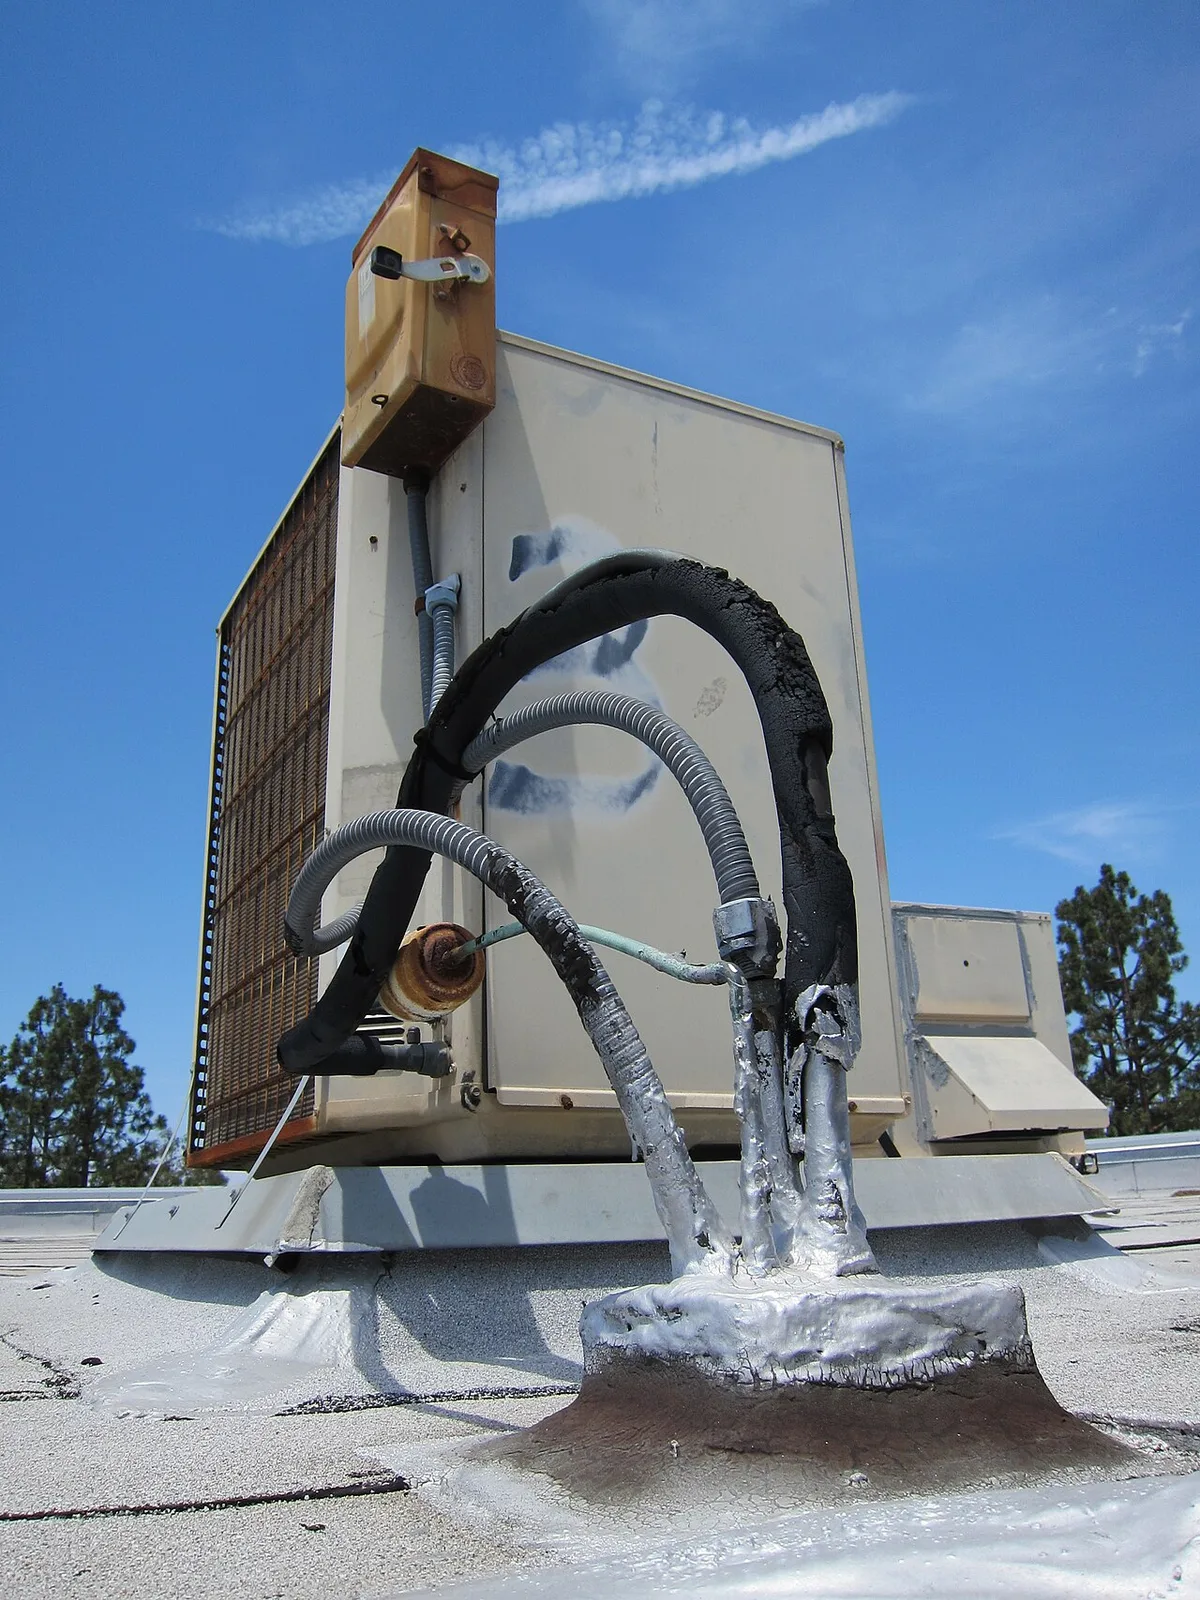
The condenser removes heat from refrigerant after it leaves the compressor. Liquid refrigerant flows through the coil while the fan pulls air over it. As heat leaves, pressure drops and the refrigerant becomes ready for the expansion valve.
A leak anywhere in this path lets refrigerant escape and cooling stops.
- Copper or aluminum coil with fin density of 12 fins/in
- Flare nuts and O‑rings at connections
- Brazed joints or soldered fittings
- Condenser fan motor and shroud
- High‑side service valve
Copper coils offer better heat transfer but cost more than aluminum. Most residential units use 1/4‑inch diameter tubing with 0.5‑inch OD flare fittings. Always match the refrigerant type; R‑22 and R‑410A have different pressure ranges.
Check the manufacturer’s service manual for exact torque values on flare nuts. For detailed torque charts, refer to the guide on torque charts.
Step-by-Step Process / How to Guide
Follow these steps in order to safely repair a leaking condenser. Skipping any step can damage the compressor or violate EPA regulations. Work in a well‑ventilated area and wear gloves, goggles, and a respirator.
If you’re unsure, stop and call a licensed technician.
| Step | Action | Tool | Approx. Time |
|---|---|---|---|
| 1 | Isolate system, lock‑out power | Lock‑out kit | 5 min |
| 2 | Recover refrigerant | EPA‑approved recovery machine | 10 min |
| 3 | Evacuate to ≤ 500 micron | Vacuum pump | 10 min |
| 4 | Locate leak with dye | Leak detection dye | 5 min |
| 5 | Repair coil (brazing or flare) | Brazing torch or flare kit | 15 min |
| 6 | Pressure test at 150 psi above operating | Manifold gauge set | 5 min |
| 7 | Recharge refrigerant, check subcooling | Refrigerant scale, gauges | 10 min |
After brazing, let the joint cool for at least 10 minutes before pressure testing. Recharge refrigerant slowly and monitor the subcooling target listed in the service manual. A proper charge restores cooling efficiency and prevents the compressor from overheating.
Document the repair date and refrigerant amount for future service.
Safety / Legal / When to Call a Pro
Wear gloves, goggles, and a respirator at all times; for a detailed safety checklist, see the guide on proper PPE. EPA Section 608 certification is required to handle refrigerant; review the EPA Section 608 requirements before starting. Follow lockout procedures to prevent accidental startup; the vehicle manual outlines the steps.
Dispose of recovered refrigerant according to local regulations; the guide on refrigerant disposal explains the process.
If the leak is in a high‑pressure line, the compressor may be damaged and needs professional replacement. Complex brazed joints or multiple leak points often exceed DIY capability. When in doubt, call a licensed HVAC technician to ensure compliance and safety.
