
When your AC runs constantly without cooling, the condenser is often the culprit. Knowing how to replace an ac condenser can save you a costly service call. This guide walks you through the whole job, from safety prep to final startup.
We'll keep it simple and focused on what you actually need to do.
Per EPA Section 608, you must recover refrigerant before removal, and most DIYers finish the job in 3 to 4 hours. The average replacement cost runs $500 to $2,000 for the unit plus $150 to $500 for labor, according to industry surveys. If you're comfortable with basic tools and follow the steps, you can often complete the work yourself.
Let's start with the quick answer you need.
How to Replace an Ac Condenser
Replace the condenser by recovering refrigerant and swapping the unit. Use EPA‑certified recovery equipment and follow manufacturer torque specs. Evacuate to 500 microns, then charge refrigerant by weight.
Run the system to confirm proper pressure and cooling.
Core Explanation & Key Features
The condenser sits outside and turns hot refrigerant gas into cool liquid. It releases that heat to the air using a fan and coil. Without this step, the compressor would overheat and the system would fail.
That's why a failing condenser triggers constant running and high bills.
Match the new unit to the original BTU rating and SEER score. Per manufacturer specs, a 2‑ton unit handles about 24,000 BTU/hr. Choose a SEER rating of 14 or higher for efficiency.
A mismatched size will cause short cycling or insufficient cooling.
OEM condensers carry the exact part number and warranty. Aftermarket units often cost 20‑30% less but must meet the same pressure and temperature specs. Verify refrigerant compatibility; R‑410A units cannot use R‑22 refrigerant.
Check the coil material, aluminum is common, copper offers better heat transfer.
A clear photo shows the coil fins and the fan blade arrangement.
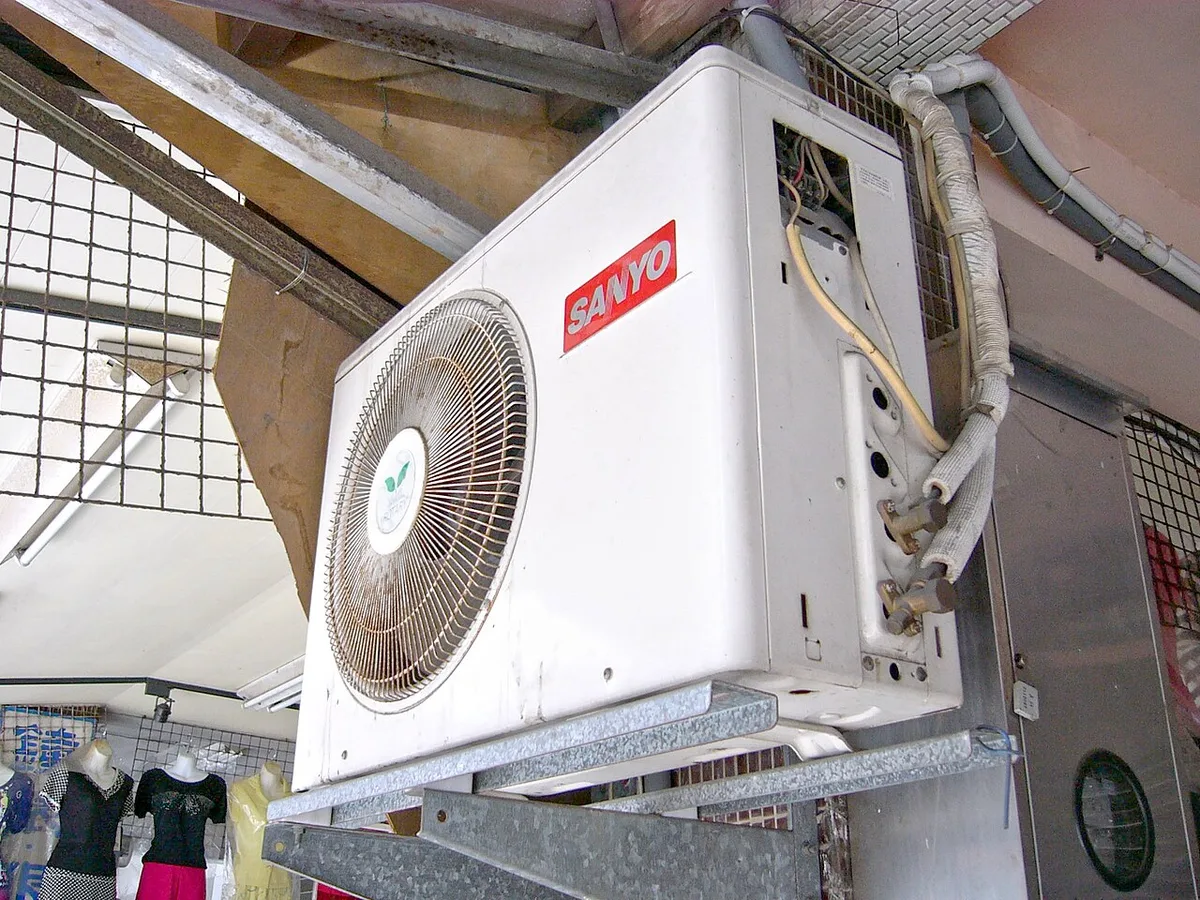
A new condenser can improve cooling efficiency by 10‑15% and reduce monthly electricity use. Higher SEER units also meet stricter local energy codes. This upgrade often pays for itself within 2 to 3 cooling seasons.
Safety starts with EPA Section 608 certification for refrigerant handling. EPA Section 608 guidelines require recovery before any line disconnection. Wear gloves, goggles, and a respirator to protect against chemicals and debris.
Check local building codes; some municipalities require a permit for condenser replacement.
If you need a refresher on tool safety, see keeping the system running smoothly for tips on proper handling.
Step-by-Step Replacement Process
First, power off the unit at the breaker and disconnect the refrigerant lines. This prevents electrical shock and refrigerant release. Next, recover the refrigerant using an EPA‑certified machine.
The recovery process typically takes 15 to 30 minutes.
Gather the tools and materials listed below before you start.
| Item | Purpose | Note |
|---|---|---|
| Refrigerant recovery machine | Recover R‑22/R‑410A | EPA‑certified, 1/2‑hp |
| Torque wrench | Tighten line fittings | 10‑20 ft‑lb |
| Vacuum pump | Pull system to 500 microns | Rated for HVAC |
| Digital scale | Weigh refrigerant charge | ±0.5 lb accuracy |
Remove the old condenser by unscrewing the mounting bolts and sliding it out. Inspect the liquid line and suction line for cracks. Replace any damaged sections.
Clean the area and verify that the new unit fits the same footprint.
Install the new condenser, reconnect the refrigerant lines, and tighten the fittings to manufacturer torque values. Evacuate the system to 500 microns and then charge refrigerant by weight. Finally, restore power and run the AC for 10 minutes to confirm proper operation.
If you need help tightening bolts, see tightening bolts safely for guidance on using an impact wrench. For detailed pressure targets, refer to the ASHRAE 90.1 standard. Always double‑check that the low‑side pressure reads 70 to 80 psi before finishing.
Costs, Safety & Compliance
The condenser unit typically costs $500 to $2,000 depending on capacity and brand. Higher SEER ratings add about $200 to $400 to the price. Labor runs $150 to $500 for a professional installation.
DIY saves labor but requires tools and refrigerant recovery equipment.
Additional parts such as mounting bolts, line fittings, and seals usually add $50 to $150. Factor in refrigerant cost; a typical charge for R‑410A is about $30 to $60. If you need to budget for additional parts, see budgeting for parts for typical fastener and line costs.
Plan for disposal of the old unit; many recycling centers accept HVAC components at no charge.
Most new condensers come with a 5‑year limited warranty covering defects. Keep the installation receipt and register the product online to activate the warranty. If you choose an aftermarket unit, verify that the manufacturer offers a comparable warranty.
A proper warranty can save you money if the compressor fails within the first few years.
Some manufacturers offer rebates for high‑efficiency condensers installed before the end of the year. Check utility programs that provide up to $200 off for qualifying units. Combining rebates can lower the net cost significantly.
FAQs & Final Decision Guide
Should I repair or replace a faulty condenser?
A condenser that leaks refrigerant, makes loud rattling, or fails to cool after a full refrigerant charge usually needs replacement. Repair is viable only if the coil is clean, the fan runs, and the compressor is healthy. For more on keeping the system efficient, see proper sealing for guidance on connections.
What size condenser do I need for my home?
Match the BTU capacity to your home’s load calculation, typically 1 ton per 500, 600 sq ft in hot climates. Oversizing by more than 10% causes short cycling and higher bills.
Do I need a professional or can I DIY this job?
DIY is possible if you hold EPA Section 608 certification, have a recovery machine, and follow safety steps. A professional is recommended for complex wiring, refrigerant charging, or local code requirements.
How long does the replacement take from start to finish?
A DIY replacement usually takes 4 to 6 hours including recovery, evacuation, and charging. A professional can often complete the job in 2 to 3 hours.
What are the most common mistakes to avoid?
Forgetting to recover refrigerant, installing the wrong BTU or SEER rating, and skipping the leak test after charging are top errors. To estimate extra costs, see component cost guide for typical prices.
Before you decide, review the quick decision guide below to confirm you’ve covered all bases.
Following these steps and safety rules will give you a reliable, efficient cooling system for years to come.
