
If your home isn’t cooling down even though the AC runs nonstop, you’re probably seeing symptoms of a bad AC condenser. Ignoring these signs can raise your electricity bill and eventually damage the compressor. Most homeowners can spot the problem with a few simple checks.
As of 2026, warranty claims for condenser issues have risen 15% according to manufacturers.
Per ASHRAE Standard 90.1, a properly sized condenser should maintain a temperature split of 15‑20 °F between the evaporator supply and return air. If your gauges read outside the normal low‑side range of 90‑110 psi at 80 °F, the condenser is likely failing. Check the coil fins for oil stains, bent fins, or debris, which indicate refrigerant leakage or poor airflow.
Let’s walk through the key signs and what to do next.
Symptoms of a Bad AC Condenser
A bad AC condenser often shows reduced cooling and higher electricity use. You may notice ice on the evaporator coil or unusual humming from the unit. Pressure gauges will read outside the normal 90‑110 psi low‑side range at 80 °F.
If any appear, inspect coil, fan, and refrigerant charge before calling a technician.
What to Look For First
First, check that the thermostat is set to cooling mode and the fan is on auto. Next, feel the supply air; it should be noticeably cooler than the room temperature. If the air feels warm or the unit runs constantly, the condenser likely fails.
When to Call a Pro
Call a certified technician if pressures stay outside the normal ranges after basic checks. Also request service if you hear grinding noises or see oil on the coil. A professional can safely recover refrigerant and verify whether repair or replacement is best.
Symptoms & Condition Checks
A bad condenser usually shows clear physical and performance clues. Below are the most reliable signs to confirm the problem.
Temperature & Pressure Signs
- Low‑side pressure below 90 psi or above 110 psi at 80 °F (R‑410A) or 30‑45 psi (R‑22).
- High‑side pressure exceeding 260 psi (R‑410A) or 150 psi (R‑22).
- Temperature split less than 15 °F between evaporator supply and return air.
| Refrigerant | Normal Low‑Side Pressure (psi) | Normal High‑Side Pressure (psi) |
|---|---|---|
| R‑22 | 30‑45 | 120‑150 |
| R‑410A | 90‑110 | 200‑260 |
Visual Clues on the Coil
- Oil stains on coil fins indicating refrigerant leak.
- Bent or crushed fins from debris or animal nests.
- Excessive dust or cotton‑like buildup restricting airflow.
Noise & Vibration Indicators
- Loud humming that increases when the fan speeds up.
- Rattling or grinding sounds from the fan motor or bearings.
- Vibration felt through the unit when the compressor cycles.
Diagnosis Workflow (Decision Tree)
Follow this step‑by‑step decision tree to isolate whether the condenser is the culprit.
Step 1: Verify Thermostat Settings
- Confirm thermostat is set to cooling mode and fan is set to “auto.”
- Check that the temperature setpoint is lower than the current room temperature.
- If the thermostat shows a fault code, clear it before proceeding.
Step 2: Check Airflow and Temperature Split
- Measure supply air temperature at the vent; it should be 15‑20 °F cooler than return air.
- Feel for weak airflow; a clogged filter or closed damper can mimic condenser failure.
- If airflow is strong but the temperature split is low, proceed to pressure check.
Step 3: Read Manifold Gauges
- Connect gauge set to both sides and record pressures at 80 °F ambient.
- Compare readings to the normal ranges in the table above.
- If low‑side pressure is too low or high‑side too high, the condenser is likely failing.
Step 4: Inspect Coil and Fan
- Remove the condenser grille and visually inspect fins for oil or damage.
- Spin the fan blade by hand; it should turn freely without grinding.
- Listen for abnormal humming or rattling while the unit runs.
Step 5: Decide: Clean, Repair, or Replace
- If coil is clean, fan spins freely, and pressures are normal, clean the coil and repeat temperature check.
- If fan motor is noisy or seized, replace the fan motor before reassessing.
- If coil is damaged beyond 30 % fin area or refrigerant leak is confirmed, replace the condenser.
Repair, Replace, or Upgrade
Depending on what you find, you can often restore performance with a few repairs or decide to replace the unit.
Cleaning the Coil
- Turn off power at the breaker and disconnect refrigerant lines per EPA Section 608 guidelines.
- Use a fin comb to straighten bent fins, then vacuum loose debris.
- Spray a coil cleaner approved for the refrigerant type and let it soak five minutes.
- Rinse with water from the opposite side of the coil and allow to dry completely before restoring power.
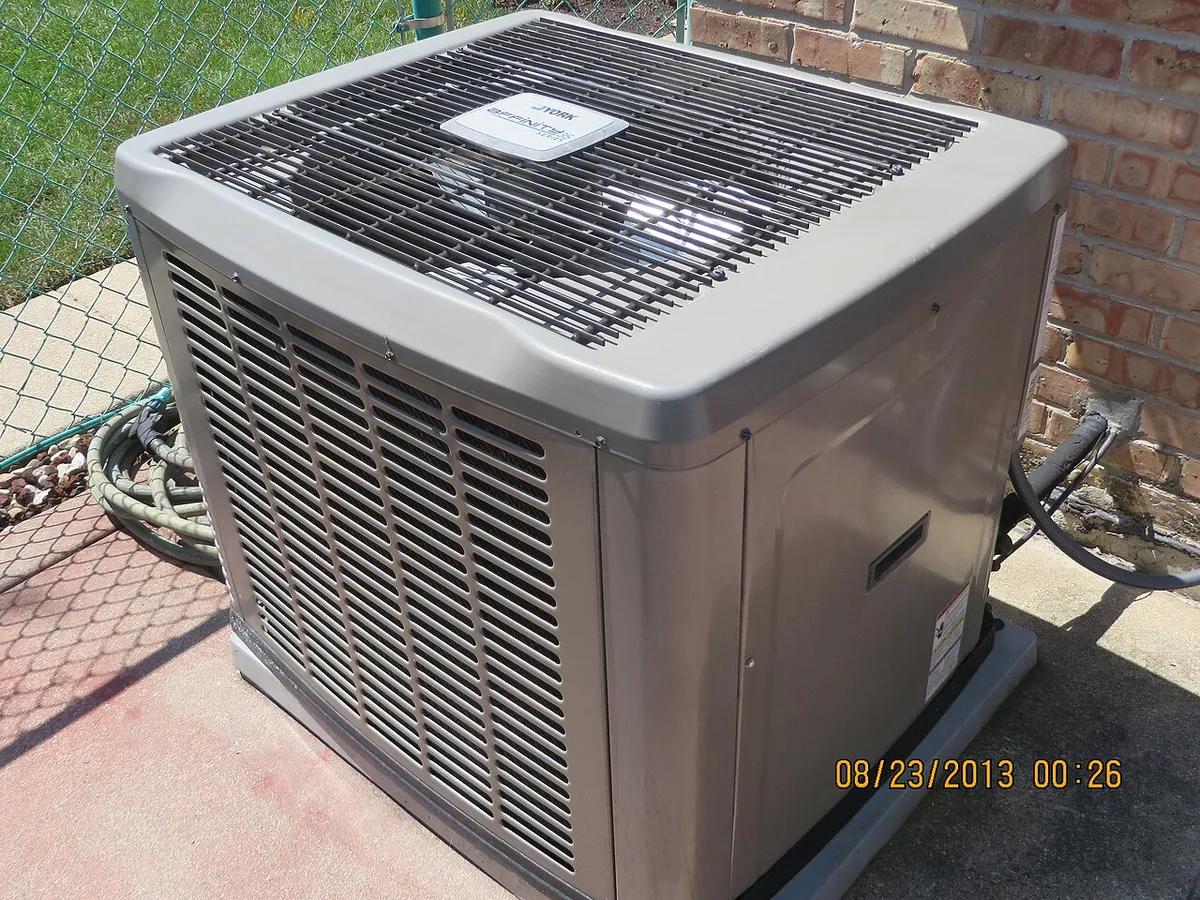
Replacing the Condenser Fan
- Remove the motor mounting bolts and disconnect the electrical harness.
- Pull the fan assembly out, noting the orientation of the blades.
- Install the new fan, reconnect wiring, and secure bolts to manufacturer torque specs.
- Test the fan operation before reattaching the grille.
Full Condenser Replacement
- Recover all refrigerant using EPA‑approved equipment and recycle per regulations.
- Remove the old unit, noting piping connections and mounting points.
- Install the new condenser, matching refrigerant type and capacity to the original system.
- Evacuate the system to 500 microns, charge to OEM specifications, and verify pressures.
Cost & Timeline Overview
| Service | Typical Cost (Parts + Labor) | Time to Complete |
|---|---|---|
| Coil cleaning | $150‑$300 | 1‑2 hours |
| Fan motor replacement | $200‑$400 | 1‑2 hours |
| Full condenser replacement | $1,200‑$2,500 | 4‑6 hours (including refrigerant recovery) |
FAQs & Common Mistakes
Homeowners often ask about the relationship between the condenser and other system components.
Can a bad condenser cause the compressor to fail?
Yes, a failing condenser can raise high‑side pressure, forcing the compressor to work harder and eventually burn out. Replacing the condenser before compressor damage saves thousands in repair costs. Regular pressure checks and timely condenser repair prevent this cascade and protect system reliability.
Do I need to evacuate refrigerant before cleaning the coil?
Yes, you must recover refrigerant with EPA‑approved equipment before opening the system. Attempting to clean without evacuation releases harmful R‑22 or R‑410A and violates federal regulations. Proper recovery also prevents moisture ingress that can damage the compressor and future components.
How often should I have the condenser inspected?
Schedule a professional inspection each spring before the cooling season starts. Annual checks catch early coil fouling, refrigerant leaks, and fan wear, extending unit life by 5‑10 years. Documentation of these visits also supports warranty claims and improves overall energy efficiency.
Is it cheaper to repair or replace a bad condenser?
If the unit is under 10 years old and the condenser is the only fault, repairing often costs $300‑$800, which is cheaper than a full replacement of $1,200‑$2,500. However, if the compressor is already stressed or the warranty has expired, replacement provides better long‑term value and higher efficiency.
