
A leaking brake master cylinder can turn a safe drive into a risky one. Learning how to fix a leaking brake master cylinder saves you time and keeps your brakes reliable. Ignoring fluid loss leads to spongy pedals and possible brake failure.
In our research, most leaks start at worn seals or cracked reservoirs.
Per FMVSS 105/106, the master cylinder must hold pressure of at least 1,000 psi. Use the correct DOT fluid for your vehicle’s climate. Below is the quick answer you need to start the repair.
How to Fix a Leaking Brake Master Cylinder
Inspect the reservoir for cracks and replace if damaged.
Remove the master cylinder and disassemble the piston assembly.
Replace worn seals, clean the bore, and reassemble with fresh fluid.
Bleed the system until pedal pressure returns and test for leaks.
Why Leaks Happen and How the Master Cylinder Works
The master cylinder converts pedal force into hydraulic pressure.
A cracked reservoir, torn piston cup, or scored bore causes fluid loss.
Check the torque specifications before tightening bolts.
Use the correct fluid level for your vehicle.
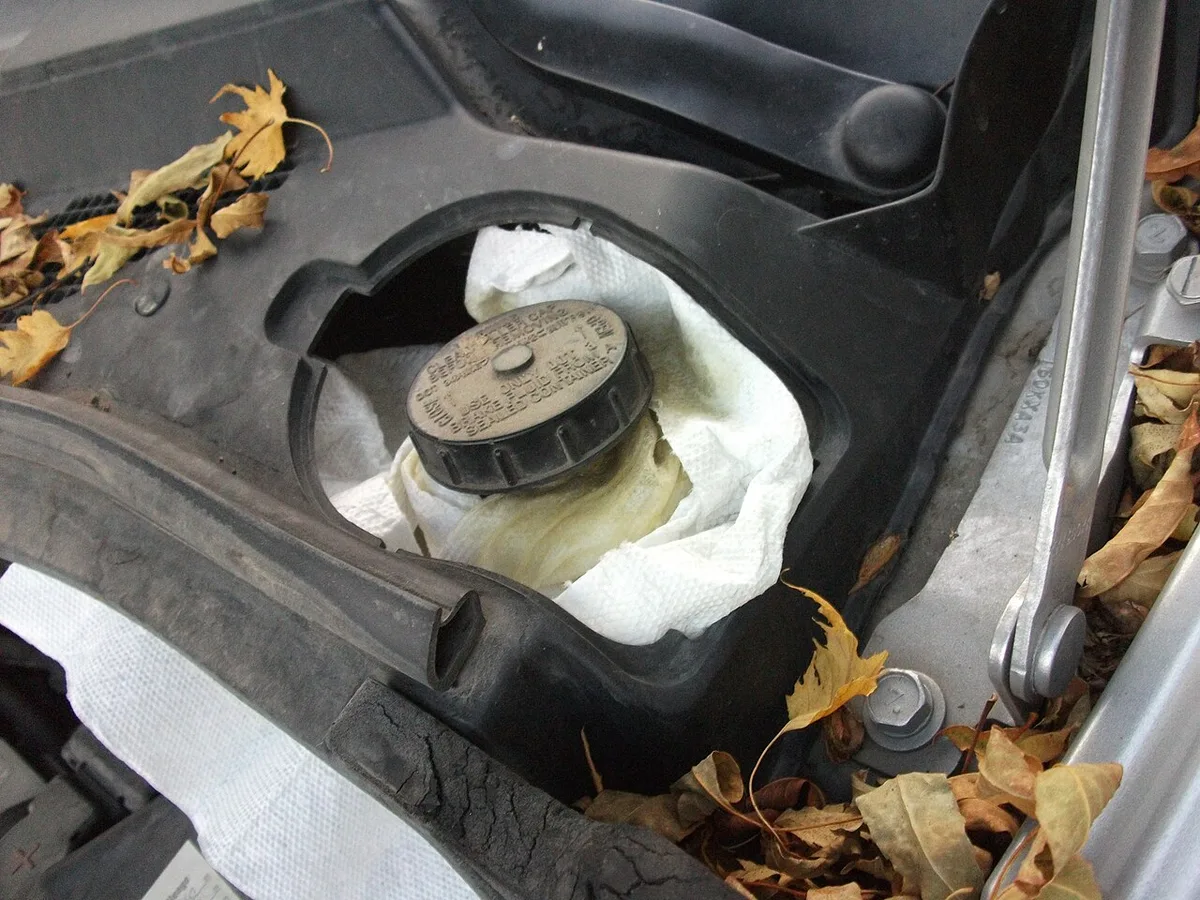
Image source: Wikimedia Commons / dave_7 from Lethbridge, Canada (CC BY)
Image source: Wikimedia Commons / U.S. Federal Government
Follow these visual cues to spot wear on seals and the bore.
If the piston moves unevenly, the cup is likely damaged.
Replace the entire cylinder if the housing is cracked or heavily corroded.
Step-by-Step: Rebuilding or Replacing a Leaking Master Cylinder
Tools & Materials
| Item | Purpose | Approx. Cost |
|---|---|---|
| Brake master cylinder puller | Remove cylinder | $15‑$30 |
| Brake fluid pressure tester | Verify pressure | $20‑$40 |
| DOT 3/4/5.1 fluid | Refill system | $5‑$10 |
| Catch pan & rags | Contain spills | $5 |
| Torque wrench | Accurate bolt tightening | $20‑$50 |
- Park on level ground, engage the parking brake, and disconnect the battery.
- Open the bleeder screws to depressurize the brake lines.
- Remove the master cylinder bolts and disconnect brake lines.
- Pull the cylinder with a master cylinder puller and set it aside.
- Disassemble the piston, replace worn cups and seals, and clean the bore.
- Reinstall the piston, apply new seals, and torque mounting bolts to 10, 12 ft‑lb. Refer to the tightening bolts guide.
- Reconnect brake lines, refill with fresh fluid, and bleed until the pedal feels firm.
- If the brake warning light stays on, run a diagnostic scan.
Safety, Legal Requirements, and When to Call a Professional
Image source: Wikimedia Commons / Parson, Avery H
Wear gloves, goggles, and a mask when handling brake fluid.
Work in a well‑ventilated area and dispose of fluid per EPA rules.
Follow FMVSS 105/106 standards for pressure requirements.
If the cylinder housing is cracked or you lack a puller, call a certified mechanic.
For seal work, see the seal integrity tips.
FAQs About Fixing a Leaking Brake Master Cylinder
Why does my brake pedal feel spongy after a master cylinder rebuild?
Air entered the system during disassembly. Bleed the brakes until the pedal is firm and no bubbles appear in the fluid.
Can I use DOT 3 fluid in a system that originally used DOT 4?
DOT 3 has a lower boiling point. In hot climates, upgrade to DOT 4 or DOT 5.1 to prevent vapor lock.
How often should I replace the master cylinder seals?
Replace seals every 60,000, 100,000 mi or when you notice any fluid leak. Proactive replacement avoids emergency repairs.
Is it safe to rebuild a master cylinder myself?
Yes, if you follow safety steps, use the correct torque, and verify pressure with a tester. If you’re unsure, a professional can finish the job quickly.
