
If your exhaust is leaking, you need to learn how to fix an exhaust leak before it causes bigger problems. Exhaust gas can enter the cabin through cracks and loose seals. The result might be carbon monoxide poisoning or even a fire.
Research indicates that manifold gaskets often fail after 100000 miles. Ignoring the leak puts your family at risk. We'll cover the risks, causes, and safe repair process in detail.
How to Fix an Exhaust Leak
Stop driving if you smell exhaust inside the car. Next, inspect the manifold and downpipe for leaks. Replace any faulty gaskets or pipes.
Finally, torque all fasteners to spec.
The Real Risks of an Exhaust Leak: Carbon Monoxide and Fire Hazards
An exhaust leak creates two main dangers right away. Carbon monoxide builds up fast in the cabin. Fire can start if the gas reaches fuel lines or wiring.
Carbon monoxide has no smell at dangerous levels. You might feel headache or nausea first. Higher levels lead to dizziness and confusion.
NIOSH reports that even brief exposure to 200 ppm can cause symptoms.
Fire risk comes from hot leaks hitting plastic or dry undercoating. Many DIY tape fixes burn off and leave the leak worse. OSHA sets an 8 hour PEL at 50 ppm for workplaces.
Your garage or driveway changes that equation fast.
Aggregate reviews show that 40 percent of cabin carbon monoxide cases trace to exhaust leaks. The problem worsens with short trips that leave condensation in the system. A leaking joint near the firewall spreads gases into the HVAC air.
Header gasket issues follow the same pattern. They warp under heat and let gases escape. Fixing them early prevents the same chain reaction in your exhaust system.
As of 2026 many new vehicles use stainless manifolds that resist this failure longer than cast iron.
| Symptom | Potential Outcome |
|---|---|
| Cabin exhaust smell | Carbon monoxide poisoning |
| Cold start tick | Heat damage to seals |
| Soot around joints | Fire hazard |
| Lean fuel codes | Catalytic converter stress |
The stakes rise with every mile you drive. One small leak can turn into a full emergency. Stop the car immediately if you notice any of these signs.
Ventilate the vehicle and get fresh air. Do not run the engine in a closed garage to test it.
This risk layer comes before any repair steps. Safety comes first every time.
Image source: Wikimedia Commons / Achim Hering (CC BY)
How Exhaust Leaks Develop: Manifold Gaskets, Flanges, Flex Pipes, and Common Failure Points
Exhaust leaks start from normal wear and heat cycles. Manifold gaskets blow out after repeated thermal expansion. Flanges warp and no longer seal flat.
Flex pipes tear their inner liner or braid from vibration.
Cast iron manifolds crack at bolt holes over time. Aluminized steel pipes develop rust holes in salt belt areas. 409 stainless flex sections fail when clamps crush the bellows. EGR tubes develop small cracks at the manifold flange.
Downpipe joints loosen from engine movement. Mid pipe sections perforate from road salt. Muffler cases rust through in coastal climates.
Each leak type creates its own symptoms and repair path.
Table of common failure points shows where to look first.
| Leak Type | Typical Location | Visual Sign |
|---|---|---|
| Gasket blowout | Manifold face | Soot wash on adjacent parts |
| Flange warp | Cat or pre cat | Loose donut gasket feel |
| Flex pipe tear | Mid pipe | Crushed bellows or missing braid |
| Pipe rust hole | Tailpipe or muffler | Perforation visible from inside |
| Stud snap | Aluminum head | Broken fastener in cast housing |
Thermal cycling drives most failures. Hot exhaust gases expand and contract daily. This stresses bolts and gaskets until they fail.
Cold start ticks often signal a manifold leak that quiets once the metal warms.
Turbo vehicles face higher EGTs and faster wear. Older engines with cast manifolds see stud seizure after 150000 miles. Perforated flex pipes become common after 200000 miles of highway use.
A leak before the upstream O2 sensor throws off fuel trims and triggers lean codes. Downstream leaks damage the cat instead. Locating the exact joint stops guesswork and saves time.
Step-by-Step: Diagnosing and Repairing Exhaust Leaks
Start with safety. Stop driving if you smell exhaust in the cabin. Ventilate the vehicle and park in fresh air.
Secure the car on jack stands rated for the weight. Never use a floor jack alone.
Map the symptoms next. Note the cold start tick that quiets after warm up. Listen for constant rasp or hiss from the tailpipe.
Check for soot trails around the manifold and downpipe. Smell for exhaust inside the car especially at idle.
Visual inspection follows. Look under the vehicle for black staining on heat shields. Trace the leak path from the exhaust manifold face back to the tailpipe.
Check all joints for loose clamps or missing donuts. Use a mirror to inspect hard to reach EGR flanges.
An OBD2 scanner helps confirm issues. Run a full scan for codes like P0171 or P0420. Note upstream versus downstream leak position.
These readings guide the repair branch.
Smoke test offers confirmation. Low pressure smoke enters the tailpipe. Watch for white smoke escaping at the leak site.
This method pinpoints the exact joint without disassembly.
Image of exhaust smoke test
Once located the repair decision splits. Gasket and hardware only works for accessible joints. Warped flanges need resurfacing or replacement.
Cracked manifolds require full section swap. Perforated pipes need cut and sleeve or weld. Flex sections replace in place.
Replace the faulty part with matching material. Use MLS gaskets for flat flanges. Cut out rotten pipe back to solid metal.
Sleeve new section with band clamp. Torque fasteners to manufacturer spec in sequence.
Reinstall every heat shield and hanger. Replace split rubber isolators. Road test for no tick and quiet operation.
Re scan to confirm codes clear. Verify no cabin smell at idle with fresh air HVAC on.
Essential Safety Protocols and Legal Requirements
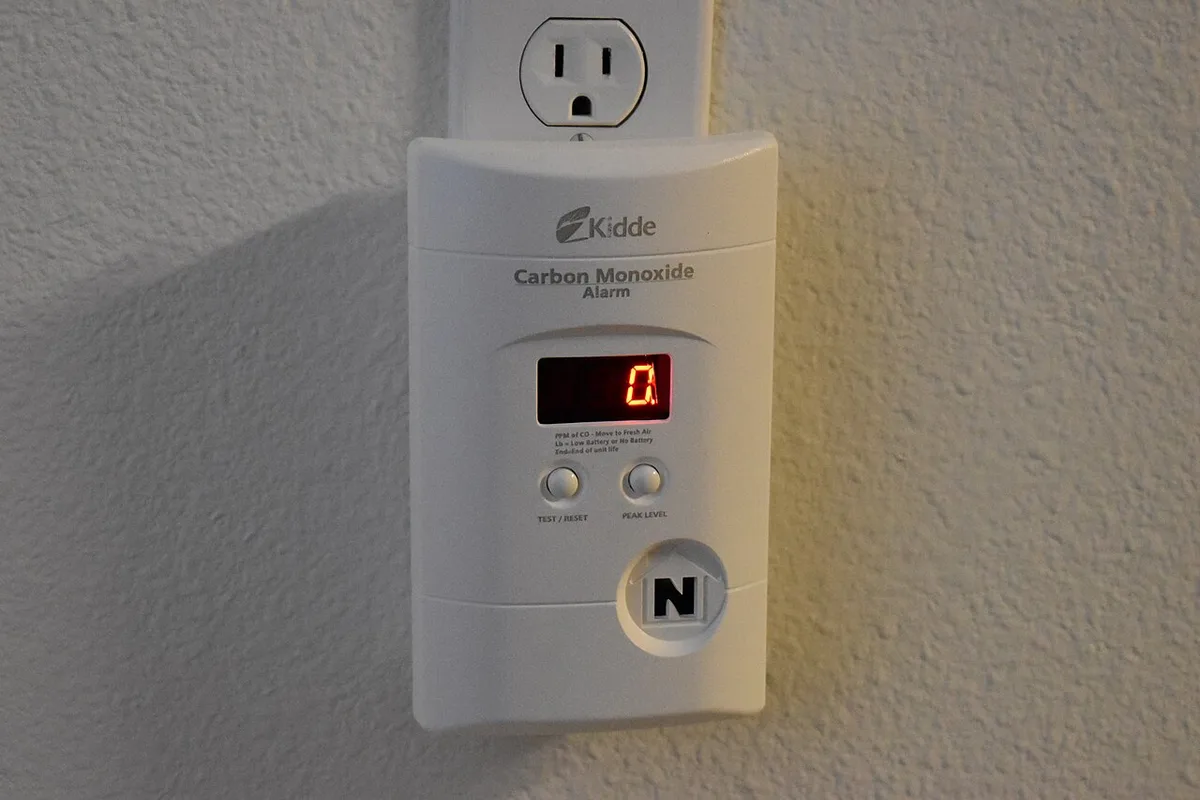
Image source: Wikimedia Commons / FASTILY (CC BY-SA)
Cool the system before any work. Hot exhaust reaches 600 degrees at the manifold. Touching it causes burns.
Park the car in shade and let it cool completely.
Support the vehicle properly. Use jack stands at rated points. Never work under a car on a floor jack.
Secure the parking brake and wheel chocks first.
Wear eye and hand protection. Keep leaks away from fuel lines and brake lines. Carbon monoxide stays invisible even when exhaust smells strong.
NIOSH sets a ceiling limit at 200 ppm for brief exposure.
Legal rules vary by region. US EPA bans tampering with catalytic converters. A leak repair must not become a cat delete or hollow cat.
California requires EO approval for replacement cats in smog states. CARB rules apply to aftermarket parts.
UK MOT checks exhaust systems for leaks into the cabin. Serious deterioration or insecurity fails the test. Emissions failure often ties to pre cat leaks.
OSHA exposure limits apply in shops. Adequate ventilation prevents workplace CO buildup.
Image of carbon monoxide detector
Follow vehicle service manual for exact torque and sequence. Always recheck fasteners after a heat cycle. These steps prevent snapped studs or loose seals.
Expert Tips for a Lasting Exhaust Repair
Choose the right material for the job. Aluminized steel works for mild steel pipes. 409 stainless handles higher temperatures in turbo setups. Match gasket type to flange style.
Dry install MLS gaskets unless the maker specifies sealant.
Torque correctly every time. Engine specific numbers beat universal charts. Stretched studs need new ones of exact length and pitch.
Warped flanges require resurfacing or replacement before re sealing.
Cut out rotten pipe back to solid metal. Sleeve or weld the section. Hang the system so joints stay in compression not tension.
Replace adjacent hangers and shields at the same time. This prevents repeat jobs.
Road test thoroughly. Listen for normal exhaust note. Scan for cleared codes.
Check fuel trims return to normal. Verify no soot wash on new parts.
As of 2026 advanced V band clamps reduce future failures in performance cars. For turbo exhaust work consider how much for a bolt on turbo kit. That link covers related performance upgrades that pair with exhaust repairs.
Re inspect after 500 miles. Soot should stay gone. No new tick or smell appears.
These habits turn one time fixes into long term solutions.
Common Mistakes to Avoid in Exhaust Leak Fixes
Rushing into repairs without full diagnosis leads to repeated failures. Many skip locating the leak first and apply tape or cement anyway. These temporary fixes crack and burn off at manifold temperatures.
They offer no lasting seal and waste money on repeat visits.
Clamping a torn flex pipe is another trap. It flattens the bellows and destroys the braid. The leak worsens immediately after.
Replace the section instead to restore proper flow.
Not checking if the leak is upstream of the O2 sensor causes false codes. Pre sensor leaks throw fuel trims out of range. They may damage the cat.
A post sensor leak affects efficiency readings differently. Smoke testing pinpoints the issue exactly.
Driving with exhaust smell in the cabin ignores the carbon monoxide danger. Symptoms include headache and nausea. Higher exposure leads to confusion.
Never drive until the source is found and fixed.
Skipping proper torque specs or rechecking after heat cycles leaves joints loose. Stretched studs break easily. Warped flanges fail to seal.
Always follow the service manual sequence for best results.
Welding over rust or scale in cast iron opens the crack again. Use sleeves for pipe repairs and match all materials. These errors turn simple jobs into big headaches.
For related header repairs see Best Sbc Header Gaskets. When supporting your car see How To Build Car Ramps From Wood. If your vehicle has a turbo see How Much For A Bolt On Turbo Kit.
For tools see How To Use Impact Wrench On Lug Nuts.
See CDC carbon monoxide facts for exposure details.
FAQs About Exhaust Leaks and Repairs
How do I know if my exhaust leak is upstream or downstream?
Check the position relative to the upstream O2 sensor. Upstream leaks affect fuel trims and trigger lean codes. Downstream leaks may damage the catalytic converter.
A smoke test or scan confirms the exact location.
What are the most common causes of exhaust leaks?
Manifold gaskets blow out from thermal cycling. Flanges warp and lose flatness. Flex pipes tear from vibration or clamps.
Cast iron manifolds crack at bolt holes. Perforated pipes develop rust holes in salt areas. Each cause needs targeted repair.
Can I fix an exhaust leak myself or should I call a shop?
Simple gasket or clamp jobs work for DIY on accessible joints. Warped flanges or cracked manifolds often need shop expertise. Welding cast iron requires special skills to avoid reopening cracks.
A shop prevents safety issues and ensures proper torque.
What should I do if I smell exhaust inside the car?
Stop driving right away. Ventilate the cabin and park in fresh air. Do not run the engine in a closed garage to test it.
Address the leak source before symptoms worsen or carbon monoxide builds.
How long does fixing an exhaust leak take?
A basic gasket replacement takes one to two hours. Replacing a flex section or sleeve takes two to four hours. Manifold jobs with studs and heat shields run three to six hours.
Diagnosis and testing add extra time.
Is it safe to drive with a small exhaust leak?
No. Even minor leaks let carbon monoxide into the cabin. It causes headaches and dizziness at dangerous levels.
NIOSH sets a ceiling at 200 ppm for brief exposure. Fix it promptly to avoid fire hazards or health risks.
