
Drivers often wonder if wheel spacers are worth the hassle. In reality, they add track width, improve handling, and create clearance for larger tires. Our research shows proper installation is straightforward when you follow torque and alignment steps.
Always verify the spacer’s center bore matches the hub before tightening. Use a calibrated torque wrench to avoid uneven clamping. This preparation prevents vibration and keeps the wheel assembly safe.
How to Install Wheel Spacers
How to install wheel spacers: mount the spacer onto the hub using bolts. Torque bolts to the manufacturer spec, typically 80 ft‑lb. Reinstall the wheel and verify proper alignment before driving.
Check for clearance between the spacer, brake caliper, and suspension. Repeat on all corners and perform a final torque check after 100 mi.
Why Wheel Spacers Matter for Handling and Clearance
Drivers add wheel spacers to widen track width. Wider stance improves cornering stability. The change also creates more tire clearance.
Per SAE J2530, spacers must meet specific dimensional tolerances as of 2026. The standard also defines allowable runout and balance requirements. Following it keeps the wheel assembly safe and legal.
In short, spacers boost grip, protect components, and give a cleaner look. The correct torque level for lug nuts is 80 ft‑lb. Next, we’ll compare hub‑centric and lug‑centric designs.
How Hub‑Centric vs Lug‑Centric Spacers Work and Stay Safe
Hub‑centric spacers sit on the hub’s center bore. They rotate with the hub, reducing runout. This makes them ideal for high‑speed or track use.
Lug‑centric spacers are cheaper and easier to find for many bolt patterns. They work well on street cars with moderate speeds. If the hub is off‑center, they can introduce wobble.
Always match the spacer’s center bore to the hub diameter. Use the correct torque sequence to avoid loosening. Inspect for cracks before each use.

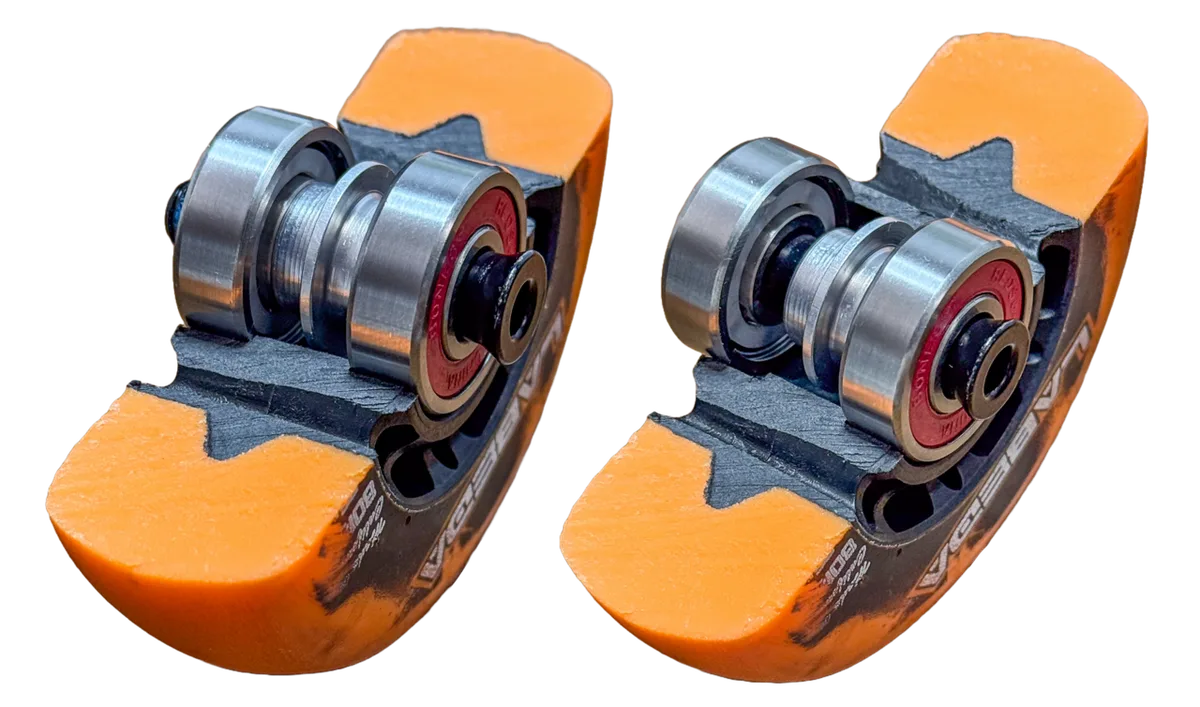
- Hub‑centric: zero runout, best for track.
- Lug‑centric: lower cost, see proper tightening for torque.
Per NHTSA FMVSS 108 wheel standards, both types must meet balance and runout limits. Choose hub‑centric for performance, lug‑centric for budget builds. Always verify clearance before final torque.
Bolt‑On Installation: Torque, Alignment, and Verification Steps

Image source: Wikimedia Commons / U.S. Navy photo by Mass Communication Specialist 3rd Class Shawn J. Stewart
Bolt‑on spacers attach directly to the hub with supplied bolts. They are the most common type for DIY installers. The process is straightforward if you follow torque and alignment checks.
Aluminum spacers need 80 ft‑lb, steel need 90 ft‑lb. Refer to the chart for exact values.
| Material | Recommended Torque (ft‑lb) |
|---|---|
| Aluminum | 80 |
| Steel | 90 |
Wear safety glasses and work on a level surface. Use a calibrated torque wrench for accuracy. Keep the torque wrench calibrated for accuracy, and ensure clean mounting points before tightening.
- Clean the hub with a brush.
- Place spacer, align bolt holes.
- Tighten bolts in star pattern to spec.
- Mount wheel, hand‑tighten lug nuts.
- Torque lug nuts, re‑torque after 100 mi.
Re‑torque bolts after the first 50 mi. Check for any spacer cracks during inspection. Replace any worn hardware immediately.
After installation, check for clearance, balance, and alignment before driving. If all pass, you’re ready.
Top Installation Mistakes That Cause Vibration or Failure
Image source: Wikimedia Commons / Fred Hsu on en.wikipedia (CC BY-SA)
Even a simple spacer install can go wrong if you skip a step. Common mistakes lead to vibration, uneven tire wear, or even wheel failure. Knowing what to avoid saves time and keeps you safe.
Always work on a flat, stable work surface to prevent movement. Secure the vehicle with wheel chocks before loosening lug nuts. This prevents the car from rolling during the process.
- Using the wrong bolt pattern or mismatched center bore.
- Torqueing bolts to the wrong value or using an impact gun without a torque wrench.
- Installing lug‑centric spacers on a high‑performance hub without proper alignment.
- Skipping the star torque sequence, which creates uneven clamping.
- Not checking clearance, causing caliper or fender contact.
Re‑torque bolts after the first 50 mi. Inspect spacer for cracks. If vibration persists, seek a professional.
After installation, perform a balance and alignment check before driving. If any vibration remains, re‑inspect torque and spacer fit. Follow SAE J2530 guidelines to stay compliant.
