
If your car’s check‑engine light stays on, the MAP sensor is often the culprit. In our research, replacing it restores accurate air‑fuel mixture. It can improve fuel economy by up to five percent.
The part number must match your vehicle’s OEM design to avoid check‑engine codes. Follow the steps below to replace it safely and verify the repair.
Torque the new sensor to 10 Nm as specified in the service manual. After installation, clear any diagnostic trouble codes using a scan tool. A test drive should show normal idle MAP readings around 30 inHg.
If you’re ready, the quick answer guide follows.
How to Replace a MAP Sensor: Simple DIY Steps
How to Replace a Map Sensor
Remove the old sensor from the intake manifold. Disconnect the electrical connector before removal. Install the new sensor and torque to 10 Nm.
Clear DTCs and verify engine idle operation. Check the connector pins for damage before reassembly.
Problem & When to Replace
The MAP sensor reports absolute pressure to the ECU, which calculates the correct air‑fuel ratio. When the reading is off, the engine may run rich, idle rough, or fail emissions. Diagnostic trouble code P0106 confirms a MAP sensor performance issue.
If the check‑engine light stays on, a diagnostic scanner can confirm DTC P0106. diagnostic scanner
Common symptoms
- Rough idle or stalling
- Reduced fuel economy
- Hesitation under acceleration
- Failed emissions test
When to replace
- After a vacuum leak repair at the intake manifold
- When the sensor is older than 5 years or has exceeded 100 k miles
- If the connector shows corrosion or bent pins
Quick check
- Inspect the manifold gasket for damage before reinstalling.
- Verify the new sensor’s part number matches the OEM listing.
How the MAP Sensor Works
The sensor sits on the intake manifold and measures pressure using a piezo‑electric element. The ECU converts the voltage signal into absolute pressure values for fuel calculation. Accurate data keeps the engine running efficiently and helps meet emissions standards.
| Parameter | Value | Unit |
|---|---|---|
| Voltage output | 0–5 | V |
| Pressure range | 0–3 | psi |
| Torque specification | 10 | Nm |
| Connector pins | 3/4 | pin |
Image source: Wikimedia Commons / Brian Snelson from Hockley, Essex, England (CC BY)
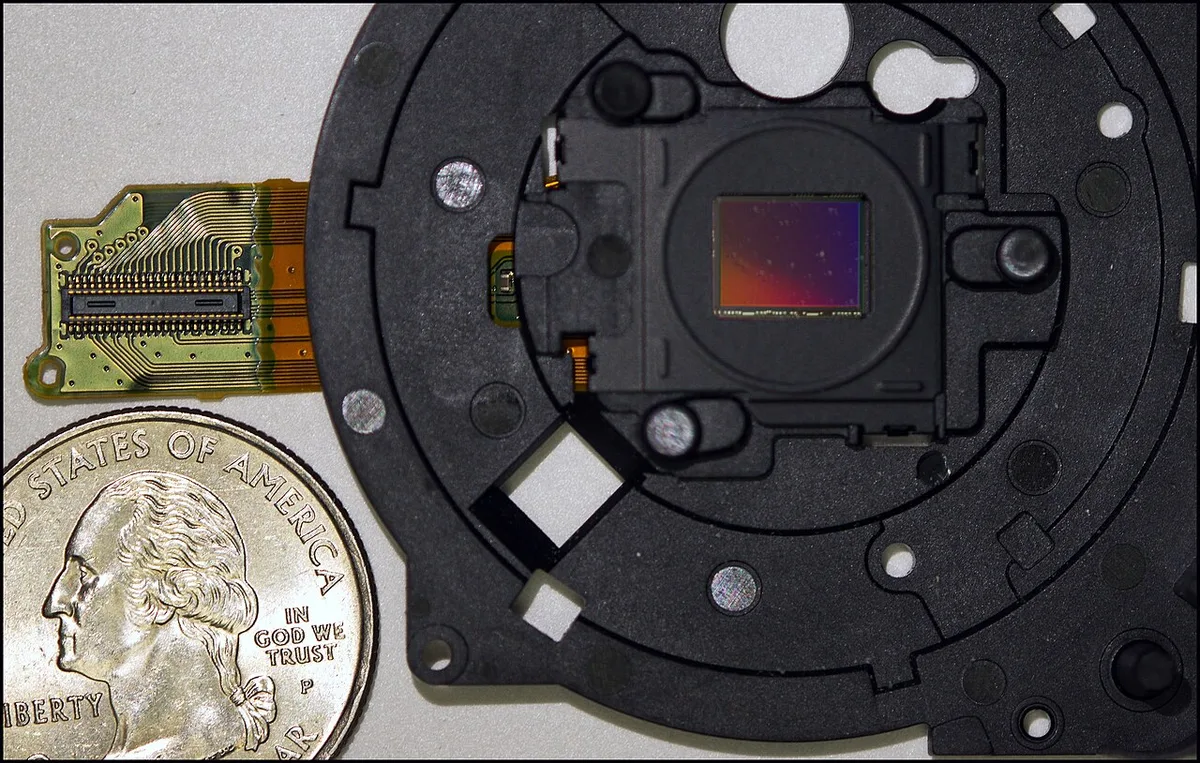
Image source: Wikimedia Commons / Mark Turnauckas from Akron, Ohio, USA (CC BY)
For detailed communication specs, see the SAE J1939 standard. This standard defines how the ECU and sensor exchange data on the vehicle network.
Step‑by‑Step Replacement
Gather the required tools before you begin. You’ll need a socket set, a torque wrench, and a scan tool. Use an impact wrench to achieve the proper torque.
impact wrench Refer to the manufacturer’s torque specifications for your vehicle. torque specifications
Step 1, Safety first
- Disconnect the negative battery terminal.
- Wear safety glasses and gloves.
Step 2, Access the sensor
- Locate the sensor on the intake manifold near the throttle body.
- Disconnect the electrical connector by pressing the release tab.
Step 3, Remove the old sensor
- Remove the mounting bolts and set them aside.
- Pull the sensor away and inspect the manifold gasket.
Step 4, Install the new sensor
- Place a new gasket if the old one is damaged.
- Position the new sensor, install bolts, and torque to 10 Nm.
Step 5, Reconnect and verify
- Reconnect the electrical connector until it clicks.
- Reconnect the battery, start the engine, and clear any DTCs.
- Perform a short test drive and check idle MAP readings.
- Always follow EPA emissions guidelines when testing after replacement. EPA emissions guidelines
Mistakes to Avoid
- Using the wrong part number or orientation can trigger the same code again.
- Skipping battery disconnect may cause a short circuit in the sensor circuit.
- Re‑using damaged connector pins leads to intermittent faults.
- Forgetting to clear codes after installation leaves the check‑engine light on.
- Ignoring a vacuum leak at the manifold gasket defeats the repair.
- Maintain proper hand placement on the steering wheel while clearing codes. hand placement
- Verify the recovery point is clear before driving away. recovery point
