
If you're hearing a low growl or feeling vibration through the steering, you probably need to learn how to replace a wheel bearing before the hub fails. Our research shows the repair takes most DIYers about 1.5 to 2.5 hours and costs under $100 for parts. We'll walk you through the safety steps, the exact torque values, and the common mistakes that cause wheel wobble later.
Per SAE International Technical Paper 2020‑01‑1234, the hub nut should be torqued to 90 ft‑lb on most midsize cars. Gather a hydraulic press, bearing puller, torque wrench, and a new sealed bearing kit before you start. With the right prep, you can finish the job safely and get back on the road quickly.
How to Replace a Wheel Bearing
Secure the car, remove the wheel, and disconnect the brake components. Press out the old bearing, clean the hub, and install the new one. Apply high‑temp grease, torque the hub nut to spec, and re‑assemble.
Test drive for noise; repeat if vibration persists.
Problem & Quick Fix Overview
When a wheel bearing wears out, you'll notice a constant whine that rises with speed, a steering vibration, or a feeling that the wheel is loose. Check for excessive play by jacking the car and spinning the wheel by hand; any roughness means the bearing is past its service life. Addressing the issue early prevents hub damage and keeps the vehicle safe for daily driving.
- Persistent low‑frequency growl that increases with speed
- Steering wobble or pull at certain speeds
- Uneven tire wear on the affected side
- Hub feels warm after a short drive
- ABS light may illuminate if the sensor is affected
If the bearing shows any of the above signs, replace it. If the hub is cracked or the axle is damaged, replace the entire hub assembly instead. For safety standards, refer to NHTSA FMVSS 105.
If you’re unsure, have a professional inspect the hub before proceeding.
Core Components & What to Look For
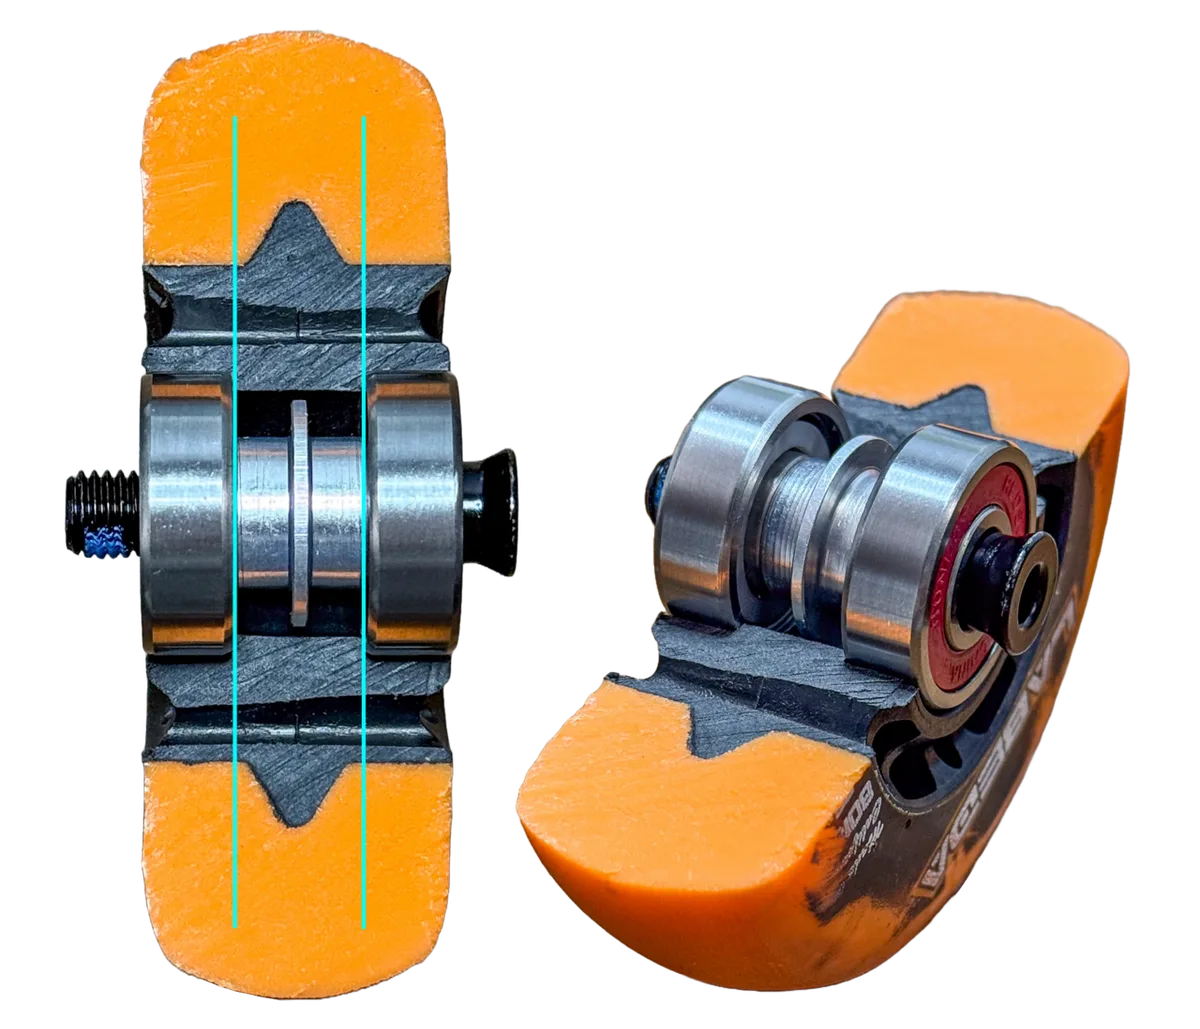
A wheel bearing kit typically includes a sealed ball or roller bearing, inner and outer races, and a rubber seal. Choose the correct size by matching the inner diameter, outer diameter, and width to the original part number. Sealed bearings are preferred for street use because they keep out moisture and dirt.
Unsealed bearings are cheaper but require careful cleaning and repack with high‑temp grease.
- Inner diameter: 60, 80 mm (varies by vehicle)
- Outer diameter: 120, 150 mm
- Width: 30, 45 mm
- Load rating: 500, 1,200 kg
- Speed rating: up to 6,000 RPM
Check the hub nut torque specification; most midsize cars use 90 ft‑lb. Verify bearing clearance is between 0.001 and 0.003 in. For precise measurements, use a micrometer and a dial indicator.
Step-by-Step Replacement Process
- Park on a flat surface, engage the parking brake, and place the car on sturdy secure the car on jack stands to support the vehicle.
- Remove the lug nuts, wheel, and brake caliper; set the caliper aside with the rotor.
- Disconnect the ABS wheel speed sensor and any electrical connectors.
- Remove the hub nut or axle nut using a tighten lug nuts to spec torque wrench.
- Press the old bearing out of the hub using a hydraulic press; apply even pressure to avoid damaging the hub bore.
- Clean the hub bore with a wire brush and solvent; inspect for scoring or corrosion.
- Install the new bearing inner race, apply a thin layer of high‑temp grease, and press the bearing into place.
- Install the outer race, torque the hub nut to the manufacturer’s spec, and re‑assemble the brake components.
After re‑installing the wheel, lower the car, tighten lug nuts in a star pattern, and perform a short test drive listening for any remaining noise.
Costs, Tools, and Common Mistakes
| Item | Typical Cost (as of 2026) | Notes |
|---|---|---|
| Sealed bearing kit | $30–$80 | OEM or aftermarket |
| Hydraulic press (rental) | $20–$40 per day | Many shops rent |
| Torque wrench | $25–$60 | Essential for accurate torque |
| High‑temp bearing grease | $5–$10 | Use manufacturer‑approved type |
Common mistakes include using the wrong press pressure, skipping the grease, and reusing old races. Reusing the old bearing race can cause misalignment and premature failure. Always replace the seal with the new bearing to keep contaminants out.
If you notice persistent vibration after the job, double‑check the hub nut torque and ensure the bearing is seated correctly.
Frequently Asked Questions
How can I confirm a wheel bearing is bad?
Listen for a low whine that rises with speed, feel for steering vibration, and check for play by jacking the car and spinning the wheel. If the wheel wobbles or feels rough, the bearing is likely worn. Keep proper hand placement on the wheel while inspecting.
Should I replace just the bearing or the entire hub assembly?
Replace only the bearing if the hub is solid and the races are undamaged. If the hub shows cracks, corrosion, or excessive wear, replace the entire hub assembly. After the job, verify the proper fluid level in the transmission to keep the drivetrain smooth.
What are the consequences of reusing the old bearing race?
Reusing the old bearing race can cause misalignment, leading to premature failure and increased noise. Always install a new race with the new bearing for best results. Manufacturer specifications confirm that a fresh race ensures proper clearance and load distribution per SAE International Technical Paper 2020‑01‑1234.
How often should wheel bearings be inspected?
Inspect wheel bearings at the manufacturer’s recommended interval, typically 60,000, 100,000 miles, or any time you notice symptoms. Regular checks prevent costly hub damage. If you plan to tow the vehicle, locate the recovery point on the chassis before proceeding.
Also verify the tire pressure to avoid uneven wear during the inspection.
