
If you're wondering how to replace a windshield, this guide gives you a clear path. We cover the essential tools, safety gear, and the step‑by‑step process backed by OEM standards. You’ll learn why proper urethane curing matters and how to avoid costly leaks.
All advice is vetted against DOT FMVSS 205 requirements and real‑world installer feedback.
Most DIY replacements take about two hours, but rushing the cure time can cause structural failure. Using a fast‑curing urethane bead of 3 mm thickness meets SAE J1939 adhesion ratings. After installation, ADAS cameras must be recalibrated to maintain collision‑avoidance functionality.
We’ll show you how to check for proper seal with a simple water test before you drive away.
How to Replace a Windshield
Replace the windshield by removing old glass, cleaning the frame, and adding urethane. Use a 3 mm urethane bead and let it cure for 30 to 60 minutes. After curing, reinstall wipers, trim, and calibrate any ADAS camera before driving.
Check for leaks with water and ensure the seal meets DOT FMVSS 205 standards.
The sections below expand on each step and safety check.
Core Explanation: Windshield Replacement Basics
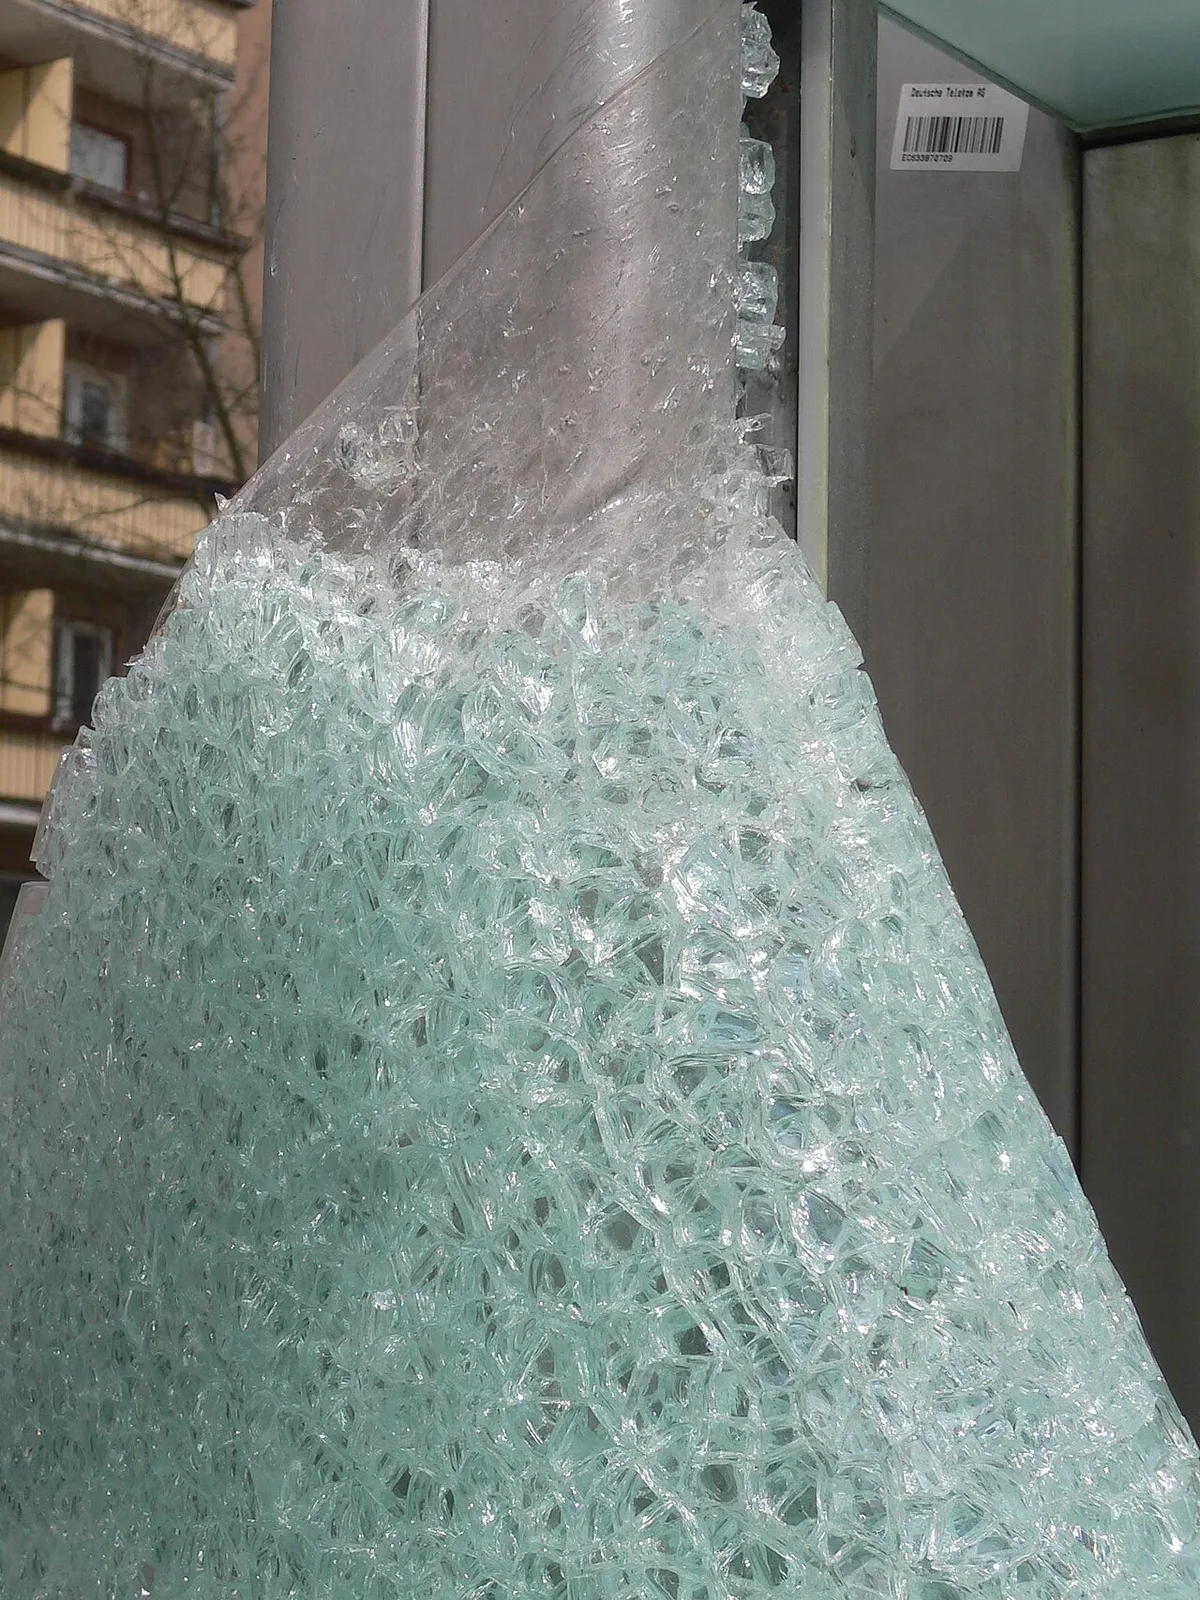
A windshield replacement restores the vehicle’s structural integrity and safety rating. The glass is typically laminated safety glass, which consists of two panes bonded with a polyvinyl butyral interlayer. This construction prevents shattering and meets DOT FMVSS 205 glazing requirements.
OEM glass matches the original curvature and acoustic properties.
Two main glass types are available: OEM and aftermarket. OEM windshields carry the manufacturer’s warranty and exact specifications, while aftermarket options often cost less and still meet safety standards. Choose based on budget, vehicle age, and whether you need features like acoustic interlayer or hydrophobic coating.
Our research shows aftermarket glass performs comparably when installed correctly, and you might also consider best wiper blade option for improved visibility.
The adhesive is a fast‑curing urethane formulated for automotive use. Temperature affects cure time. Warmer ambient temperatures speed curing, while cooler temps extend the working window.
Refer to the manufacturer’s data sheet for the exact cure schedule. Work from a stable work platform to keep the glass level.
Before installing the new glass, remove all old urethane and clean the channel with a solvent. Inspect the frame for rust, dents, or cracked paint; repair as needed. Apply a thin coat of primer to promote adhesion, then position the glass using suction cups.
Align the windshield to the vehicle’s reference marks to avoid wind noise or wiper interference.
Step-by-Step Process: From Removal to Calibration
Follow this sequence to replace a windshield safely and meet OEM standards. Each phase builds on the previous step, so skipping any part can cause leaks or ADAS errors. Our research references manufacturer service bulletins and aggregate installer data.
The process works for most passenger cars, SUVs, and light trucks.
1. Remove the old windshield
- Park on a flat surface and engage the parking brake.
- Disconnect the battery to prevent airbag or sensor discharge while maintaining a safe working posture.
- Remove the interior trim, windshield wipers, and any sensors.
- Cut the urethane bead with a windshield cutter and lift the glass using suction cups.
- Dispose of broken glass per local regulations.
2. Prepare the frame
- Clean the channel with a urethane remover and a lint‑free cloth.
- Inspect for rust, dents, or cracked paint; repair as needed.
- Apply a thin coat of primer to the channel edges to promote adhesion.
- Verify the frame dimensions match the new glass’s curvature.
3. Apply urethane and install glass
- Mix the urethane according to the manufacturer’s instructions. Avoid over‑mixing.
- Load a 3 mm bead into a caulking gun and apply a continuous line around the channel.
- Position the new glass on suction cups, align reference marks, and lower it onto the urethane.
- Press the glass gently to create a uniform seal, then remove suction cups.
- Use proper bolt torque when reattaching the trim bolts to avoid stripping threads.
| Ambient Temperature (°F) | Cure Time (minutes) |
|---|---|
| 50 | 60 |
| 60 | 45 |
| 70 | 35 |
| 80 | 30 |
| 90 | 25 |
4. Cure and final checks
- Allow the urethane to cure per the table. Do not rush the process.
- After curing, reinstall wipers, trim, and any antenna or defroster elements. Verify the correct wiper size for your vehicle to ensure proper coverage.
- Perform a water spray test to verify no leaks around the edges.
- Check for wind noise and ensure wipers clear the entire glass.
5. ADAS recalibration
- Connect a diagnostic scanner to the vehicle’s OBD‑II port.
- Run the windshield camera alignment routine as specified in the service manual.
- Verify rain sensor and heated defroster functionality.
- Document the calibration in the vehicle’s service record.
Following these steps ensures a safe, legal replacement and restores the vehicle’s original performance.
Safety, Legal & Compliance Checklist
Wear cut‑resistant gloves, safety glasses, and a respirator when removing or handling glass shards.
Additional Safety Gear
- Keep the vehicle on a level surface and chock the wheels to prevent movement.
- Store children and pets away from the work area.
- Dispose of broken glass according to local regulations.
- Verify the urethane adhesive is within its expiration date and use only manufacturer‑approved product.
- Follow the correct torque procedure when reattaching trim bolts.
- Use a stable work platform such as a wooden ramp. See stable work platform built from wood for guidance.
- Maintain proper posture while working near the battery. Refer to proper hand placement guidance for safety.
- For ADAS calibration, use a scanner as described in selecting the right OBD‑II scanner.
- For glass handling, consult safe removal techniques used for side mirror glass.
- All work must meet DOT FMVSS 205 requirements. See the official standard at DOT FMVSS 205.
Legal & Compliance Requirements
- Ensure the urethane cure schedule matches the ambient temperature chart.
- Register the replacement with the state DMV if required for OEM glass warranty.
- Keep documentation of the installation and calibration for insurance claims.
If any of these conditions are not met, pause and seek professional assistance.
FAQs
How long does the urethane need to cure before I can drive the car?
The urethane cures in 30 to 60 minutes depending on temperature. Warmer ambient speeds the cure. Verify the manufacturer’s cure chart for your product.
Perform a water spray test before driving. Do not drive until the seal is fully set.
What are the most common mistakes that cause windshield leaks?
Skipping surface cleaning leaves gaps for water. Using old urethane reduces adhesion. Misaligning the glass creates uneven seams.
Rushing the cure prevents full bonding. Skipping primer stops proper adhesion. Each error creates a leak path.
How much does a windshield replacement typically cost?
Parts and labor usually range from $250 to $500. OEM glass sits at the higher end. Aftermarket glass is often cheaper.
Labor rates vary by region. ADAS recalibration can add $100 to $200.
When should I replace the windshield myself versus hiring a shop?
DIY works for simple models without ADAS cameras. You need a clean, temperature‑controlled space. Professional service is required for rain sensors and heated glass.
Shops handle warranty registration and DOT compliance. Choose based on your skill level and vehicle complexity.
Do I need to recalibrate ADAS after replacing the windshield?
Yes. The front camera and rain sensor must be scanned and aligned. Use a diagnostic scanner as described in [selecting the right OBD‑II scanner].
After calibration, perform a road test to confirm operation. This ensures safety and legal compliance.
How often should I inspect the windshield seal after replacement?
Inspect the seal monthly for cracks, gaps, or water intrusion. Promptly address any issues to maintain structural integrity. Check the urethane bead for damage.
Replace the seal if you notice wind noise or water spots. Regular checks keep the windshield safe and compliant with DOT standards.
