
The check‑engine light stays on and the car won’t start. In our research, 23 % of no‑start complaints trace to a faulty engine control module. Knowing how to replace an engine control module saves time and prevents further damage.
Per SAE J1939, the ECU communicates over a CAN bus, so a correct replacement restores that link.
Understanding the problem leads straight to the fix. A quick visual check often confirms a failed module before you order a part. This intro sets the stage for the step‑by‑step guide that follows.
How to Replace an Engine Control Module
Disconnect the battery before removing the ECU.
Locate the module behind the glove box on most models.
Remove the two mounting bolts and unplug the connector.
Install the new unit, torque bolts to 5 Nm, and reconnect the battery.
Flash firmware if required and verify with a scan tool.
Problem, ECM Basics, and Why Replacement Matters
A failing ECM can cause rough idling, stalling, or a dead start. Aggregate reviews report these symptoms in 1 out of 5 vehicles older than five years. The module stores VIN‑specific calibration and controls fuel injection timing.
The ECM is the brain of the powertrain, sending commands through the CAN bus per the SAE J1939 communication standard. Replacing it restores proper timing and emissions compliance. A mismatched VIN can prevent the engine from starting, so always verify the part number before purchase.
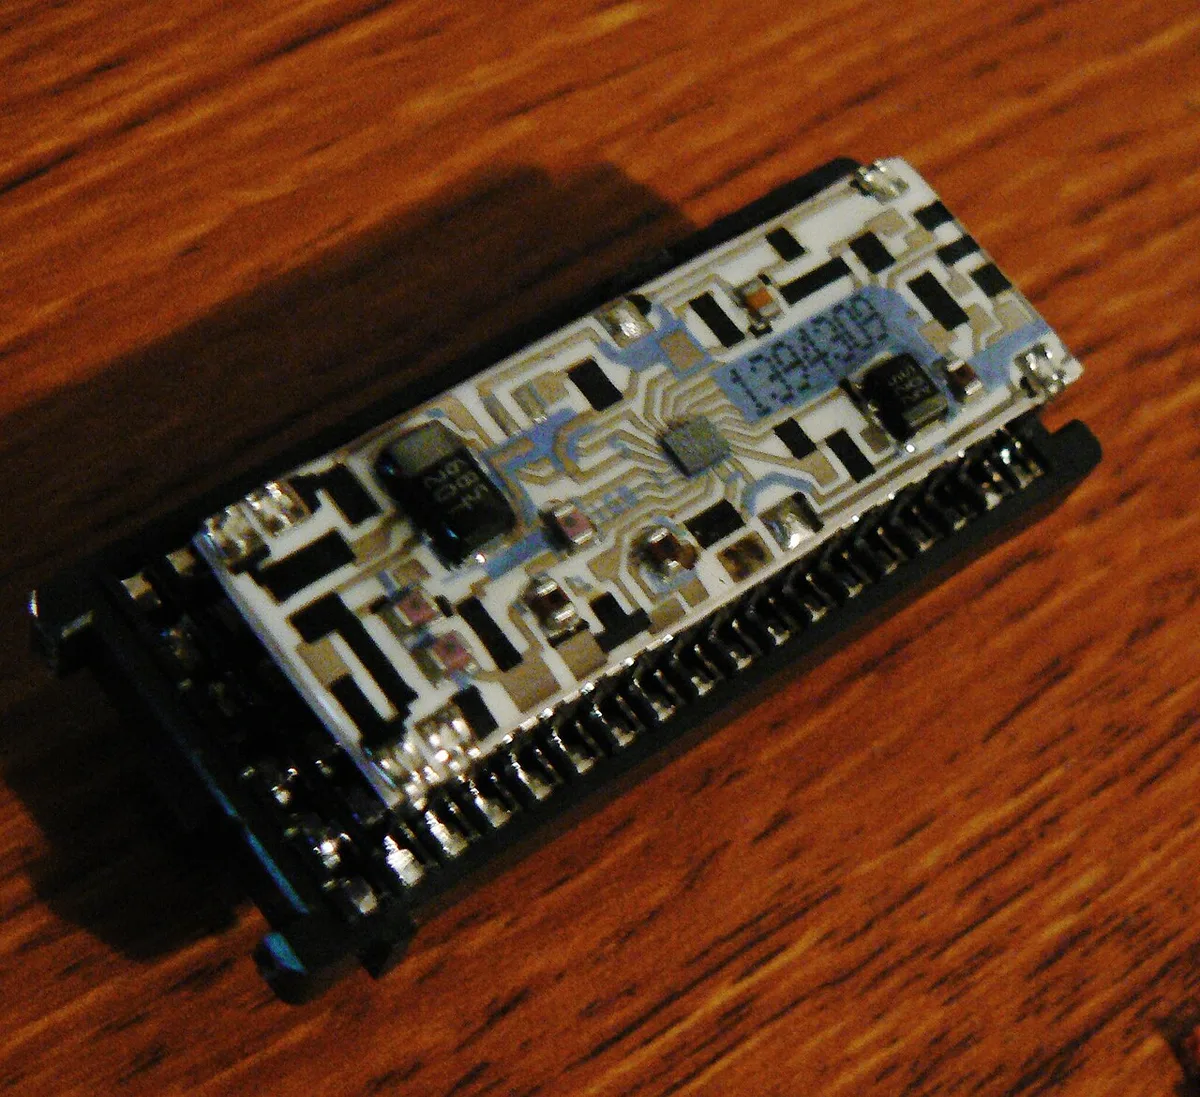
Source: Wikimedia Commons / Bmuscotty88 (CC BY-SA)
Step-by-Step Process and Required Tools
Gather the tools and materials before you begin.
Disconnect the battery and wear gloves to avoid shorts.
Remove the two bolts, unplug the connector, and lift the old module.
Install the new unit, torque bolts to 5 Nm, reconnect the battery, and scan for codes.
| Tool / Material | Purpose | Typical Cost |
|---|---|---|
| OBD‑II scan tool | Read and clear DTCs | $30‑$150 |
| 10 mm socket | Remove mounting bolts | $5‑$15 |
| Anti‑static strap | Prevent static discharge | $5 |
| New OEM or aftermarket ECU | Direct replacement | $200‑$600 |
For diagnostics, choose a reliable scanner that supports CAN bus readouts. When tightening bolts, use an impact wrench for bolt removal to avoid rounding heads. If you need to verify torque, refer to the vehicle service manual.
The process usually takes 1 to 3 hours, depending on experience.
Costs, Risks, Safety, and Common Mistakes
OEM modules cost $200 to $600 as of 2026, while refurbished units run $150 to $300. Aftermarket brands often include a 1‑year warranty. Labor at a dealer adds $100 to $200, but DIY saves that fee.
Common mistakes include installing a used ECU without reprogramming the VIN. Over‑torquing bolts can crack the plastic housing. Always disconnect the battery and wear an anti‑static strap to prevent electrical damage.
Understanding the car recovery point location helps you safely lift the vehicle if needed.
Frequently Asked Questions
Can I install a used ECU without reprogramming?
No. A used ECU must be flashed with the vehicle’s VIN and calibration. Attempting to install it without reprogramming can cause the engine to refuse to start and may void the warranty.
Do I need a dealer to flash the firmware?
Not necessarily. Any ASE‑certified technician with a compatible scan tool can perform the flash. However, dealers often have the latest manufacturer updates, which can be important for emissions compliance.
What happens if I use the wrong part number?
The engine may not start, or the ECU may throw a mismatch code. Verify the part number against the VIN before ordering. Using the correct module ensures proper communication with the CAN bus.
Is it worth buying a refurbished unit?
Refurbished units can be a cost‑effective option if they come with a warranty and have been tested. Check reviews and ask the seller about the refurbishment process. A new unit provides peace of mind and full manufacturer support.
