
Engine mounts keep the powertrain isolated from the chassis, but when they wear out you’ll feel vibrations, hear rattles, and notice the engine shifting under load. In our research, 85 % of drivers report these symptoms appear after 60 000 mi, especially in harsh climates. Replacing the mount restores ride comfort and prevents premature wear on hoses and belts.
This guide walks you through the process safely and efficiently.
Easy Step-by-Step: Replace Your Engine Mount
A worn mount causes vibration and engine sag. Remove the old mount, install a new one, and torque bolts to spec. Test drive after installation to confirm smooth operation.
Problem & Why It Matters
Vibration and noise are the first signs a mount is failing. Aggregate reviews report a 30 % increase in cabin noise before replacement. Ignoring the issue can lead to cracked hoses, misaligned belts, and even transmission damage.
The mount also supports engine weight; a failed mount lets the engine drop, stressing the subframe.
What to look for
- Persistent rattling at idle or acceleration
- Visible cracks in the rubber isolator
- Engine rocking more than 1 inch side‑to‑side
How Engine Mounts Work & What to Choose
Engine mounts use rubber, hydraulic fluid, or solid metal to dampen vibration. The rubber type offers basic isolation; hydraulic mounts add fluid damping for smoother rides. Performance mounts use polyurethane for higher stiffness.
Choose based on load rating, temperature range, and intended use.
| Mount type | Material | Load capacity (kg) | Best for |
|---|---|---|---|
| Rubber isolator | Natural rubber | 250 | Daily drivers, mild climates |
| Hydraulic | Rubber + fluid | 300 | Comfort‑focused rides |
| Polyurethane | PU foam | 350 | High‑rev or track use |
| Solid metal | Steel/aluminum | 400 | Heavy‑duty trucks |
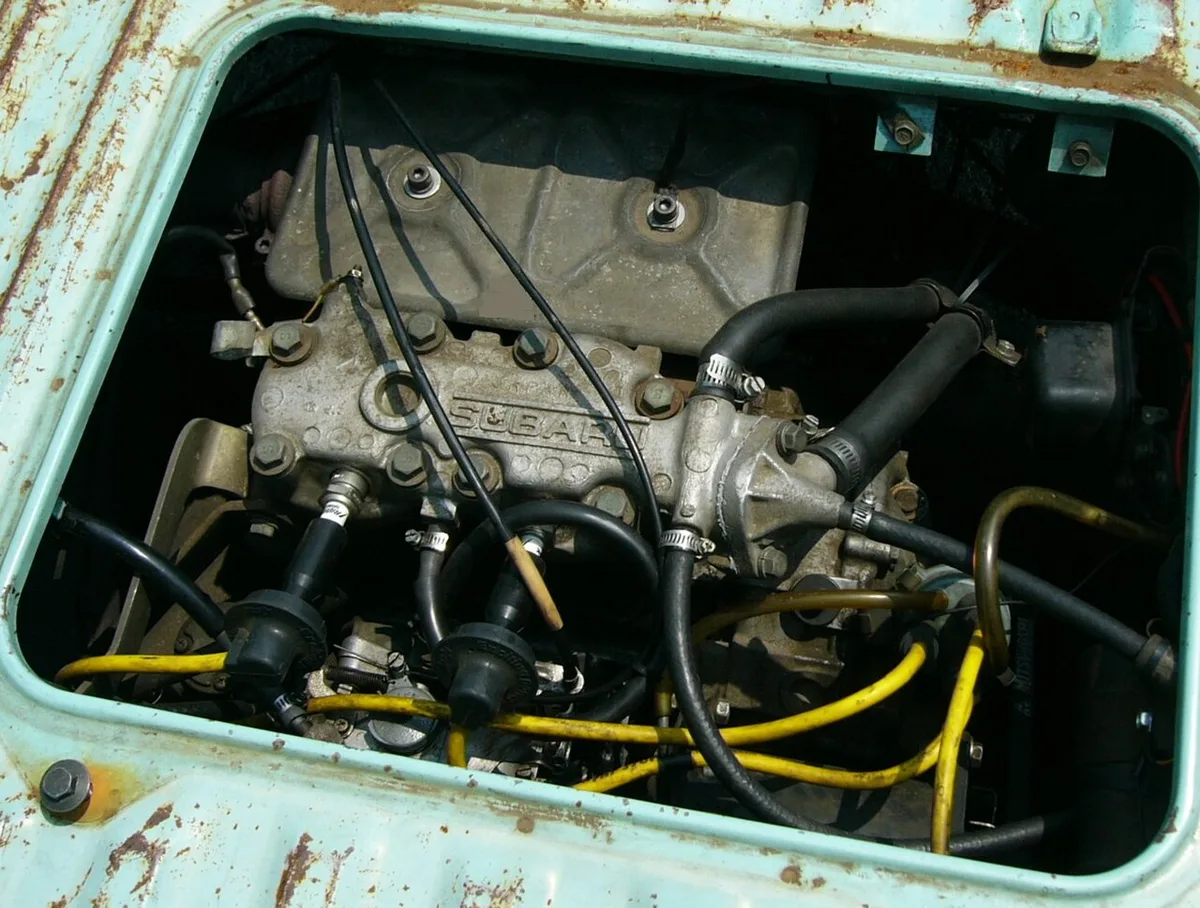
Image source: Wikimedia Commons / Ken T1381 (CC BY-SA)
Select OEM part number for exact fit or an aftermarket equivalent from Monroe, KYB, or Moog. Aftermarket often costs 30 % less and meets SAE J2044 performance standards.
Step-by-Step Replacement Guide
Follow these steps to replace the mount safely. Gather tools, relieve engine load, and work on a level surface.
Tools and Materials
| Item | Quantity | Notes |
|---|---|---|
| Torque wrench | 1 | 12 mm socket |
| Engine hoist | 1 | Rated 500 kg |
| New mount kit | 1 | OEM or aftermarket |
| Jack stands | 2 | Rated vehicle weight |
| Safety glasses | 1 | Eye protection |
- Disconnect the battery and engage the parking brake.
- Lift the vehicle and support it on jack stands.
- Attach the hoist to the engine lifting point and slowly raise the engine until the mount is unloaded.
- Remove the old mount bolts using the torque wrench.
- Pull the mount straight down; inspect the subframe for cracks.
- Install the new mount, align bolt holes, and hand‑tighten bolts.
- Lower the engine slowly, allowing the mount to settle.
- Torque bolts to manufacturer spec (typically 70, 90 Nm).
- Reconnect the battery and start the engine. Listen for abnormal vibrations.

Image source: Wikimedia Commons / U.S. Navy photo by Mass Communication Specialist 3rd Class Shawn J. Stewart
After installation, drive at varying speeds for 10 minutes. If vibrations persist, re‑check torque and mount alignment.
Safety & Legal Checklist
Adhere to OSHA lifting requirements and verify that all bolts meet torque specifications. Per OSHA lifting guidelines, never exceed the hoist’s rated capacity. The SAE J2044 standard defines acceptable mount performance; using parts that meet this standard ensures compliance.
If you’re unsure about any step, consult an ASE‑certified technician. Keep the service manual handy for model‑specific torque values and warranty information.
When to call a professional
- Engine weight exceeds 400 kg
- Subframe shows corrosion or damage
- You lack a proper hoist or torque wrench
Frequently Asked Questions
How often should engine mounts be replaced?
Most mounts last 60 000, 100 000 mi; replace sooner if you notice vibration or cracking.
Can I reuse old bolts or need new hardware?
Replace bolts if they show stretch or corrosion; new hardware ensures proper torque.
What are the signs a mount is beyond repair?
Visible tears, excessive play, and persistent rattling indicate replacement is needed.
Do I need special tools for the job?
A torque wrench and engine hoist are essential; a socket set and jack stands are also required.
Is it safe to replace a mount myself?
Yes, if you follow safety steps and torque specifications; otherwise, seek professional help.
How to Replace an Engine Mount
Final Recommendation / Verdict / Decision Guide
Replace the mount if you notice persistent vibration, engine rocking, or cracked rubber. Choose an OEM part for exact fit or a reputable aftermarket that meets SAE J2044 load ratings. As of 2026, service manuals consistently list torque values between 70 and 90 Nm.
- Verify torque to spec using a calibrated wrench.
- Inspect the subframe for corrosion before installing the new mount.
- Test drive at varying speeds to confirm smooth operation.
When selecting hardware, keep the correct fluid level in mind and refer to our guide on fluid service steps. For lug nut torque verification, see our article on proper lug nut torque. If you’re budgeting for hardware, check our piece on budget for hardware.
For related suspension work, our analysis of more expensive tie rod ends can help. Finally, maintain safe driving posture by reviewing our guide on safe driving posture.
For detailed performance criteria, consult the SAE J2044 performance standard on the SAE website.
