
You might be wondering how does a lift kit work when your truck scrapes the ground on trails. A lift kit raises the ride height to give more clearance and better angles. This upgrade is popular for off-road vehicles and trucks.
It changes how the suspension performs.
Manufacturer specs confirm that lifts of 2 to 6 inches are standard. The modification requires attention to detail. Follow along to see exactly how the process works.
How Does a Lift Kit Work
A lift kit works by replacing stock springs. It uses longer coils instead. Shocks get upgraded too.
Ride height increases by 2 to 4 inches. This changes suspension geometry.
How a Lift Kit Raises Ride Height and Changes Suspension Geometry
A lift kit raises ride height by upgrading the suspension components. The vehicle body moves higher on the longer parts. This improves approach and departure angles for trails.
Suspension geometry changes the way wheels and axles relate.
Manufacturer data shows a 3 inch lift can add 3 inches of clearance. It also affects how the vehicle handles under load. The kit is usually bolt-on for easy install.
Torque specs must be followed closely during assembly.
You should measure your current ride height first. A lift kit addresses common scraping issues head on. It is a simple way to modify your setup.
The process involves selecting the right height for your needs. Off-road use benefits from better clearance. Daily driving might need a smaller lift.
Always check your vehicle's limits before starting. Aggregate reviews report improved performance with proper installation. But wrong measurements lead to problems.
Research your specific truck model for best fit. You can see the difference in how the vehicle sits. This change is straightforward once you understand the basics.
Follow the steps carefully to get great results.
The Parts You See Doing the Work: Springs, Shocks, and Mounts
The main parts include longer coil springs. These support the vehicle weight at the new height. Shocks provide damping for the ride.
Strut assemblies replace stock ones too. They help maintain alignment. Suspension mounts connect everything securely.
Alignment kits adjust the angles after lift. Most kits include all brackets and hardware needed. Powder-coated steel construction ensures durability.
Vehicle-specific fitment kits match your model exactly. Weight capacity ratings guide your choices. Extended brake lines prevent rubbing during turns.
Bump stop relocation helps avoid bottoming out. Chromoly steel construction stands up to tough use. You get everything for a complete install.
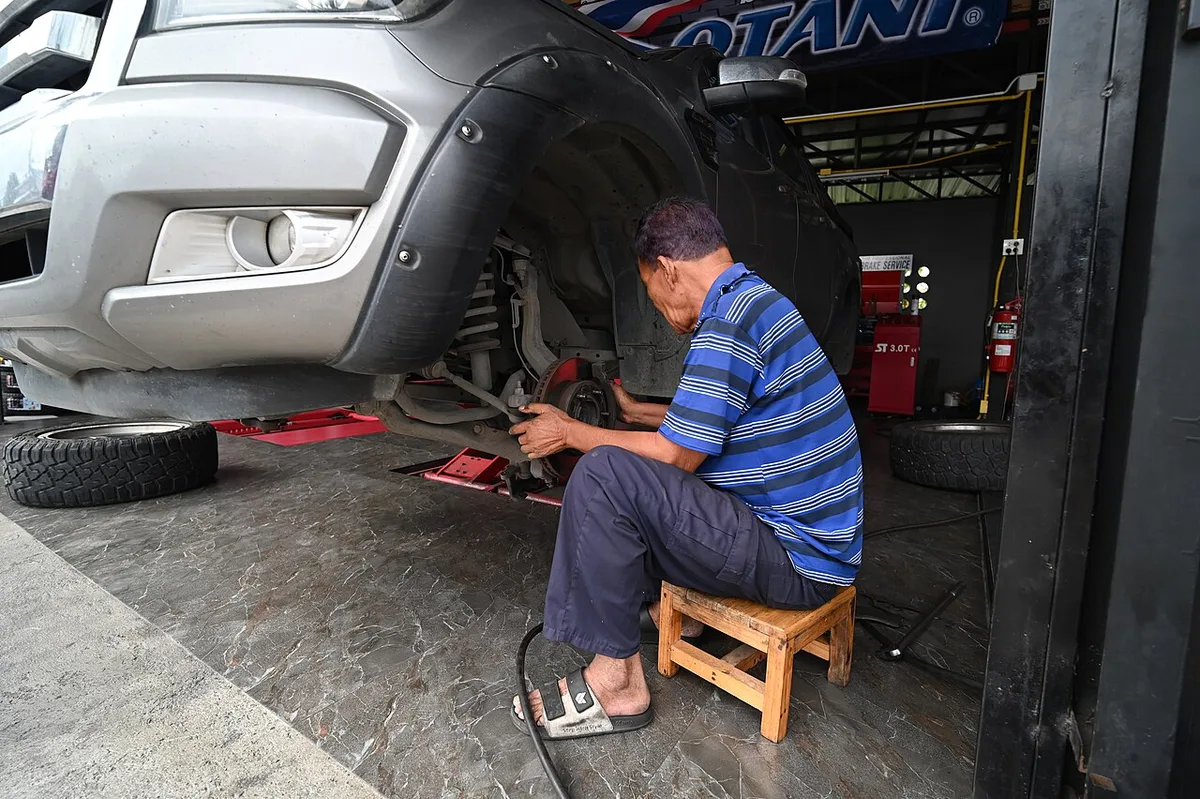
Image source: Wikimedia Commons / PattayaPatrol (CC BY-SA)
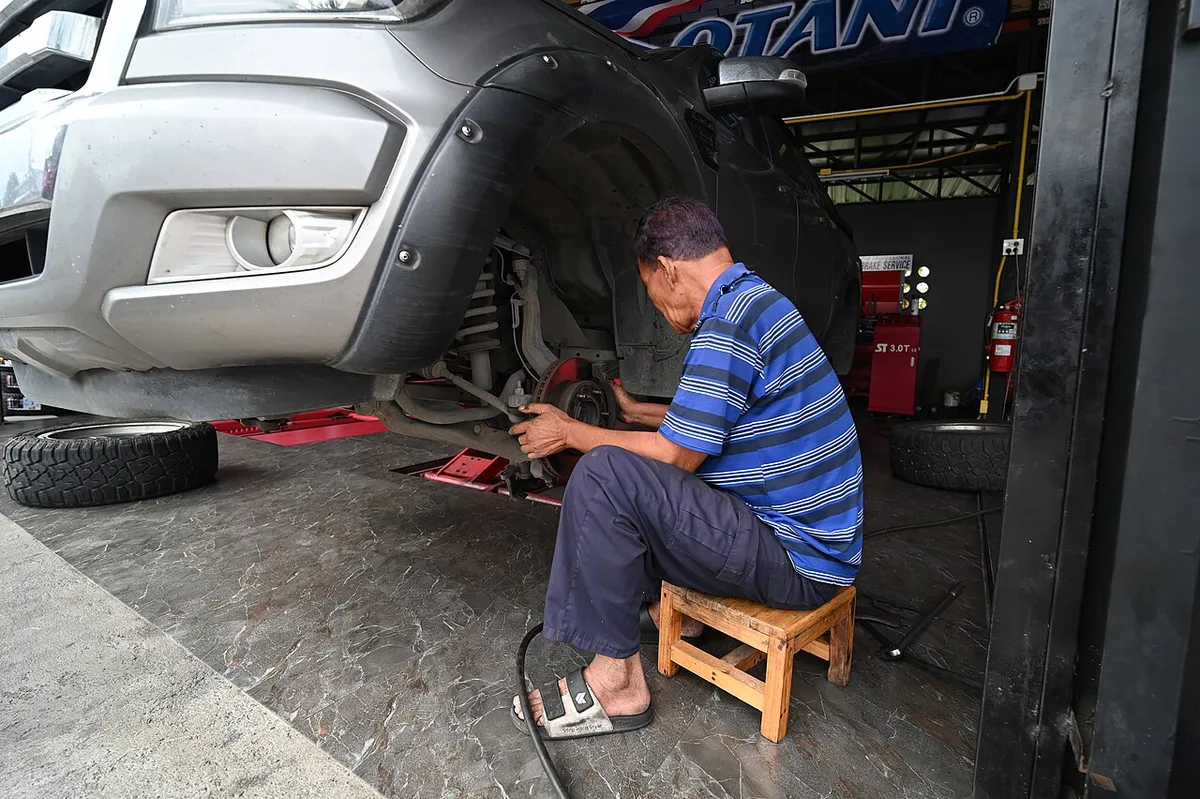
Image source: Wikimedia Commons / PattayaPatrol (CC BY-SA)
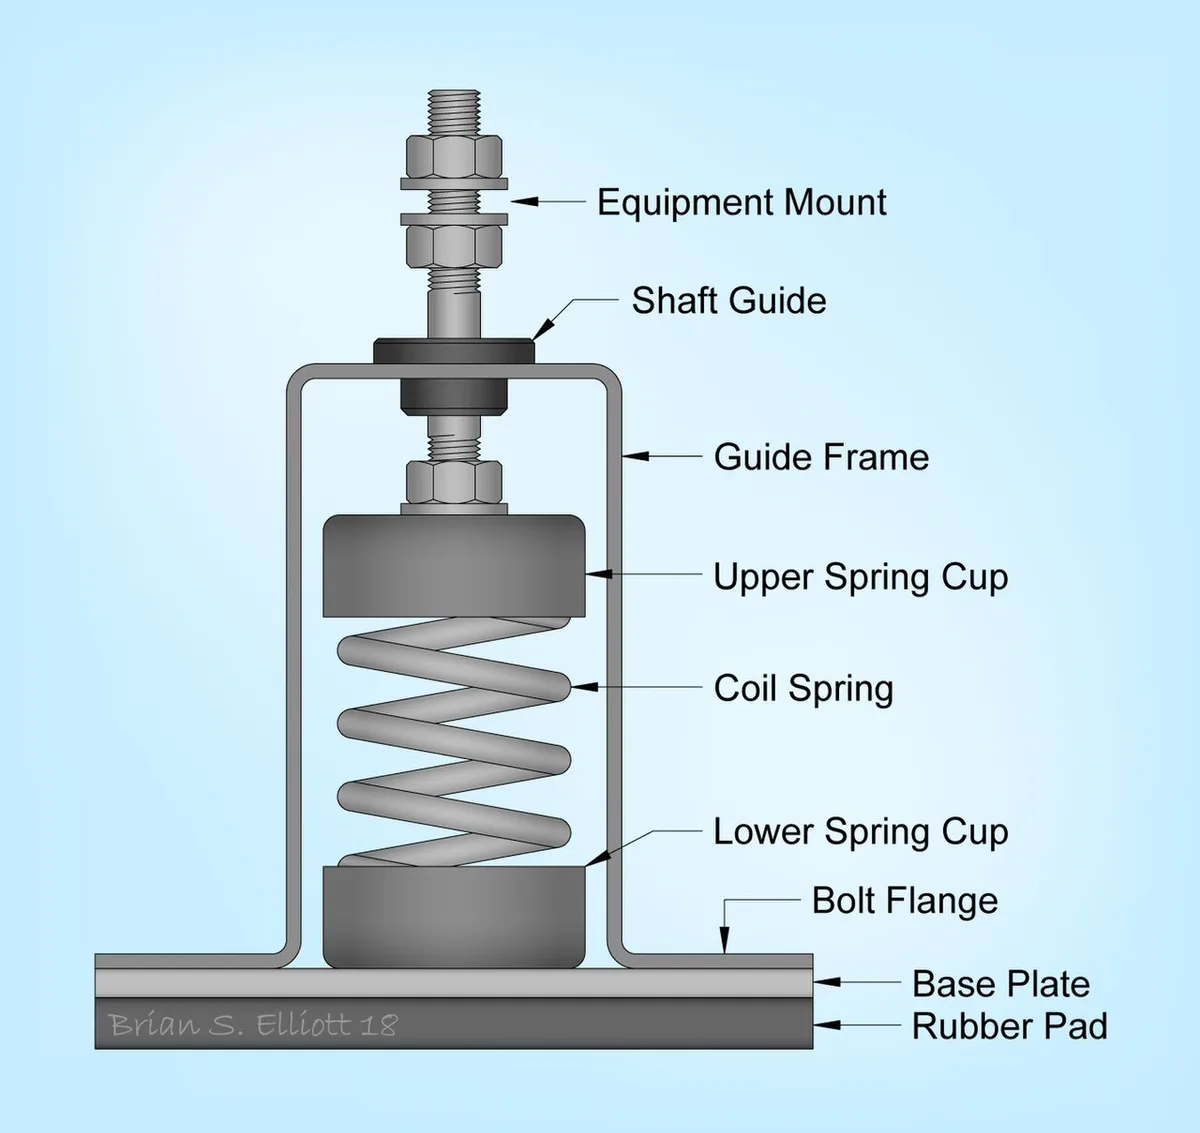
Image source: Wikimedia Commons / Brian S. Elliott (CC BY-SA)
Visual Cues That Tell You the Lift Is Working
Look for increased distance from wheel well to ground. The vehicle sits higher in the frame. Approach angle looks steeper.
Departure angle improves too. Headlights point higher after install. Wheel wells show more space around tires.
The stance appears lifted but balanced. Check for even tire wear from the start. Compare before and after photos closely.
Fender gaps widen visibly. Suspension travel feels different on bumps. These cues confirm the lift is set right.
Always verify with measurements. Proper visuals guide your final checks.
Mistakes You Can Spot: Rub, Crooked Stance, and Worn Angles
Fender rubbing shows up as contact marks. Wheel wells dent easily here. A crooked stance comes from bad alignment.
Tires wear unevenly on one side. Worn angles appear after heavy use. CV axles get damaged from wrong geometry.
Bottoming out risks increase with low stops. Headlight aiming shifts after lift. Potential warranty issues arise from improper install.
Check for these signs right away. Use impact wrench for lug nuts. See our guide on How To Use Impact Wrench On Lug Nuts for safety.
Read about How To Build Car Ramps From Wood before starting. After the lift, you may need to replace tie rod ends. See our guide on Are More Expensive Tie Rod Ends Worth It to see if upgrading is worth it.
Don't forget to adjust headlights. Read How Much Is A Headlight Bulb At Autozone for replacement info. According to NHTSA guidelines on modifications, always stay legal.
Per SAE standards for vehicle safety, follow proper procedures. These mistakes can ruin your lift fast.
FAQs
How much does a lift kit cost?
Basic kits start around $300. Premium options can reach $1500. Installation adds extra if not DIY.
Get quotes based on your vehicle.
What is the typical installation time?
Setup takes 4 to 8 hours. Professional help speeds it up. Measure first for accuracy.
Test fit everything before final torque.
Can I do a lift kit myself?
DIY works for most people. Follow torque specs exactly. Alignment is key afterward.
Watch for fender rub during install.
Does a lift affect towing?
Yes, it changes angles. Taller lifts need extra care. Check weight limits first.
Gear ratio shifts may occur too.
What lift height is best for my use?
2 inches suits daily driving. 4 inches works for trails. Over 6 inches risks handling issues. Match your needs to the vehicle.
How long until the kit is broken in?
Run it for 500 miles first. Check for noises weekly. Alignment helps the break in.
Proper maintenance extends life.
